

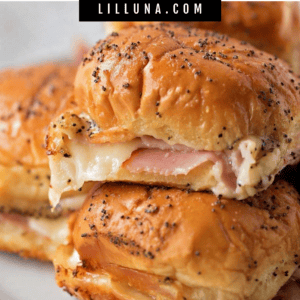
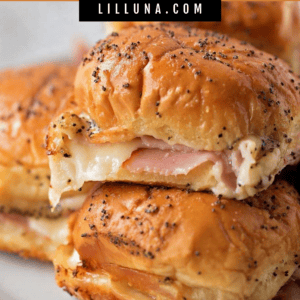
Ham and Cheese Sliders are one of our favorite easy party foods because they’re warm, cheesy, buttery, and always the first thing to disappear (our family is literally obsessed!)
Sweet slider buns are layered with ham and Swiss cheese, then brushed with a savory brown sugar Dijon glaze that bakes into every little nook and cranny. We love these for game days, holiday parties, Easter leftovers, potlucks, and quick family dinners.
They’re simple to assemble in a 9×13 pan, easy to slice, and so good served warm right out of the oven. Plus, they’re prepped in ten minutes!
It’s a great way to use leftover Crockpot Ham after the holidays! No leftovers? Deli ham works just fine as well! And if you love sliders, be sure to check out our: Monte Cristo Sliders and Chicken Parmesan Sliders.
Why you’ll love it + Why it works:
- Freezable. Easily make these ahead of time, which is helpful when you have a lot of dishes to prepare or need something easy.
- A weeknight must. This appetizer, side dish, or entree is on the table in only 30 minutes for an easy weeknight dinner idea!
- Layering cheese on both sides helps hold everything together. It melts around the ham and makes each slider extra gooey.
- The glaze soaks into the rolls. Brushing and pouring it into the nooks gives the sliders big buttery flavor.
Ham and Cheese Sliders Ingredients
- Sweet slider buns (12): Create the soft, slightly sweet base and top for the sliders.
- Sliced deli ham, honey or leftover Easter ham works well (¾ pound): Adds savory flavor and makes the sliders hearty. Change it up and use turkey, chicken, bacon, or roast beef.
- Swiss cheese (¾ pound): Melts beautifully and pairs perfectly with ham.
- Unsalted butter (1 stick): Creates the rich, buttery base for the glaze.
- Brown sugar (2 tablespoons): Adds sweetness and helps balance the savory glaze.
- Dijon mustard (1 tablespoon): Adds tangy flavor that cuts through the richness.
- Poppy seeds (1 tablespoon): Adds texture and classic slider flavor.
- Onion powder (1 teaspoon): Adds savory onion flavor without chopping onions.
- Worcestershire sauce (2 teaspoons): Adds depth and a little savory tang.
- Salt (¼ teaspoon): Seasons the glaze and brings the flavors together.
- Black pepper (pinch): Adds a little warmth and balances the sweetness.
How to Make Ham and Cheese Sliders
PREP. Lightly spray a 9×13-inch dish with baking spray, or Line the Pan with Parchment Paper or aluminum foil for easy cleanup.
ROLLS. Cut 12 sweet rolls in half. Don’t attempt to do this individually, use your biggest serrated knife and slice the entire sheet. Place the bottom layer snuggly into the bottom of the dish.
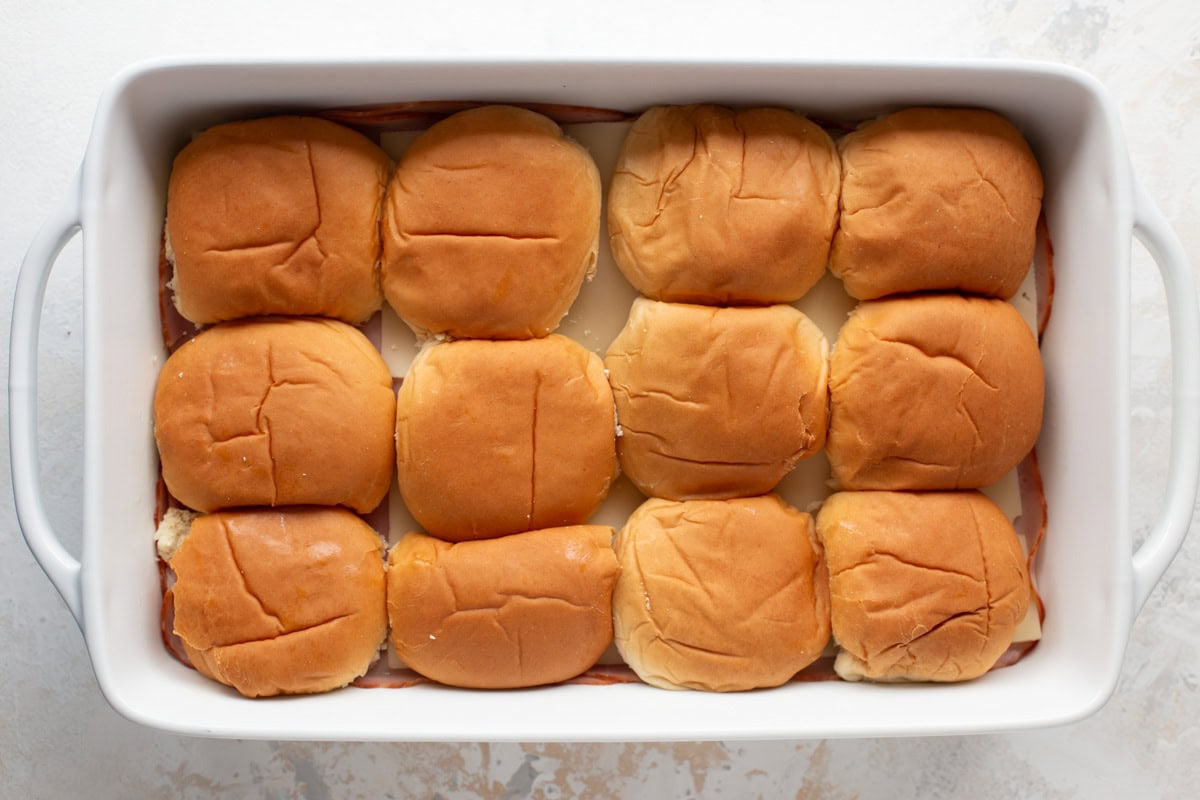
LAYER. Place half of the cheese over the top, layer with ham slices, then the remaining cheese.
SAUCE. In a small microwave-safe bowl, add ½ cup melted butter and heat until melted. Whisk in 2 tablespoons brown sugar, 1 tablespoon dijon, 1 tablespoon poppy seeds, onion powder, 2 teaspoons Worcestershire, ¼ teaspoon salt, and a pinch black pepper.
- Brush over the tops of the rolls. Pour the excess in between and in all of the nooks and crannies.
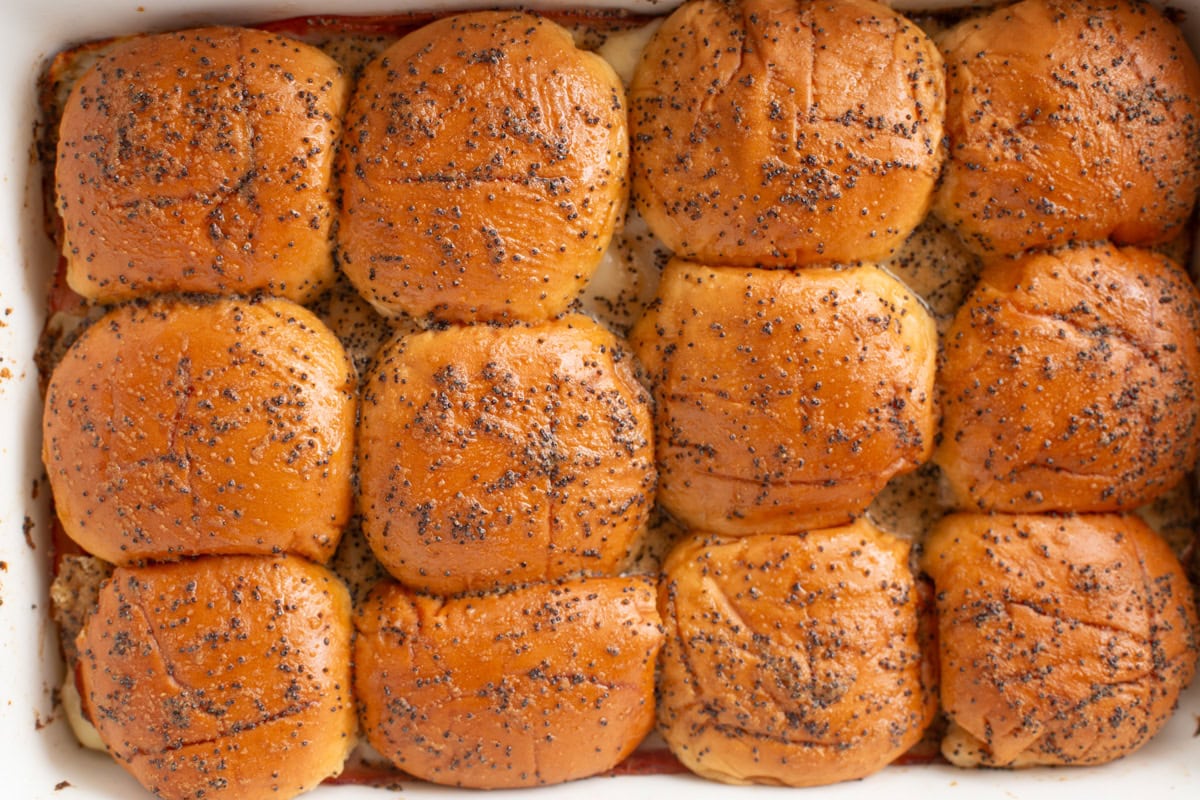
BAKE. Cover with aluminum foil and let sit while the oven preheats. Bake at 350°F for 20 minutes. Remove the foil and continue baking for an additional 10 minutes.
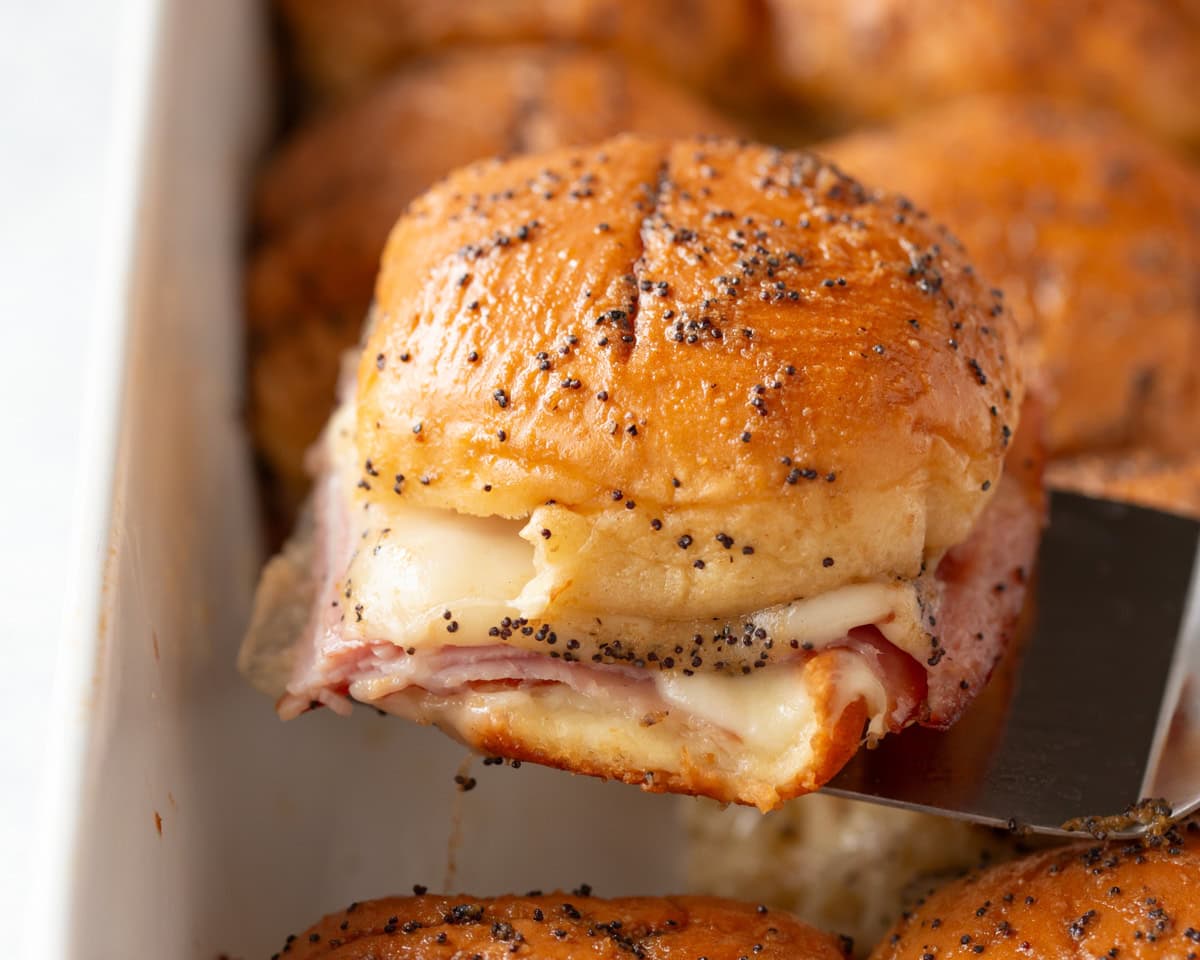
SERVE! Remove and serve immediately when they’re warm and melty.

Kristyn’s Recipe Tips
- Slice the whole sheet of rolls at once with a large serrated knife to keep assembly quick and easy.
- Fit the bottom buns snugly in the pan so the sliders hold together while baking.
- Layer cheese on the bottom and top of the ham for extra melty sliders.
- Let the brushed sliders sit while the oven preheats so the glaze can soak in a bit.
- Make-ahead tip: assemble the sliders a few hours ahead, cover, refrigerate, then bake when ready to serve.


Ham and Cheese Slider Recipe
Equipment
Video
Ingredients
- 12 sweet slider buns
- ¾ pound sliced deli ham, honey or leftover Easter ham works well
- ¾ pound swiss cheese
Glaze
- 1 stick unsalted butter
- 2 tablespoons brown sugar
- 1 tablespoon dijon mustard
- 1 tablespoon poppy seeds
- 1 teaspoon onion powder
- 2 teaspoons Worcestershire sauce
- ¼ teaspoon salt
- pinch black pepper
Instructions
- Lightly spray a 9×13 inch dish with baking spray. Cut the sweet rolls in half. Don't attempt to do this individually, use your biggest serrated knife and slice the entire sheet. Place the bottom layer snuggly into the bottom of the dish.
- Place half of the cheese over the top, layer with ham, then the remaining cheese.
- In a small microwave-safe bowl, add the butter and heat until melted. Stir in brown sugar, dijon, poppy seeds, onion powder, worcestershire, salt, and black pepper.
- Brush over the tops of the rolls. Pour the excess in between and in all of the nooks and crannies.
- Cover with aluminum foil and let sit while the oven preheats. Bake at 350°F for 20 minutes. Remove the foil and continue baking for an additional 10 minutes. Remove and serve immediately.
Notes
- Fridge: Wrap the pan with plastic and store for 2-3 days. Place the glaze in an airtight container in the fridge.
- Freezer: Place the glaze in a freezer ziplock and place on top of the prepared sliders. Wrap the pan with plastic then again with aluminum foil. Freeze for up to 3 months. Thaw for about 30 minutes before cooking.
- To bake. Remove the plastic wrap. Reheat the glaze and pour the butter sauce over the sliders. Cover with foil and bake according to the directions.
Nutrition
Nutrition information is automatically calculated, so should only be used as an approximation.
Recipe FAQ
Assemble the sliders, but save the butter topping until you are ready to bake. Depending on how far in advance you’re making them, you can store the following ways:
Fridge. Wrap the pan with plastic and store for 2-3 days. Place the glaze in an airtight container in the refrigerator.
Freezer. Place the glaze in a freezer Ziploc and place on top of the prepared sliders. Wrap the pan with plastic then again with aluminum foil. Freeze for up to 3 months. Thaw for about 30 minutes before cooking.
To bake. Remove the plastic wrap. Reheat the glaze and pour the butter sauce over the sliders. Cover with foil and bake according to the directions.
Store fully baked sliders together in a large pan (allow to cool and cover the pan with plastic wrap and again with foil), or individually (wrap each slider in plastic and place them together in a freezer ziploc). Store the sliders in the fridge for 3-4 days or in the freezer for up to 3 months.
Complete The Meal
Side Dishes
Easy Coleslaw
10 mins
Pasta Salad with Italian Dressing
2 hrs 27 mins
Tomato Mozzarella Salad
8 mins

Best Potato Salad Recipe
55 mins
Similar dishes

Monte Cristo Sliders Recipe
40 mins
Chicken Parmesan Sliders
30 mins
Buffalo Chicken Sliders
35 mins

Puff Pastry Sausage Rolls
25 mins
Collections




This recipe was originally published April 2018.












One of my favorite go to appetizer, but lately its been my go to dinner. Its perfect for football nights, and why doesn’t like sliders!
These are sooooo good and very easy. It’s a family favorite and we always pair it with broccoli cheddar soup 🙂
These were delicious. Made them for a party and had several people ask me for the recipe!
Forgot to rate it!
Easy and everyone loves them!
Yummy!
Thank you for trying them!
Tried these today with leftover diced ham and they were perfect! Such a great meal on a rainy day.
Thank you for trying them! Glad you liked them! They are perfect for a rainy day!
Thanks for sharing that!! I know what you mean..we make them quite a bit!
Looks fantastic , thank you so much for awesome recipe.
You are so welcome! I hope you try them! They are our favorite!!
We make these on game days- they are delicious!
THIS QUICKLY BECAME A FAVORITE AT MY HOUSE! IT WAS SO DELICIOUS!