
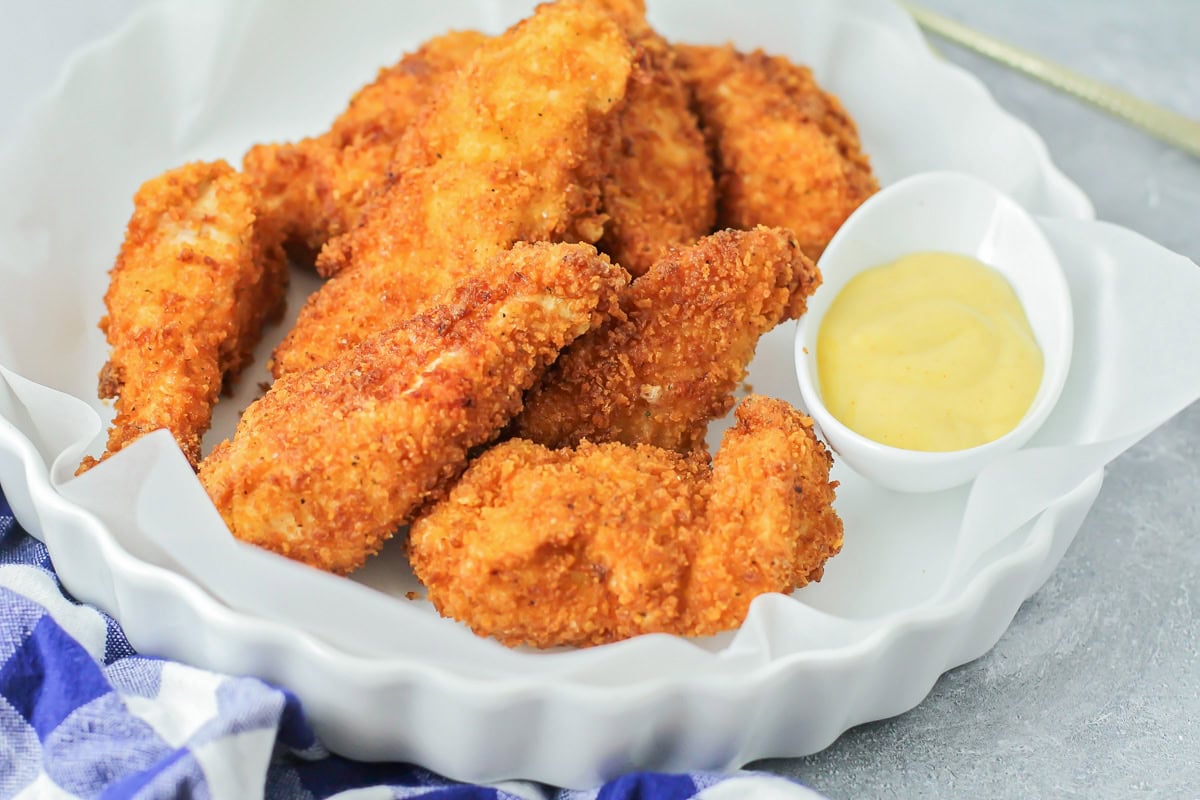
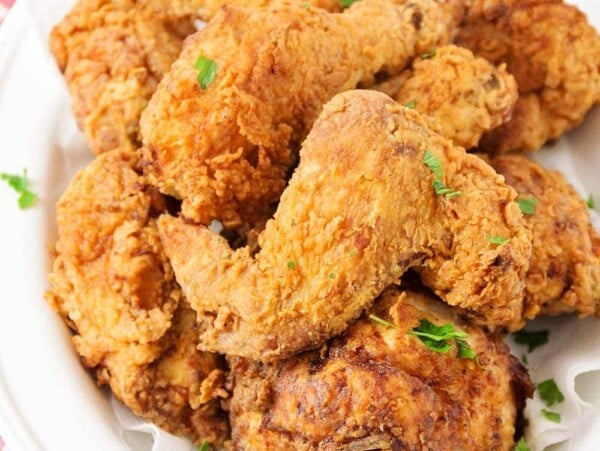
These crispy Fried Chicken Tenders are one of our go to dinners when we want something quick, comforting, and guaranteed to be a hit with the whole family. They are crispy and golden on the outside, juicy on the inside, and perfect for dipping in ranch, honey mustard, BBQ sauce, or whatever your family loves.
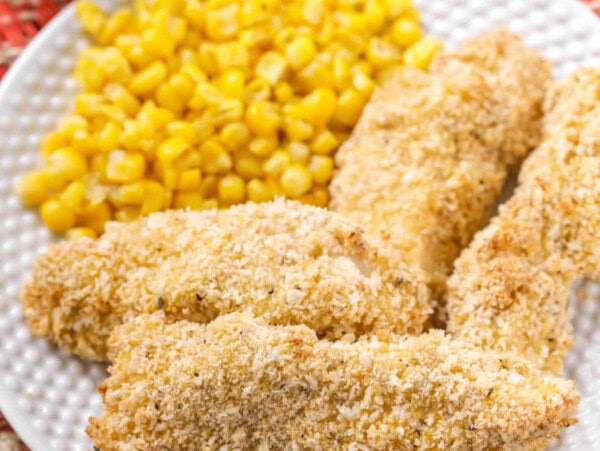
What makes this recipe so special is the simple three-step breading with panko and seasoned crumbs. It gives you that crunchy, restaurant-style coating without complicated ingredients, and the tenders cook quickly so you can get dinner on the table fast.
If you love this recipe, be sure to try Chicken Nuggets, Popcorn Chicken, and Baked Chicken Nuggets.
Why you’ll love it + Why it works:
- So crispy. Crispy on the outside and tender in the center. They are better than anything you’d order at a restaurant!
- On the table in 30 minutes! Perfect for busy nights (and when there is no plan), this easy dinner is ready in no time!
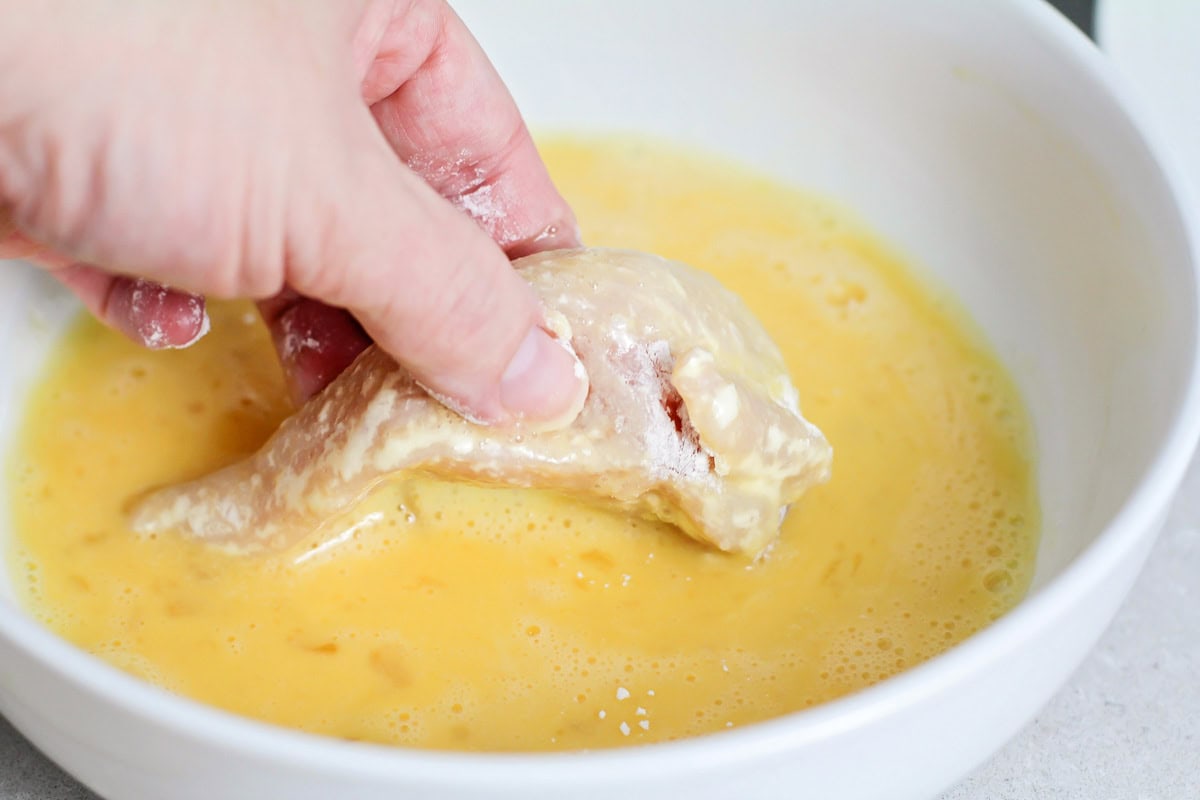
- Crispy coating that sticks. Flour, egg, then panko locks the breading on so it fries up crunchy.
- Juicy every time. Hot oil cooks the outside fast and keeps the chicken tender inside.
Fried Chicken Tenders Ingredients
- Vegetable oil: Used for frying and helps create that crispy golden exterior. Choose a neutral oil with a high smoke point.
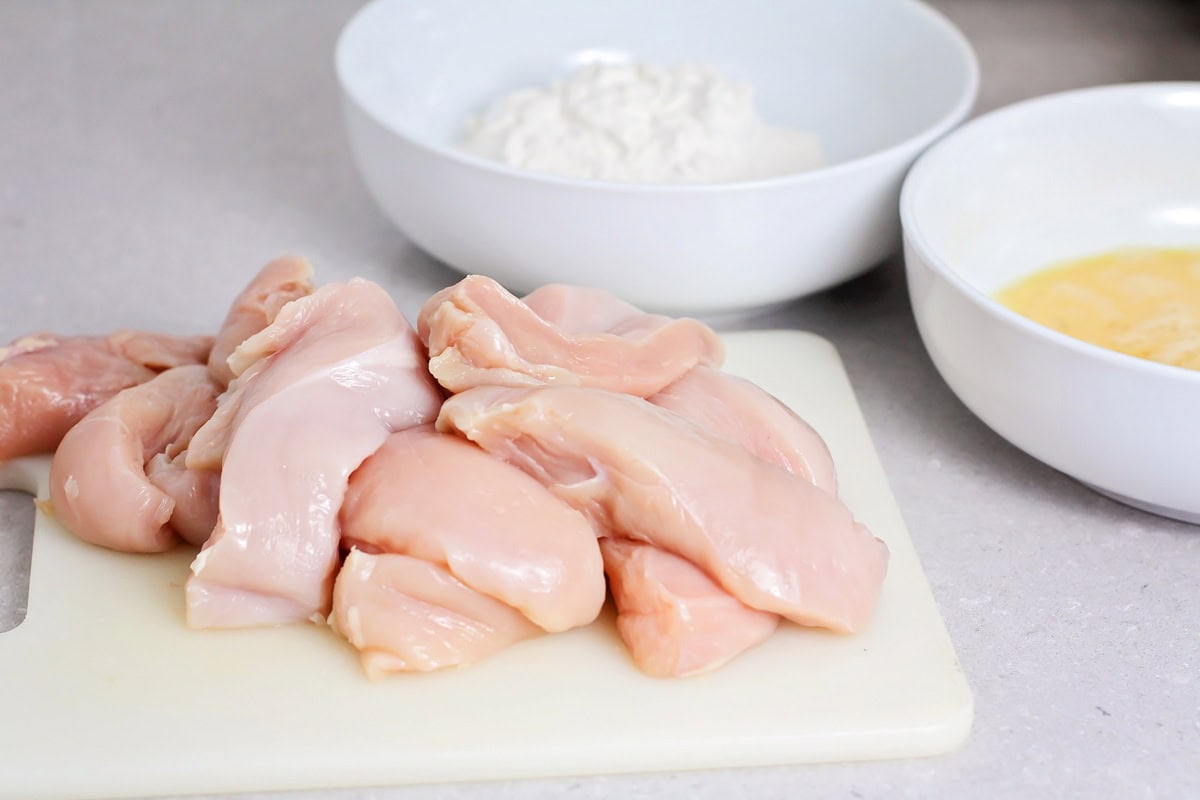
- Chicken breast boneless, skinless, cut into strips (2 pounds): Provides lean, tender meat that cooks quickly and evenly. Or use an equal amount of chicken tenderloins, just remove the tendons.
- Eggs (3): Helps the coating stick to the chicken for a crisp crust.
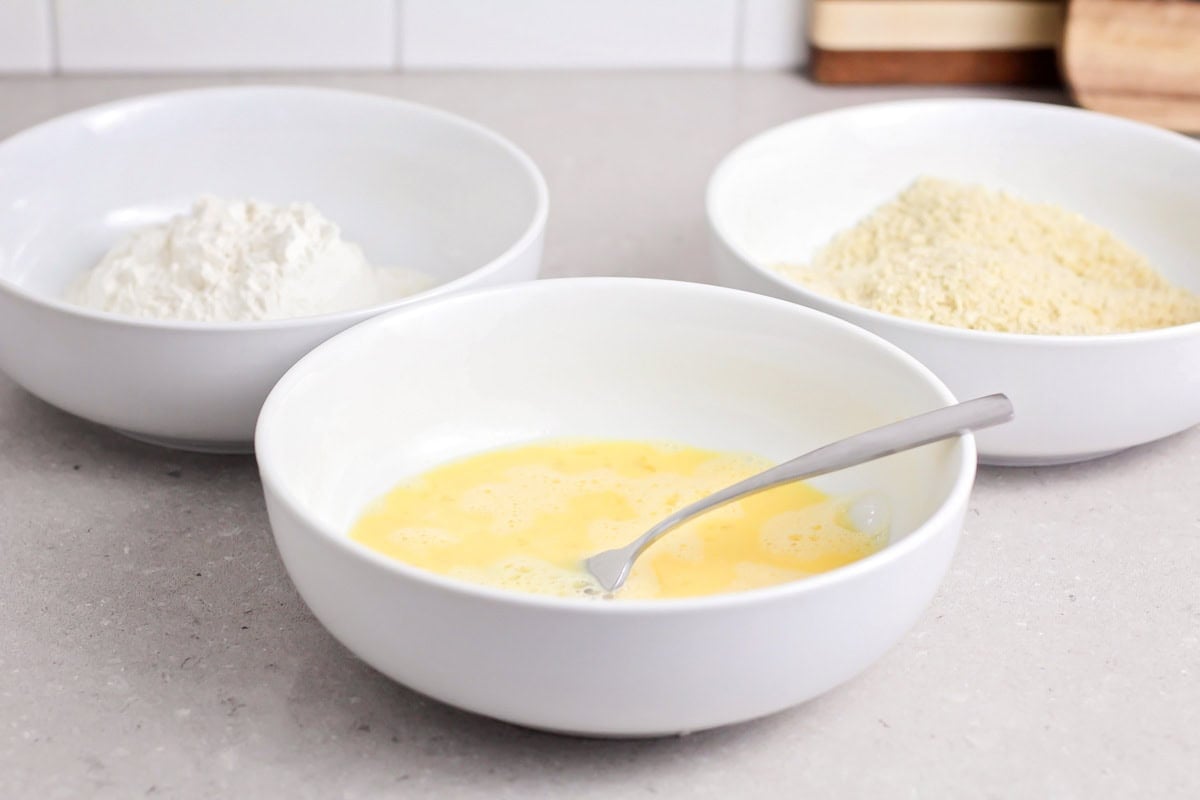
- All purpose flour (1 cup): Creates the first layer of coating and helps the breading adhere.
- Panko bread crumbs (2 cups): Adds extra crunch and texture for that classic crispy finish.
- Garlic salt with parsley flakes (1½ teaspoons): Adds savory flavor and seasoning throughout the coating. Or season with parmesan cheese, paprika, cayenne pepper, garlic powder, or black pepper.
- Lemon pepper (1 teaspoon): Brings a light, zesty flavor that balances the richness of the fried chicken.
- Favorite dipping sauce: Classic ketchup, Homemade Ranch Dressing, BBQ Sauce, Fry Sauce, or Honey Mustard Sauce.
How to Make Chicken Tenders
PREP. Heat oil on medium-high heat in a pan.
DREDGE. Add 3 beaten eggs to a bowl, 1 cup flour to another bowl, and 2 cups Panko mixed with 1 ½ teaspoons garlic salt, and 1 teaspoon lemon pepper in a third bowl.
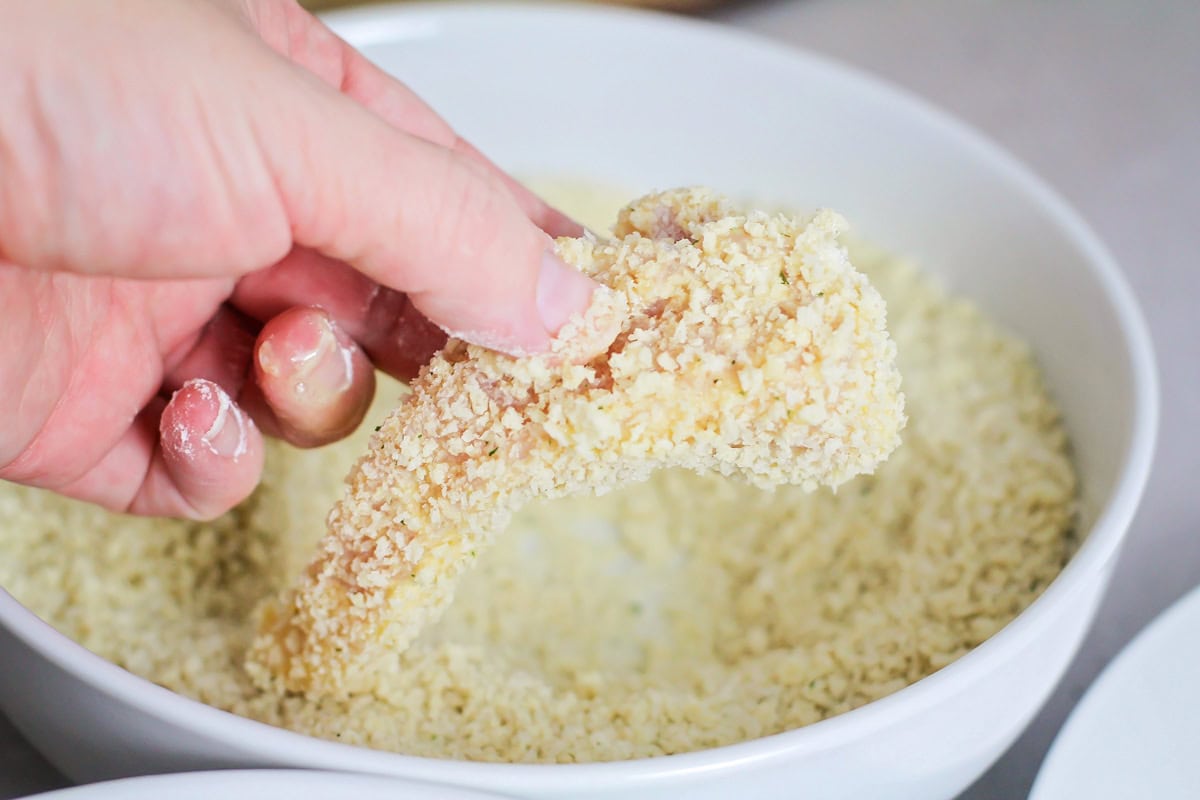
Dip chicken pieces into flour, then into the egg mix, and then into Panko making sure to coat the whole chicken piece.
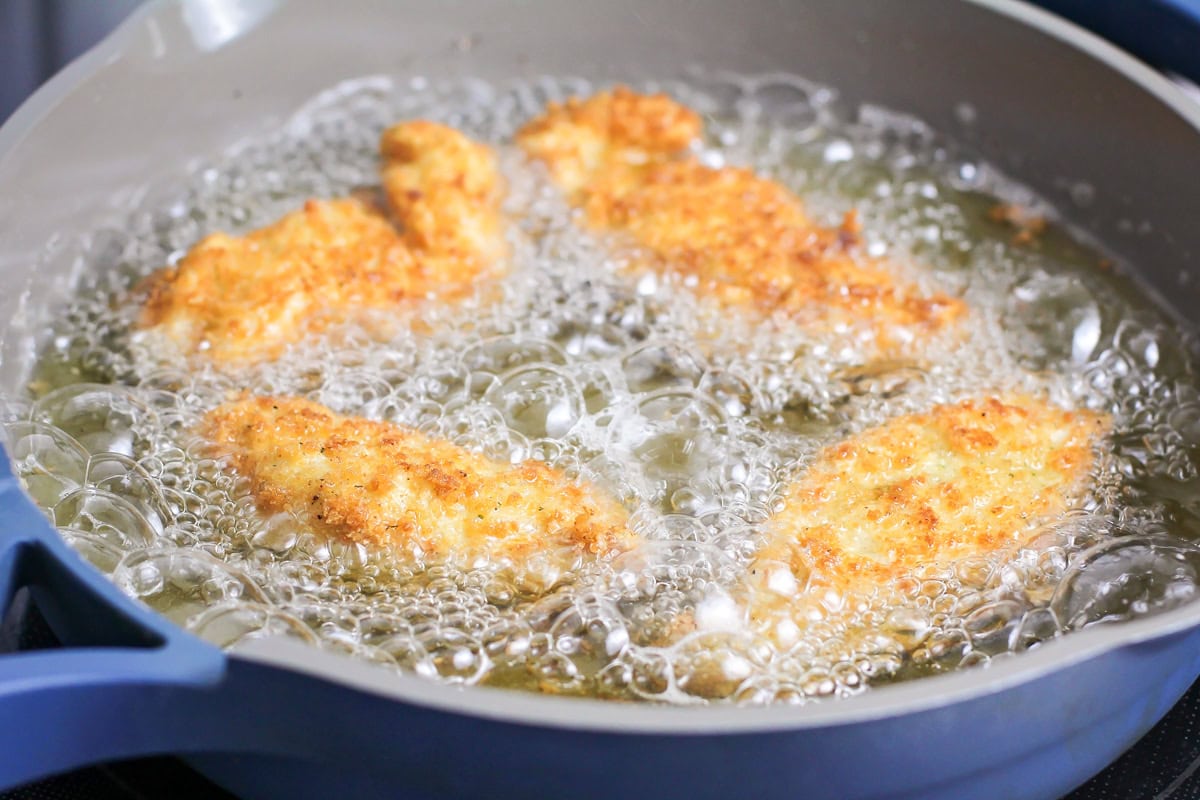
FRY. Fry chicken pieces in oil for 4 minutes on each side (or until golden brown). Place on a paper towel-lined plate to drain excess oil. Serve warm with dipping sauce.

Kristyn’s Recipe Tips
- Do not overcrowd the pan so the chicken cooks evenly and stays crispy.
- Use a thermometer to keep oil around 350°F for best frying results.
- Pat chicken dry before coating to help the breading stick better.
- Double dip in egg and Panko for an extra crunchy coating.
- These can be made ahead and kept warm in the oven at low heat until ready to serve.
- Air fryer directions. Prepare the chicken as directed in the recipe. Spray each side with olive oil spray and place in a single layer in the air fryer basket. Set the temperature to 400°F and air fry for 3-4 minutes. Flip and fry for another 4 minutes.

Fried Chicken Tenders Recipe
Video
Ingredients
- vegetable oil
- 2 pounds chicken breast, boneless, skinless, cut into strips
- 3 eggs
- 1 cup all-purpose flour
- 2 cup Panko Bread crumbs
- 1½ teaspoons garlic salt (with parsley flakes)
- 1 teaspoon lemon pepper
Instructions
- Heat oil on medium-high heat in a pan.
- Add beaten eggs to a bowl, flour to another bowl and Panko mixed with garlic salt, and lemon pepper in a third bowl.
- Dip chicken pieces into flour, then into the egg mix, and then into Panko making sure to coat the whole chicken piece.
- Fry chicken pieces in oil for 4 minutes on each side (or until golden brown). Place on a paper towel-lined plate to drain excess oil. Serve warm with dipping sauce.
Notes
- Do not overcrowd the pan so the chicken cooks evenly and stays crispy.
- Use a thermometer to keep oil around 350°F for best frying results.
- Pat chicken dry before coating to help the breading stick better.
- Double dip in egg and Panko for an extra crunchy coating.
- These can be made ahead and kept warm in the oven at low heat until ready to serve.
- Air fryer directions. Prepare the chicken as directed in the recipe. Spray each side with olive oil spray and place in a single layer in the air fryer basket. Set the temperature to 400°F and air fry for 3-4 minutes. Flip and fry for another 4 minutes.
Nutrition
Nutrition information is automatically calculated, so should only be used as an approximation.
Recipe FAQ
Prepare the chicken tenders recipe as directed. Place them on a plate in a single layer, cover, and refrigerate for a few hours.
Store leftover chicken tenders in an airtight container in the refrigerator for 3-4 days, or freeze for 3-4 months. Reheat in the microwave, air fryer, or warm oven.
More Like This
Sides
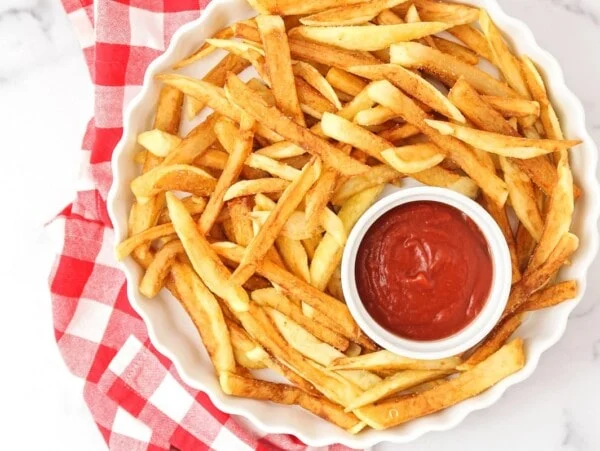
Homemade French Fries
2 hrs 35 mins

Fruit Kabobs
30 mins

Pasta Salad with Italian Dressing
2 hrs 27 mins
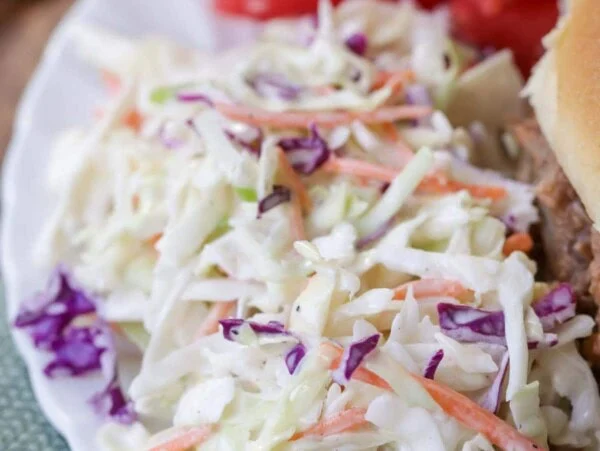
Easy Coleslaw
10 mins
Chicken Dinners


Collections


This recipe was first shared August, 2019.


Hello Kristyn,
I’m looking forward to make these. I have all the ingredients to make these. But my question, how much oil is needed ? They look deliouses girl… (smiling)
The little kids love chicken tenders. These tenders really take no time and come out nice and crispy.
Hands down the best chicken tenders I have ever had!
Yum! My kids loved this. We will be making it on the regular.
Chicken Tenders are the best! Thanks for a graet recipe!
These are a million times better than the frozen stuff you buy at the store! great recipe!
I love the brightness that the lemon pepper adds to these tenders. I make these all the time!
Great kid friendly recipe! So easy and so crispy!
These are delicious!! My entire family gobbled them down! Thanks!
My family could eat chicken tenders everyday! These were crispy & just perfect. I will make these again!