This post may contain affiliate links. Please read our disclosure policy.
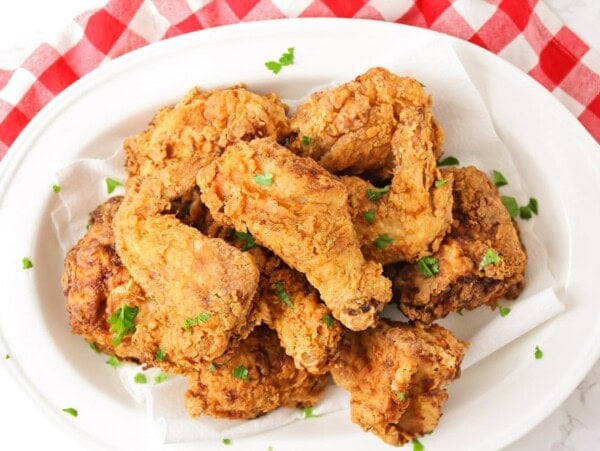
This homemade chicken strips recipe is a homestyle family favorite!! These strips fry up in about 20 minutes and are finger-licking good.

Made at Home!
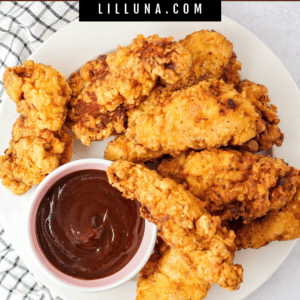
We LOVE to cook up these crispy chicken strips (aka chicken fingers)! If your kids are anything like ours, then this is their dish of choice at restaurants.
However, these taste WAY better than anything you’d order from a restaurant! They are so crispy on the outside and perfectly tender on the inside.
Plus, they use simple ingredients (and you can control the flavor) and are on the table in about 40 minutes! Did I mention they’re also cheaper than anything you’d order?? Now that’s a winner winner chicken dinner! 😉
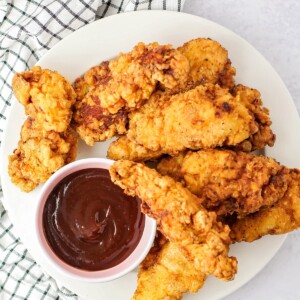
Our kids love that they can pair these chicken strips with their favorite dips. Try our classic Ranch Dressing, delicious Chick Fil A Sauce, famous Cane’s Sauce Recipe, or simple ketchup, the choice is yours!
Why we think you’ll love it:
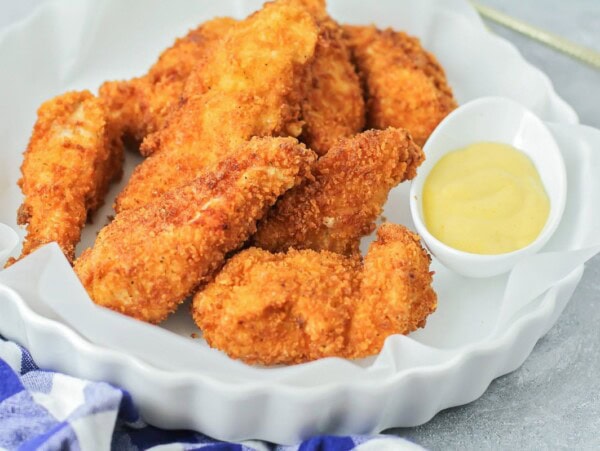
- Perfectly crispy. The breading is flavorful and spot on. It’s so crisp on the outside and tender on the inside!
- Better at home. You are in control of the quality and flavor, plus it’s cheaper (and tastier) to make this easy dinner in your own kitchen.
- Kid-approved. This is a go-to dinner of choice for most kids, but let’s be honest, adults love this chicken strips recipe too!

Chicken Strips Ingredients
- vegetable oil – or another oil with a high smoking point such as canola oil, peanut oil, corn oil, or a high-temp olive oil. Fill a heavy-bottomed skillet with 1-2 inches of oil. Heat the oil to about 350°F.
- 2 pounds chicken breast – For easy cutting, partially freeze for 30-60 minutes to firm the meat up enough to make slicing a breeze. Bring to room temperature and do not pat dry.
- 1½ cups buttermilk – Soaking tenderizes the chicken and helps the flour coating stick. Make Your Own Buttermilk using milk and lemon juice.
- 2 cups all-purpose flour
- 2 teaspoons garlic salt (with parsley flakes) – or Italian seasoning
- dash black pepper
- ¼ teaspoon baking powder
- 3 eggs
- dipping sauce (optional) – Fry Sauce, BBQ Sauce, Homemade Ranch Dressing, Chipotle Ranch, or Honey Mustard Sauce
- add spice – Mix ½ cup of hot sauce with the buttermilk. Add some paprika, onion powder, and cayenne pepper to the flour. Start with 1-2 teaspoons.


How to Make Chicken strips
- PREP. Add 2 pounds of chicken strips to a bowl of 1½ cups buttermilk. Let sit in buttermilk for about 20 minutes.
- Heat oil on medium-high heat in a pan (about 350°F).
- COAT. While oil is heating, mix 2 cups flour, 2 teaspoons garlic salt, a dash of pepper, and ¼ teaspoon baking powder in another bowl. Add 3 beaten eggs to a third bowl.
- Take chicken strips out of the buttermilk bowl and then place into the flour mixture, then into the egg mix, and then back into the flour mix.
- FRY. Fry chicken pieces in oil for 7-9 minutes on each side (or until golden brown). The internal temperature of the chicken should be 165°F.
- Place on a paper towel-lined plate to drain excess oil.
- SERVE. Serve chicken strips warm with dipping sauce.
Checking Oil Temperature
The best way is to use a food thermometer.
If you don’t have one, use the end of a wooden spoon. Stick the tip into the oil. The oil should immediately begin to bubble around the spoon. If it doesn’t bubble or the bubbles are slow, then the oil isn’t hot enough. If the bubbles are very vigorous and splatter, then the oil is too hot.

Complete The Meal
Sides
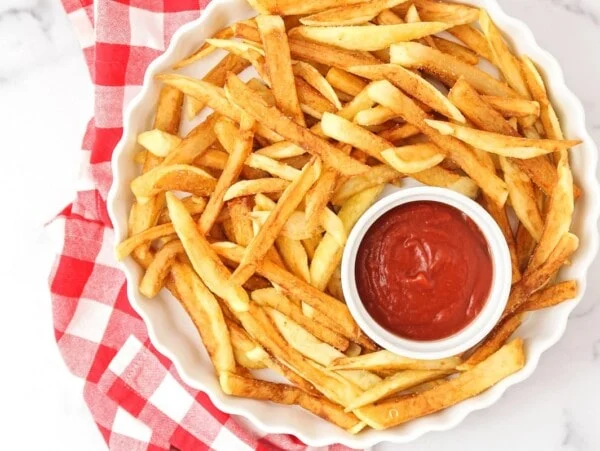
Homemade French Fries
2 hrs 35 mins
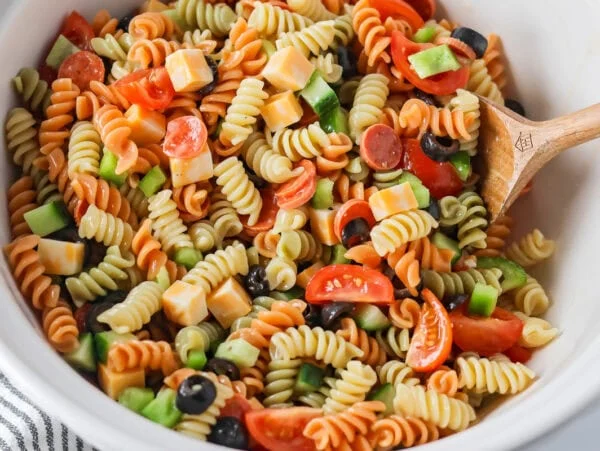
Pasta Salad with Italian Dressing
2 hrs 27 mins
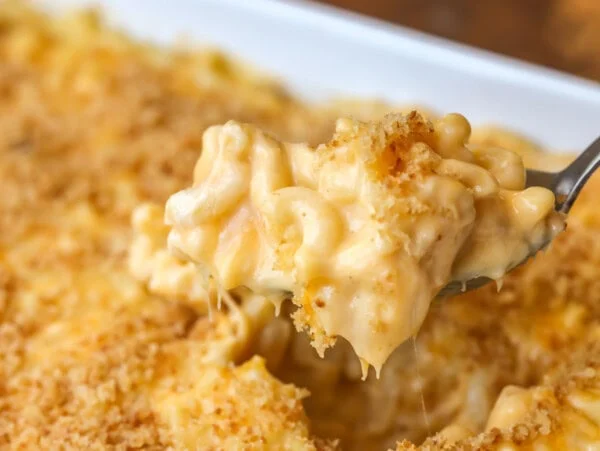
Best Homemade Mac and Cheese
40 mins
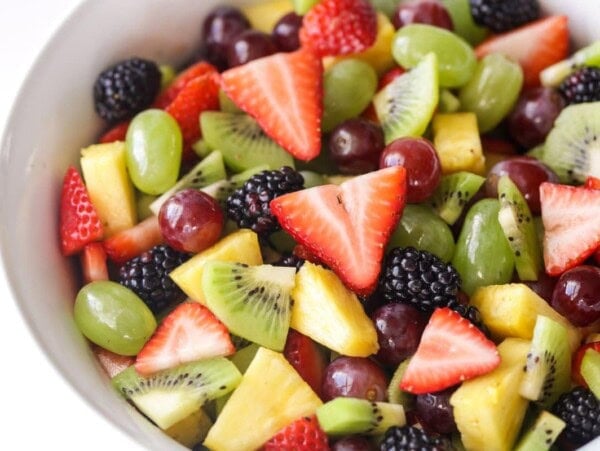
Easy Fruit Salad Recipe
1 hr 20 mins
Chicken Recipes

Copycat Chick Fil A Nuggets
25 mins
Buttermilk Fried Chicken
40 mins
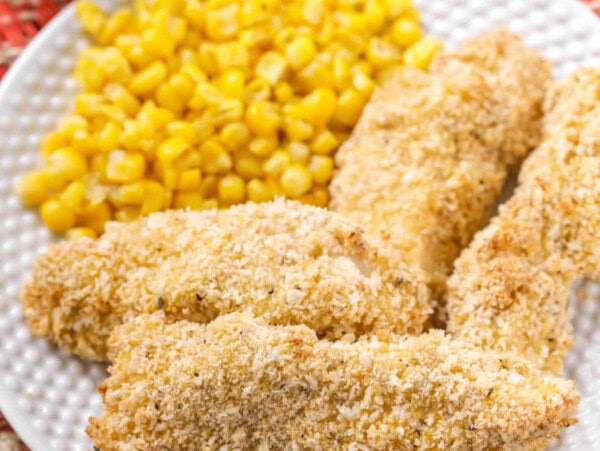
Baked Chicken Fingers
35 mins
Fried Chicken Tenders
30 mins
Collections


Chicken Strips Recipe
Equipment
Video
Ingredients
- vegetable oil
- 2 pounds chicken breast, cut into strips
- 1½ cups buttermilk
- 2 cups all-purpose flour
- 2 teaspoons garlic salt (with parsley flakes)
- dash pepper
- ¼ teaspoon baking powder
- 3 eggs
Instructions
- Add chicken strips to a bowl of buttermilk. Let sit in buttermilk for about 20 minutes.
- Heat oil on medium-high heat in a pan (about 350°F).
- While oil is heating, mix flour, garlic salt, a dash of pepper, and baking powder in another bowl.
- Add beaten eggs to a third bowl.
- Take chicken strips out of the buttermilk bowl and then place into the flour mixture, then into the egg mix, and then back into the flour mix.
- Fry chicken pieces in oil for 7-9 minutes on each side (or until golden brown). The internal temperature of the chicken should be 165°F.
- Place on a paper towel-lined plate to drain excess oil.
- Serve warm with dipping sauce.
Notes
- Fridge. Coat the chicken, place the on a plate, cover it with plastic, and store it in the fridge for up to 1 day.
- Freezer. Place the coated chicken on a baking sheet and into the freezer. Once the strips are solid, transfer them to a freezer Ziploc and store them in the freezer for up to 3 months. Allow them to thaw before you fry them in oil.
Nutrition
Nutrition information is automatically calculated, so should only be used as an approximation.
Recipe FAQ
Fridge. Coat the chicken, place the on a plate, cover it with plastic, and store it in the fridge for up to 1 day.
Freezer. Place the coated chicken on a baking sheet and into the freezer. Once the strips are solid, transfer them to a freezer Ziploc and store them in the freezer for up to 3 months. Allow them to thaw before you fry them in oil.
Keep leftovers for 3-4 days in an airtight container in the fridge or frozen for up to 4 months. To reheat, heat in the microwave, toaster oven, or regular oven. Bake them at 425°F for 12-15 minutes or until warm and crisp. They are also great to slice and use in salads or wraps.


Definitely needed more seasoning and the frying time is way too long.
Thanks for the feedback and for giving the recipe a try.
Tasteless! Watch temp of oil. 7-9 minutes each side was way too long. Tenders did not have any taste to them.
Chicken is fine but there’s no flavor there. It’s so so bland, not even well-salted… If you could, please edit the recipe to include more seasonings or even to direct us to put our own seasonings in.
Thanks for the feedback and for giving the recipe a try!
Have you ever made these using an air fryer? I’m kind of new to mine but I would love to try making these in it. 🙂
Yes you can definitely use an air fryer! So if you scroll down in the post, we have included instructions for doing it in the air fryer. It’s underneath a picture of the chicken fingers being fried.
Ive been making chicken fingers “wrong” all this time. I thought soaking them in the buttermilk really makes a difference and I’ll never go back to my old ways.
Looks delicious very interesting
These are my family’s all-time favorite chicken fingers!! We make them regularly! They are crispy & delicious!
The grandkids love chicken tenders. Great recipe to make them all happy!