This post may contain affiliate links. Please read our disclosure policy.
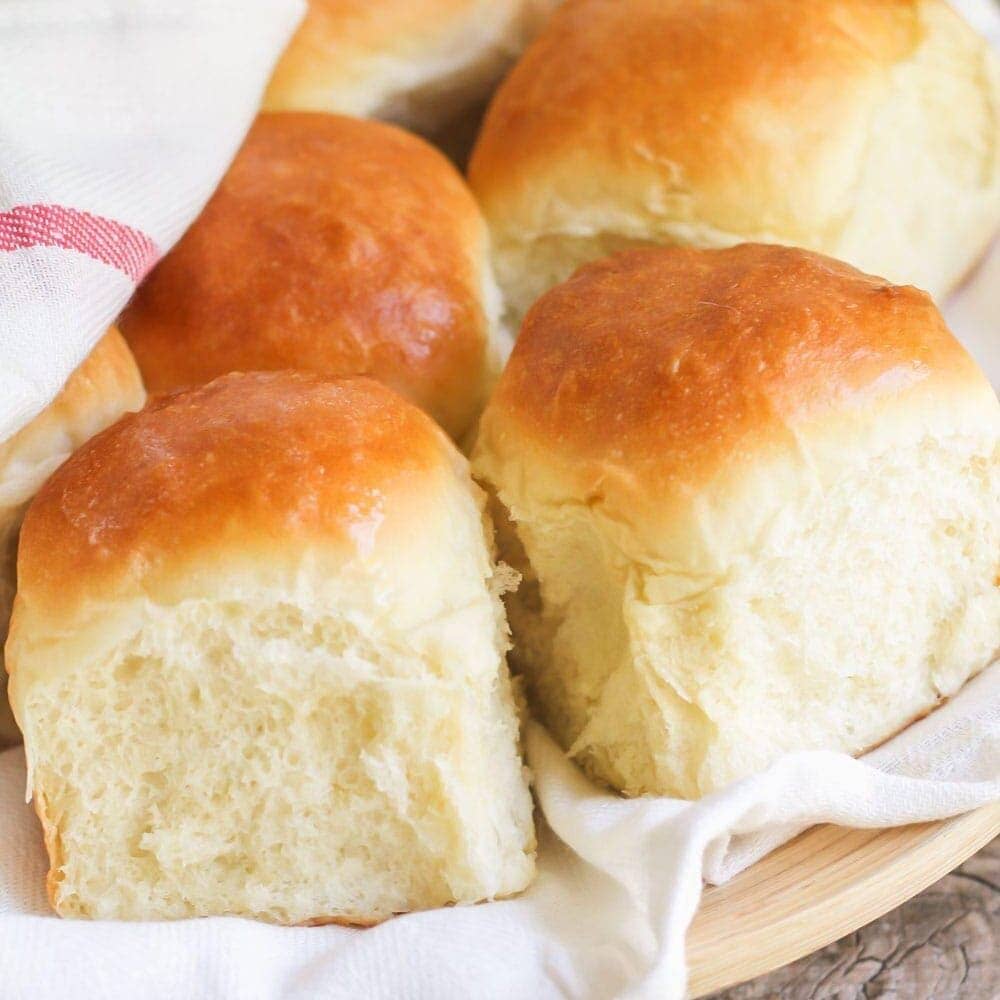
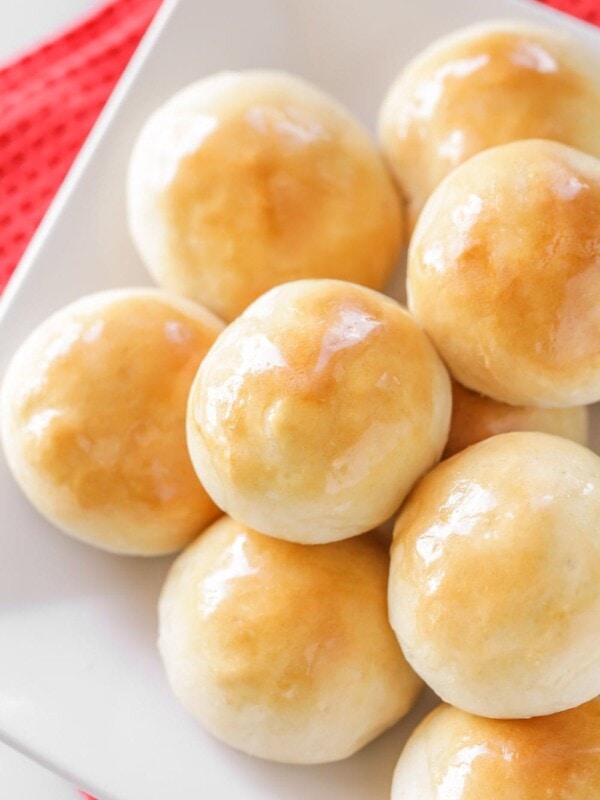
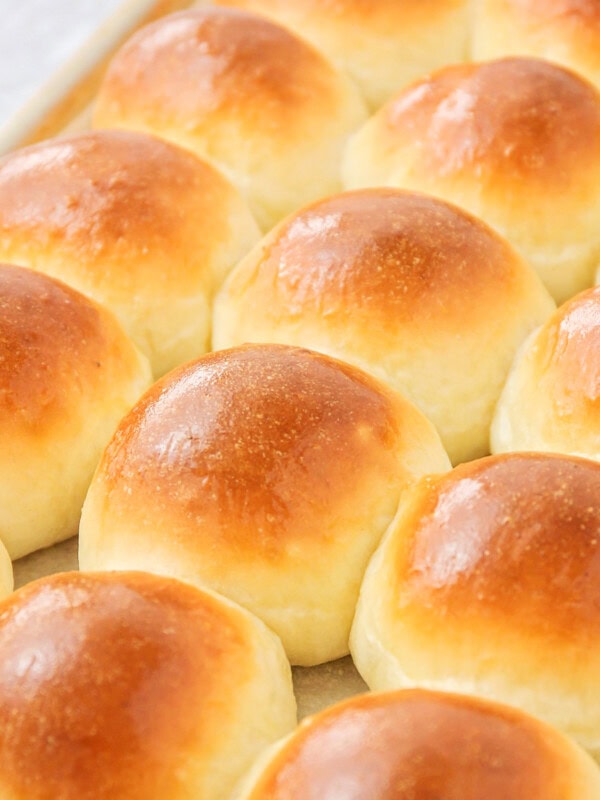
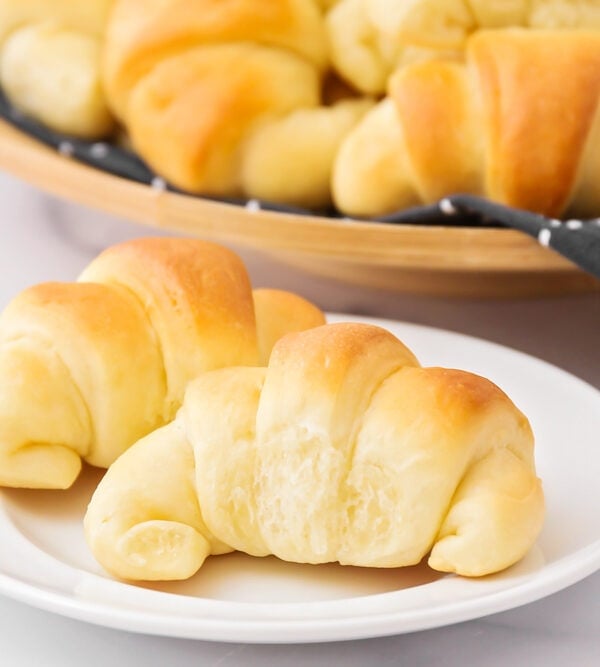
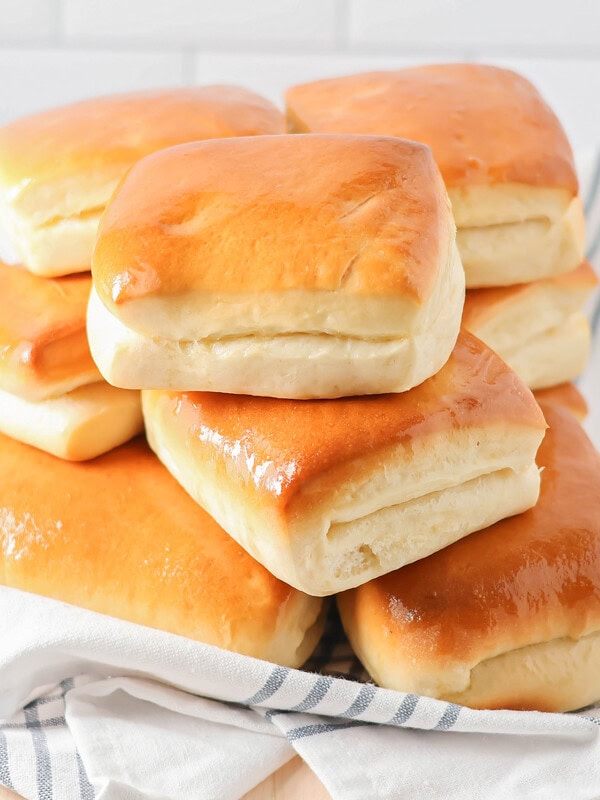
Our classic yeast dinner rolls delivers pillowy soft, fluffy rolls that are easy to make, and perfect for any meal.
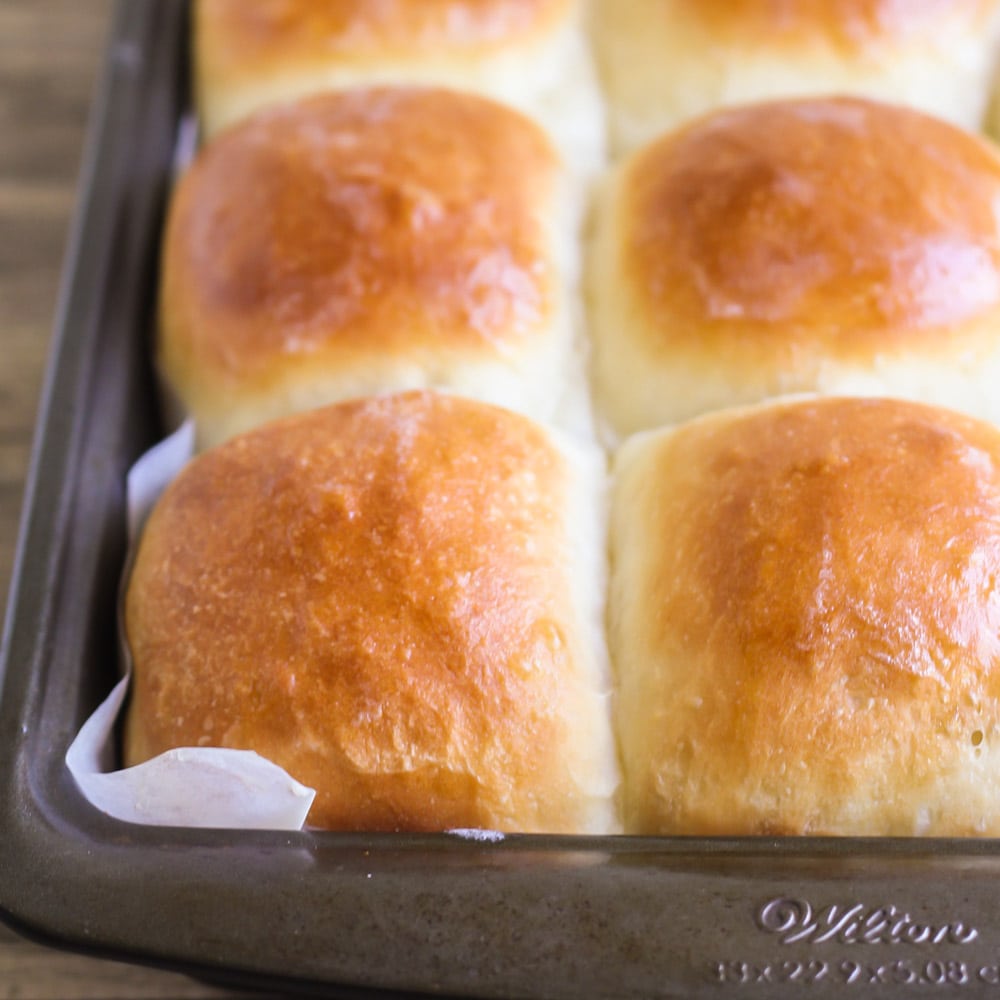
Fluffy, homemade Dinner Rolls!
There’s nothing quite like the aroma of freshly baked bread filling your home, so we love the smell when we make our classic yeast dinner rolls!
These rolls are soft and pillowy and incredibly versatile, serving as the perfect side dish for any meal. Imagine the warm, buttery goodness of these rolls alongside a hearty soup, a juicy Steak and Potatoes dinner, or a simple bowl of our classic Chili Recipe. Pure heaven!
The secret to their irresistible texture lies in the careful kneading and rising process. The result is a tender and flavorful roll that melts in your mouth. Serve them warm with Honey Butter, or get creative with your favorite spreads.
WHY WE LOVE IT:
- Light and fluffy. Simple ingredients create these deliciously tender rolls and allow you to control the quality of the ingredients!
- Make-ahead. Yeast dinner rolls can be prepared in advance, allowing for stress-free meal planning.
- Endless options. Serve dinner rolls and biscuits as a side to your favorite dishes, as the base for a sandwich, or slather on some jam and butter and eat them for a snack.
Ingredients
- PREP TIME: 2 hours
- BAKE TIME: 12 minutes
- 3 cups warm water – water temperature should be around 105-110°F
- 1 tablespoon salt
- 1 tablespoon granulated sugar
- 3 (0.25- ounce) packets active dry yeast – or 6¾ teaspoons (make sure the yeast is fresh and not old)
- ½ cup milk
- 2 whole eggs
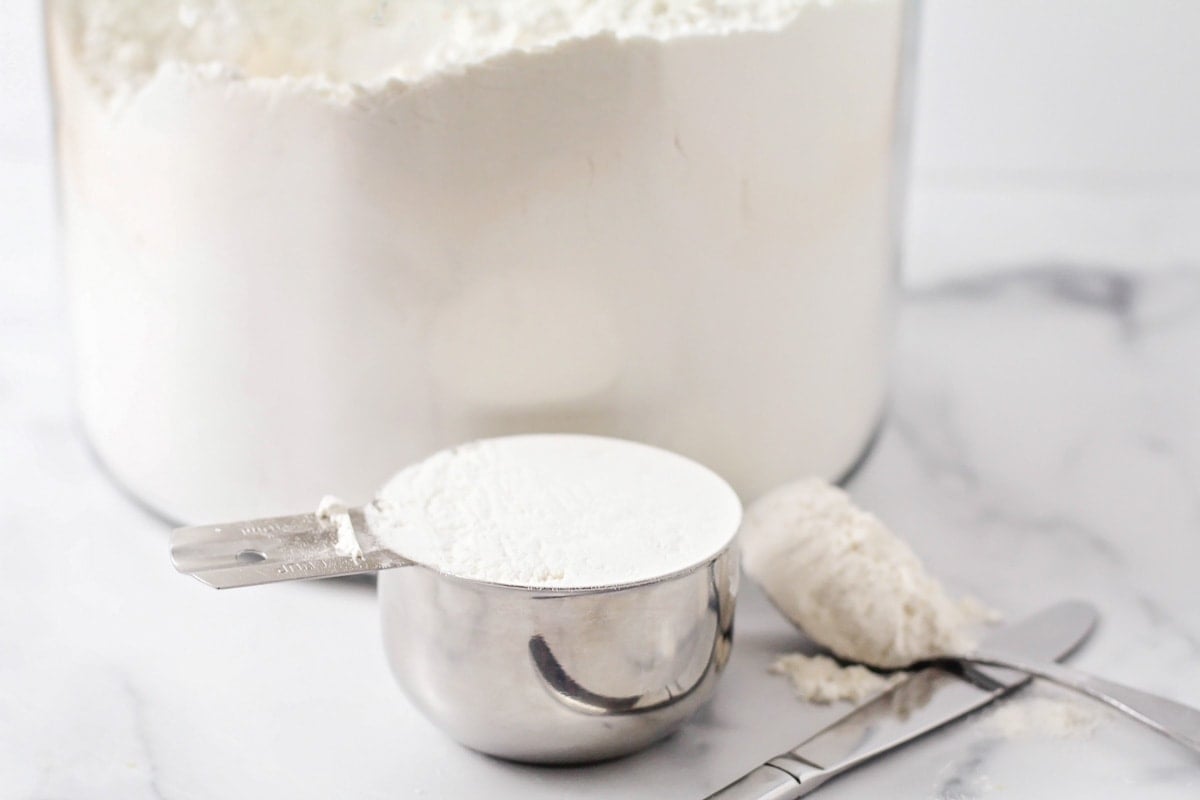
- 9-10 cups all-purpose flour – How to Measure Flour
- ⅔ cup granulated sugar
- ¼ cup shortening
- ¼ cup unsalted butter – melted
How to Make Yeast Dinner Rolls
- YEAST MIXTURE. In a large bowl, mix 3 cups warm water and 1 tablespoon sugar. Sprinkle 3 packets of yeast over the top and let set for 10 minutes until yeast is foamy.
- DOUGH. Mix ½ cup milk, 2 eggs, and 1 tablespoon salt into the yeast mixture using a whisk.
- In a separate bowl mix 9-10 cups flour and ⅔ cup sugar. Crumble ¼ cup shortening in and mix until it is barely noticeable.
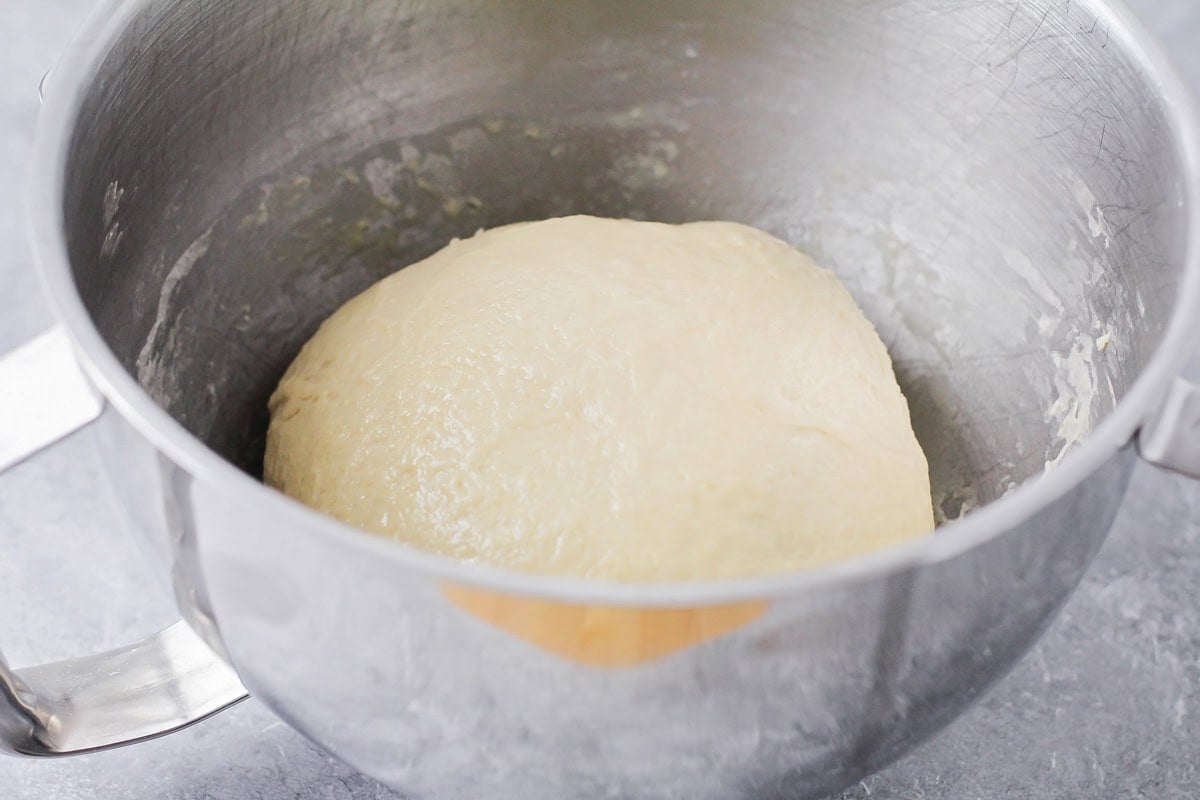
- Add the flour mixture to the yeast mixture with a wooden spoon. Using your spoon, mix until the dough pulls away from the sides of the bowl and the ball forms around the spoon. Towards the end, we like to use our hands and mix by hand until dough is soft and just a little sticky.
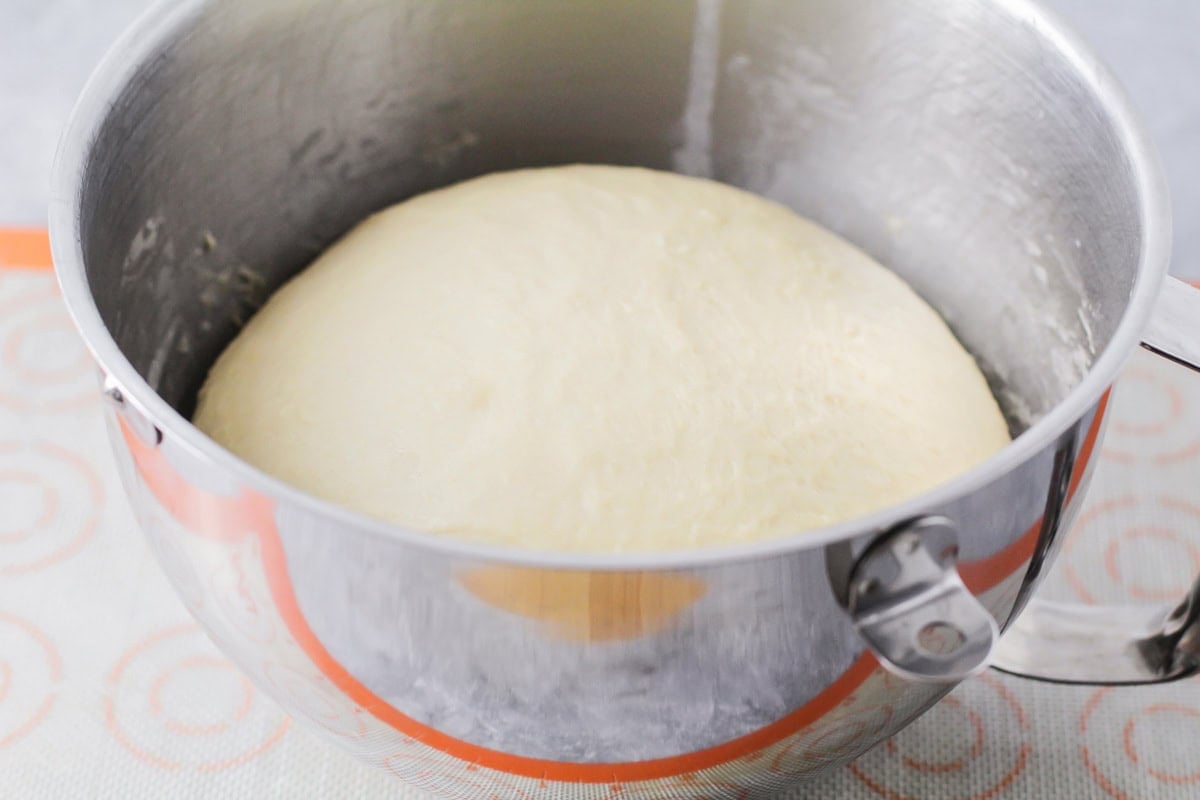
- RISE. Cover bowl with a tea towel and let rise in a warm spot. Cover until dough is doubled in size (about an hour).
- When dough has risen, pour ¼ cup melted butter over it and knead with hands for 2 minutes. You’ll know when it’s the right consistency by pressing your thumb into the dough and the indentation bounces back. Let the dough rest for a few minutes.
- SHAPE. Roll dough out onto a lightly floured surface to a 1-inch thickness. Using a pizza cutter, cut into 2-inch squares.
- Roll squares into balls, smoothing out on top and tucking seams under, and place into TWO greased 11×15 pans about 1 inch apart from each other (we did 5 rows of 4). Cover with a tea towel and let rise again until dough has doubled in size (45 minutes to an hour).
- BAKE. Preheat the oven to 375°F and bake for about 12-15 minutes the tops should be golden brown. Butter the tops when they come out.
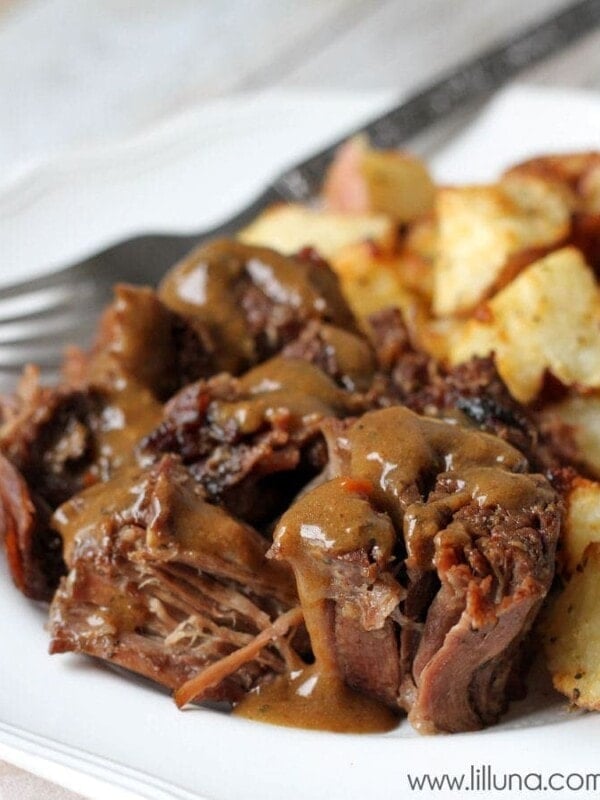
- SERVE warm alongside Crock Pot Pot Roast or slathered with Honey Butter. Enjoy!
PRO TIP: MAke Ahead of Time
Refrigerate the dough if not making them right away. Let rise overnight for the next day.
Complete the Meal
Main Dishes
Crock Pot Pot Roast
7 hrs 5 mins
Roast Turkey
3 hrs 20 mins
Broccoli Cheddar Potato Soup
45 mins
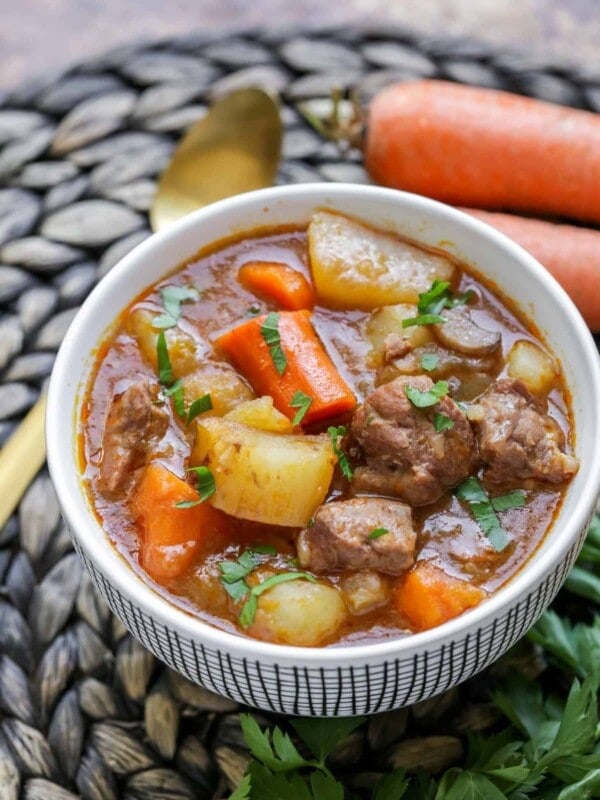
Slow Cooker Beef Stew Recipe
6 hrs 10 mins
Desserts
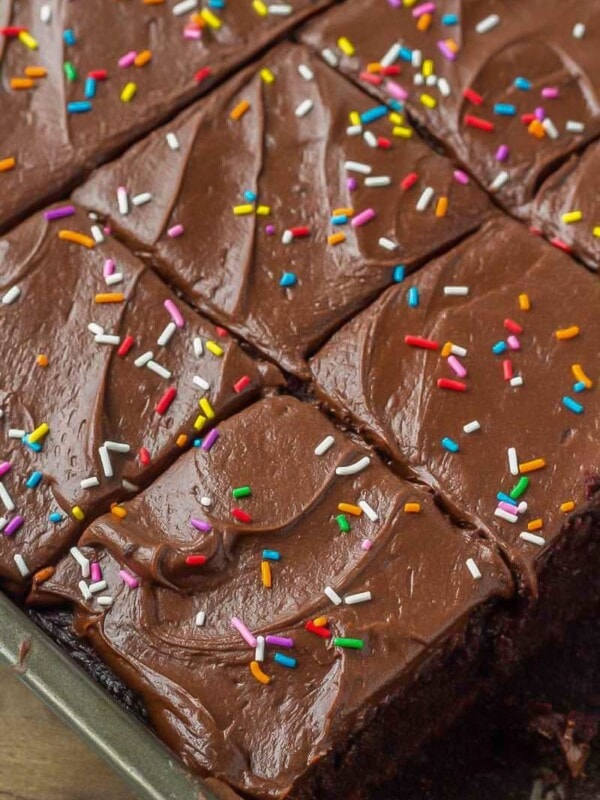
Moist Sour Cream Chocolate Cake
1 hr 5 mins
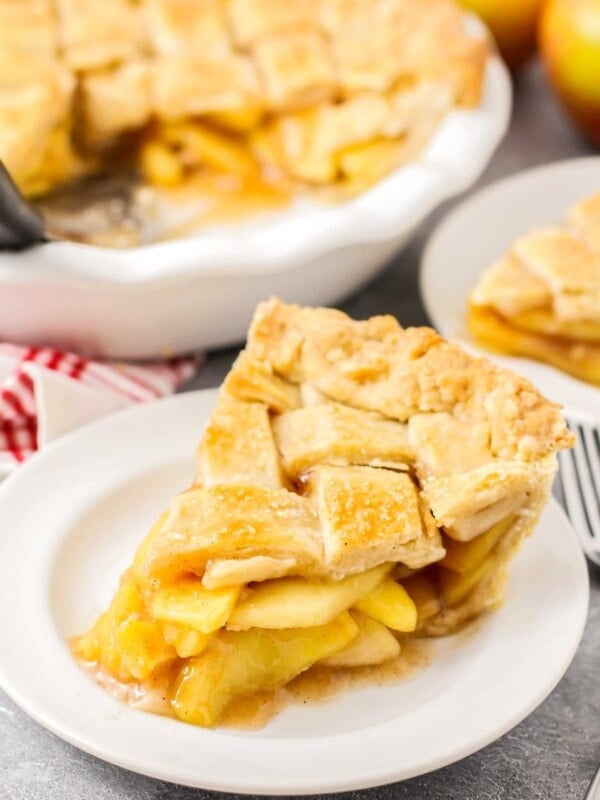
Apple Pie Recipe
3 hrs 45 mins
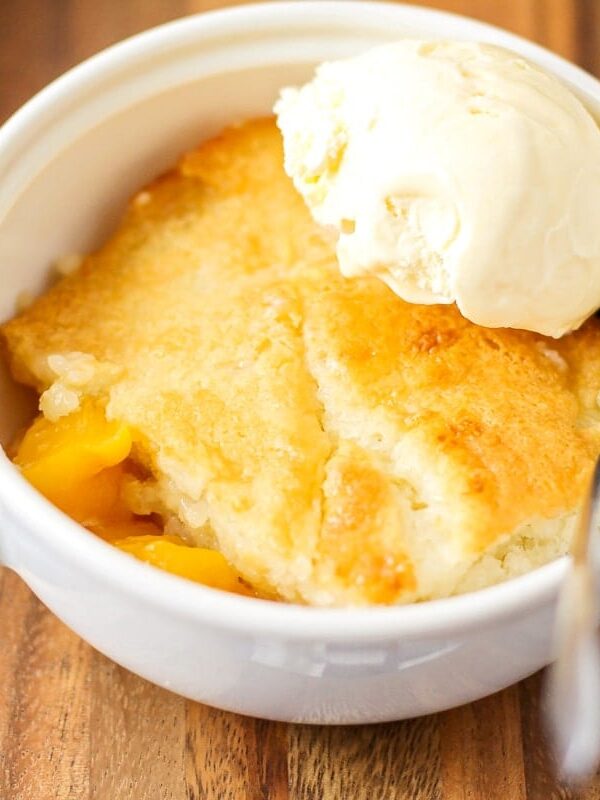
Easy Peach Cobbler
45 mins
Jello Cheesecake
6 hrs 30 mins
More Roll Recipes
Easy Yeast Rolls
50 mins
Potato Rolls
2 hrs 30 mins
Crescent Rolls
2 hrs 32 mins
Copycat Texas Roadhouse Rolls
2 hrs 35 mins
More Collections
Yeast Dinner Rolls
Ingredients
- 3 cups warm water
- 1 tablespoon salt
- 1 tablespoon sugar
- 3 (0.25- ounce) packets active dry yeast
- ½ cup milk
- 2 eggs
- 9-10 cups all-purpose flour, We use about 9½
- ⅔ cup sugar
- ¼ cup shortening
- ¼ cup butter, melted
Instructions
- In a large bowl, mix water and sugar. Sprinkle yeast over the top and let set for 10 minutes until yeast is foamy.
- Mix milk, eggs, and salt into yeast mixture using a whisk.
- In a separate bowl mix flour and sugar. Crumble shortening in and mix until it is barely noticeable.
- Mix flour mixture into yeast mixture with a wooden spoon. Using your spoon, mix until dough pulls away from the sides of the bowl and ball forms around the spoon. Towards the end, we like to use our hands and mix by hand until dough is soft and just a little sticky.
- Cover bowl with a tea towel and let rise in a warm spot. Cover until dough is doubled in size (about an hour).
- When dough has risen pour butter over it and knead with hands for 2 minutes. You'll know when it's the right consistency by pressing your thumb into the dough and the indentation bounces back. Let dough rest for a few minutes.
- Roll dough out onto a floured surface to a 1-inch thickness. Using a pizza cutter, cut into 2-inch squares.
- Roll squares into balls, smoothing out on top and tucking seams under, and place into TWO greased 11×15 pans about 1 inch apart from each other (we did 5 rows of 4). Cover with a tea towel and let rise again until dough has doubled in size (45 minutes to an hour).
- Preheat the oven to 375°F and bake for about 12-15 minutes. Butter the tops when they come out.
- Serve warm alongside Crock Pot Pot Roast or slathered with Honey Butter. Enjoy!
Video
Notes
Nutrition
Nutrition information is automatically calculated, so should only be used as an approximation.
Recipe FAQ
Using a stand mixer will significantly reduce the time and effort required to knead the dough. The dough hook attachment will do all the hard work for you. Be careful not to overmix the dough.
The two rises work together to create the ideal texture and flavor for your yeast rolls. The first rise focuses on gluten development, flavor enhancement, and gas distribution, while the second rise focuses on final proofing for a perfect rise before baking.
Of course! For a golden brown, shiny crust with a slightly crisp texture, brush with egg wash before baking. For a softer crust with a richer flavor brush with melted butter after baking.
Create a warmer environment so the dough will rise faster. Be careful that it doesn’t rise too fast otherwise, it may not develop properly. It can also rise too high and then fall. If that happens, you will need to start over.
A few factors can create heavy and dense rolls such as dead or inactive yeast, not kneading well, inaccurate rising time, adding too much flour, and baking too long.
Prepare the dough as written in the recipe and shape it into dough balls, but do not let it rise a second time. Instead, place them on a baking tray, 2 inches apart, and put them in the freezer. Once solid, transfer them to a freezer-safe Ziploc bag.
To bake. Place the desired amount of frozen dough onto a baking tray and thaw in the fridge overnight. (This slow thawing allows the yeast activity to resume gently.) Once thawed, let the dough rise at room temperature until it doubles in size. This may take a few hours depending on the size and shape of the rolls. Bake according to the recipe.
Cool rolls completely. For rolls you plan to eat within a day or two, store at room temperature in a loosely covered container.
For longer storage, freezing is the best option. Wrap leftover rolls tightly in plastic wrap or place them in a freezer-safe container to prevent freezer burn. Frozen rolls will keep their quality for up to 2 months.



These rolls were so delicious! We made them in advance and froze them and they were so tasty on Thanksgiving day!♥️🦃
Wow they melt in Your mouth! Thanks fOr the freezing info. Now i wont have to go buy Frozen rolls at the grocery store.
Have you even made with whole wheat flour?? I may try today!
I have not, but that would be great!
I like your recipes. I would like to see more of them. I’ll try out the rolls right now
Thank you so much!! I hope you like the ones you try!
You can never go wrong with homemade rolls. Once you learn about working with yeast You’ll never go back.
Nothing compares to a Homemade Roll. Store Bought are ok, BuT These are so Soft and Fluffy. I love when they are warm right out of the oven. Oh, and the delicious smell too!
I can’t believe how incredibly easy these were to make & they turned out so soft & fluffy!! We couldn’t keep them around long at all!
These rolls are so soft!! I can’t believe how easy they are to make, too. They were gone in minutes! I guess I need to make more!
I am sorry to hear that. You can always half a recipe, if it is too much.
I made these rolls for Thanksgiving, they went so fast!!! Best roll recipe I’ve ever used. And from now on, it’s the only one Ill ever use. They turned out SO soft and fluffy.
It’s one of our favorites! I am so glad you think that!! Thank you so much for letting me know 🙂