This post may contain affiliate links. Please read our disclosure policy.
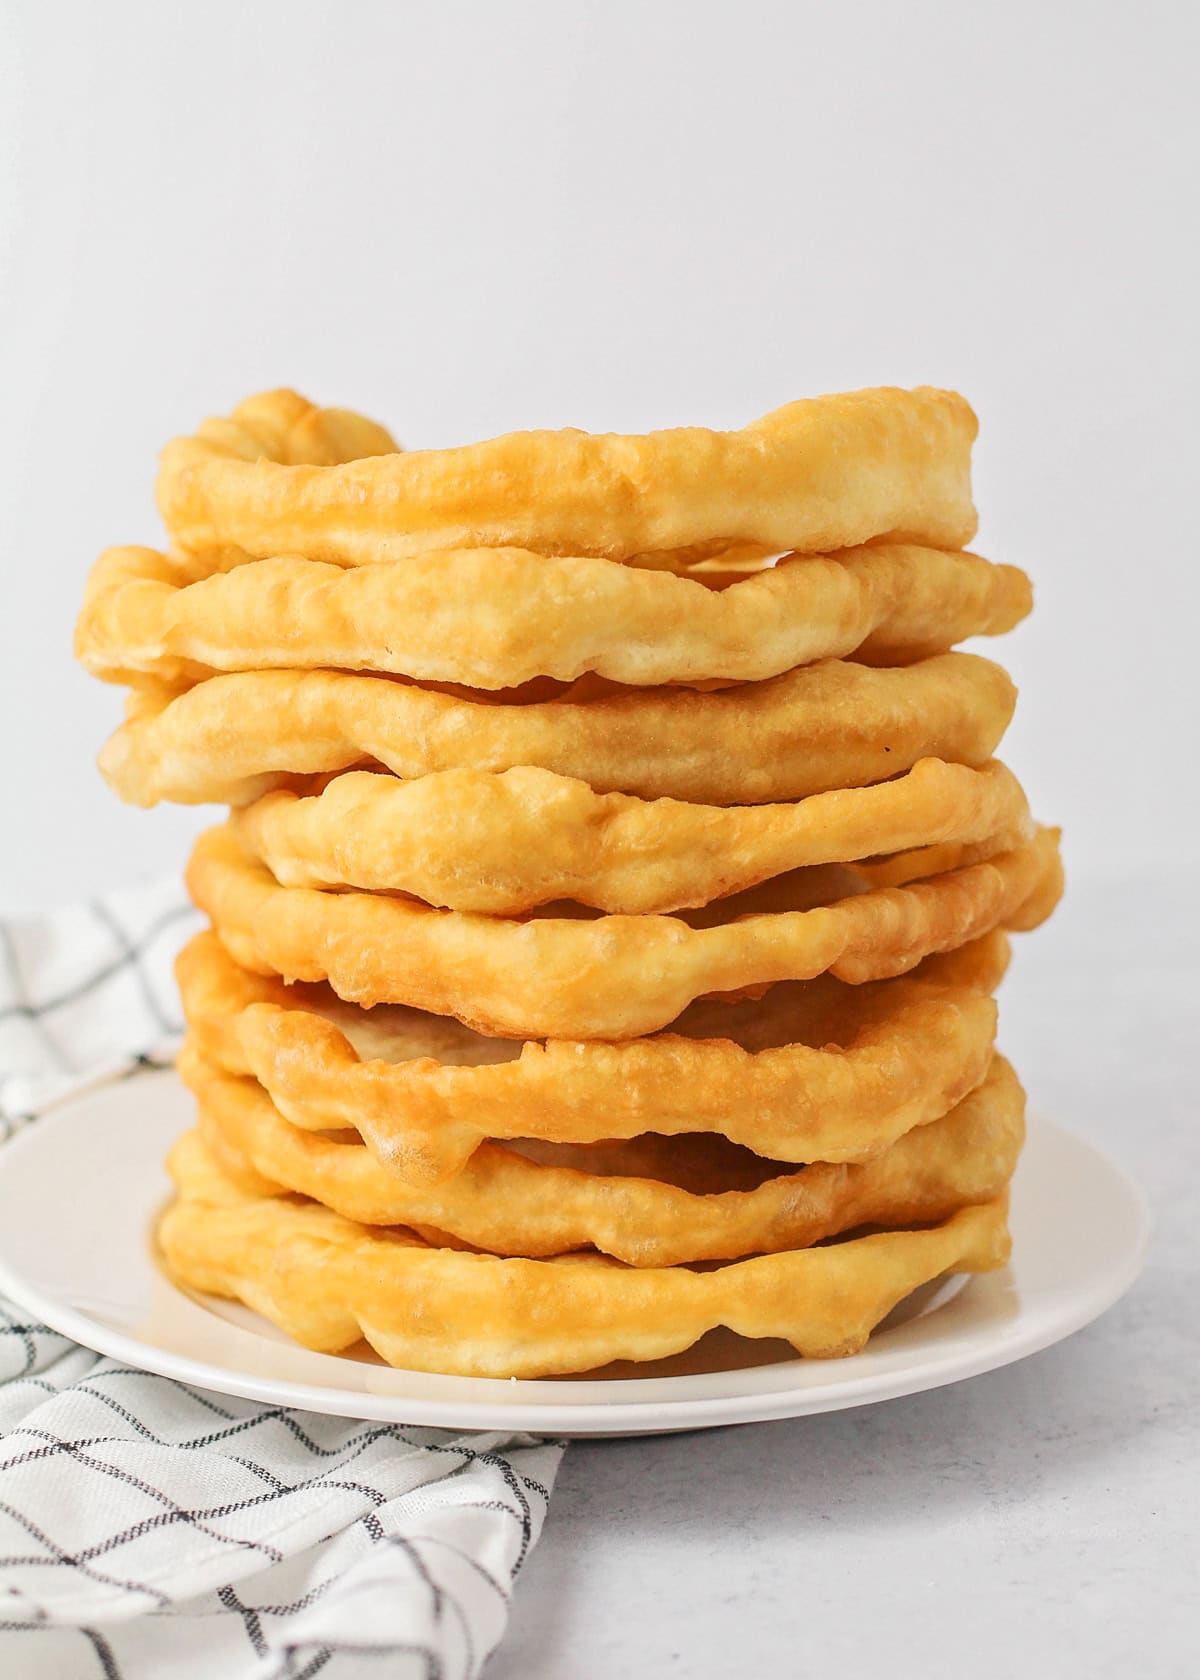
Fry bread (or “Navajo Tacos”) are crispy pillows of dough served with sweet or savory toppings that are incredibly delicious.
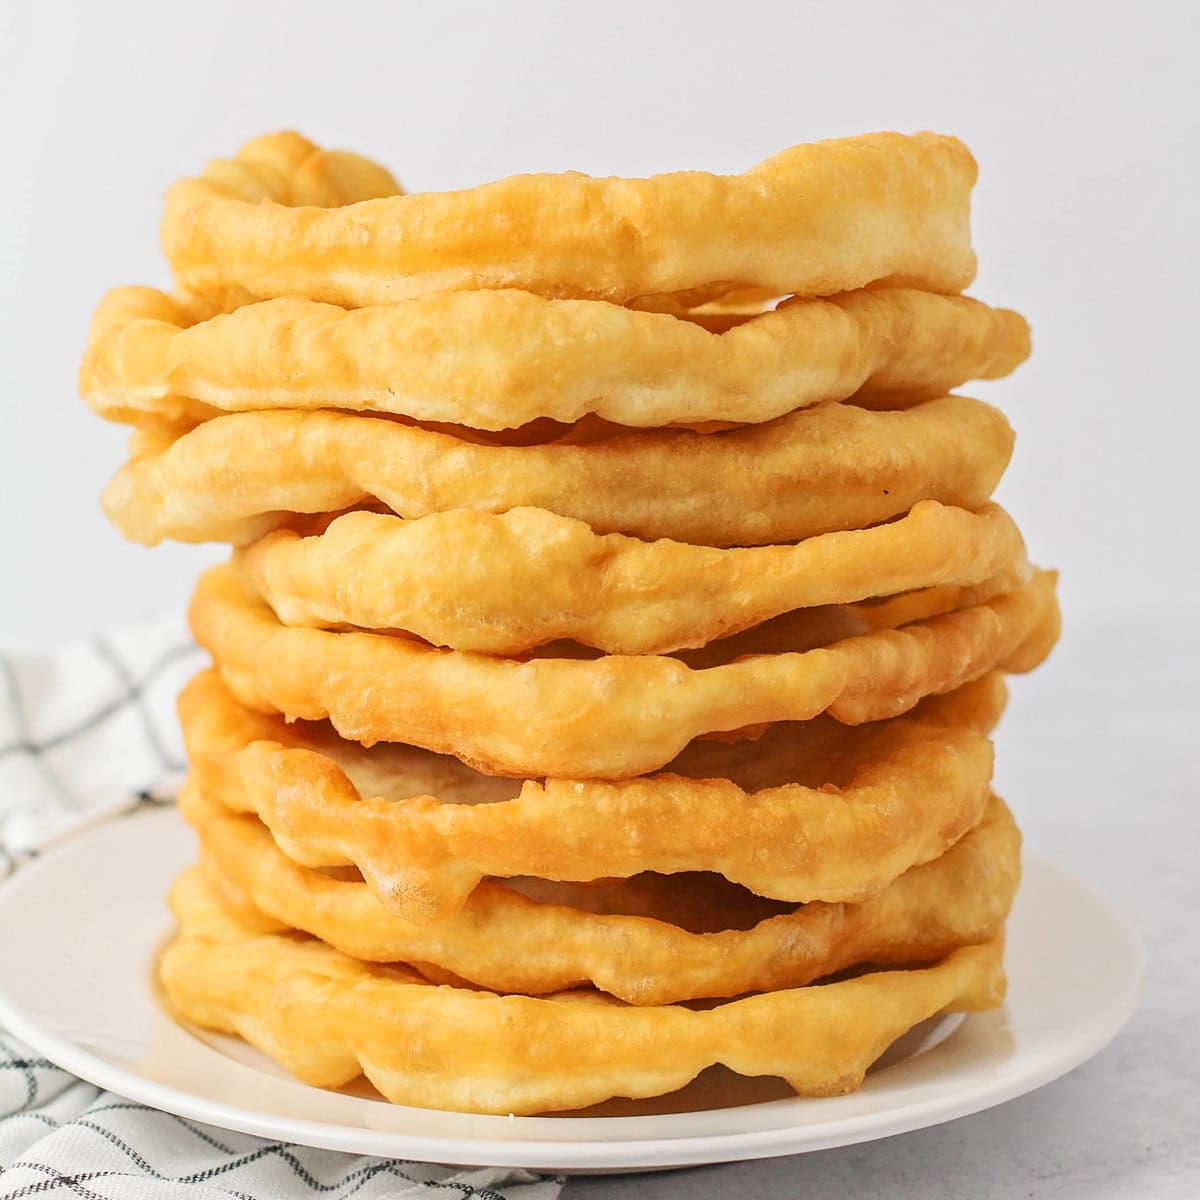
We love Fry Bread!
We have enjoyed Fry bread our entire lives thanks to our mom, grandma and great-grandma. This tasty main dish is also called Navajo Tacos (also called Indian Fry Bread or Pop Overs).
It originates from southwestern Native Americans as a result of being relocated from Arizona to New Mexico, and using cooking staples given to them by the government.
This recipe is one we’ve used since we were little, passed on from my Great Grandma Bean Burro (yes, that’s what we called her). We love serving it with refried beans, all the toppings and salsa and guacamole.
Why We Love it:
- Sweet or Savory. It can be made sweet with honey or powdered sugar or savory with beans and all the toppings.
- Simple. Just follow this recipe – it’s NO-FAIL and you get amazing bubbles every time! Plus, it only uses 4 ingredients!
- Freezes. The dough and the bread both freeze well, which is a BONUS!
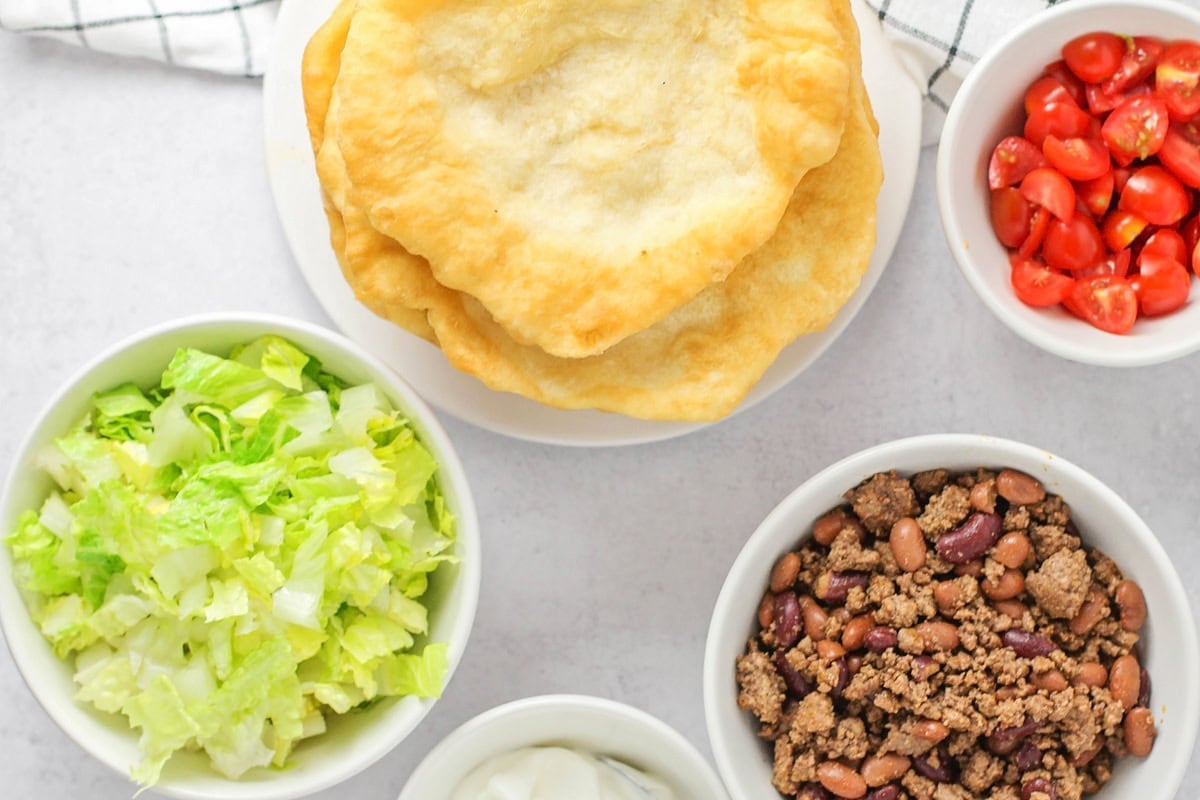
Ingredients
FRY BREAD:
- 2 cups all-purpose flour
- 1 teaspoon salt
- 1 tablespoon baking powder
- 1 cup hot water
BEANS:
- 2 cups dry pinto beans, rinsed and drained – or 1- 16 ounce can pinto bins, rinsed and drained
- 2-3 slices bacon, cooked and chopped
- 1 pound ground beef, cooked and drained
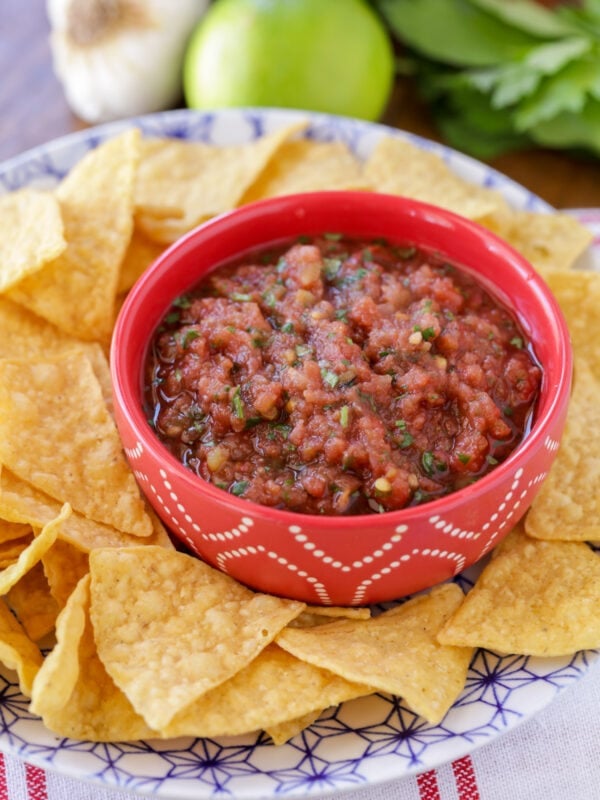
TOPPINGS: Shredded lettuce, sour cream, chopped tomatoes, sliced avocado, shredded cheese (and some of our favs: Homemade Salsa, Guacamole, Pico de Gallo)
How to Make Fry Bread
- DOUGH. Sift the 2 cups flour, 1 teaspoon salt, and 1 tablespoon baking powder together in a medium bowl. Add 1 cup hot water.
- Mix with your hands until dough forms (dough should be a little sticky). Cover and let rest for 10 minutes.
- PREP. While the dough is resting, add oil to a large saucepan that is about 1-2 inches deep and heat on MED-HIGH heat (it should be about 350°F when ready to fry).
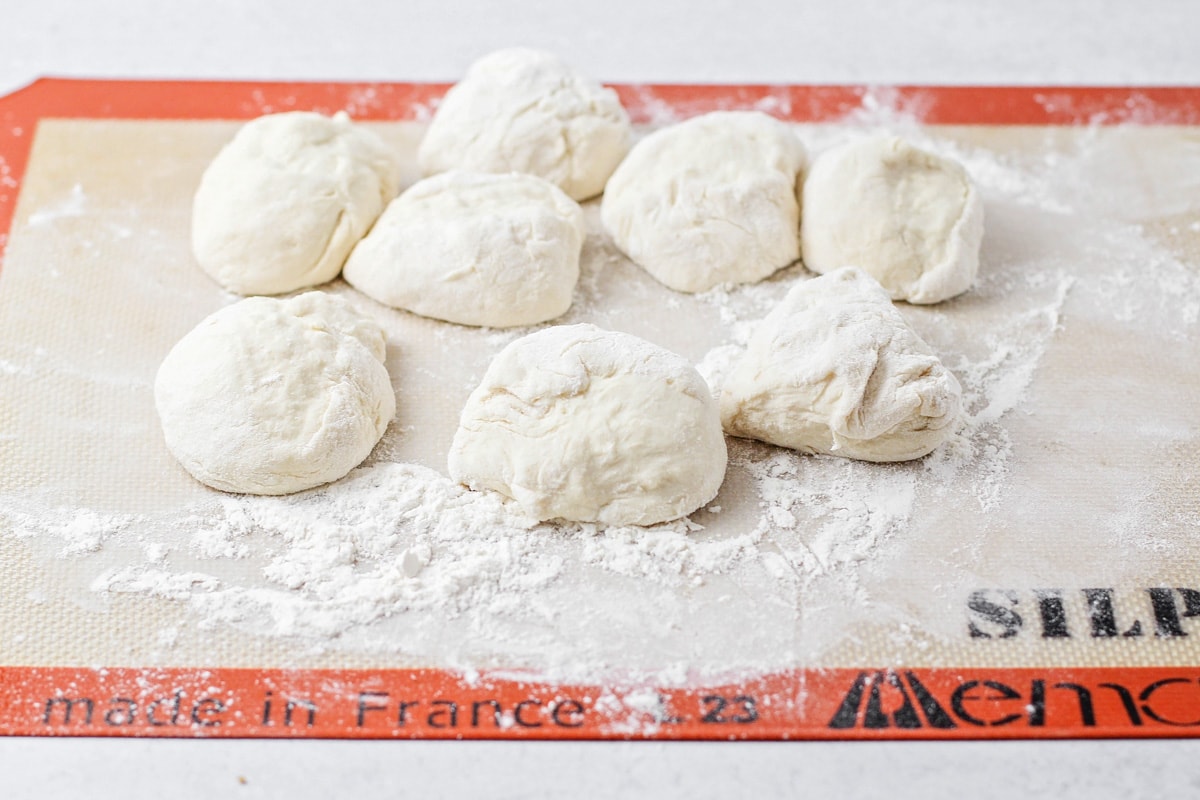
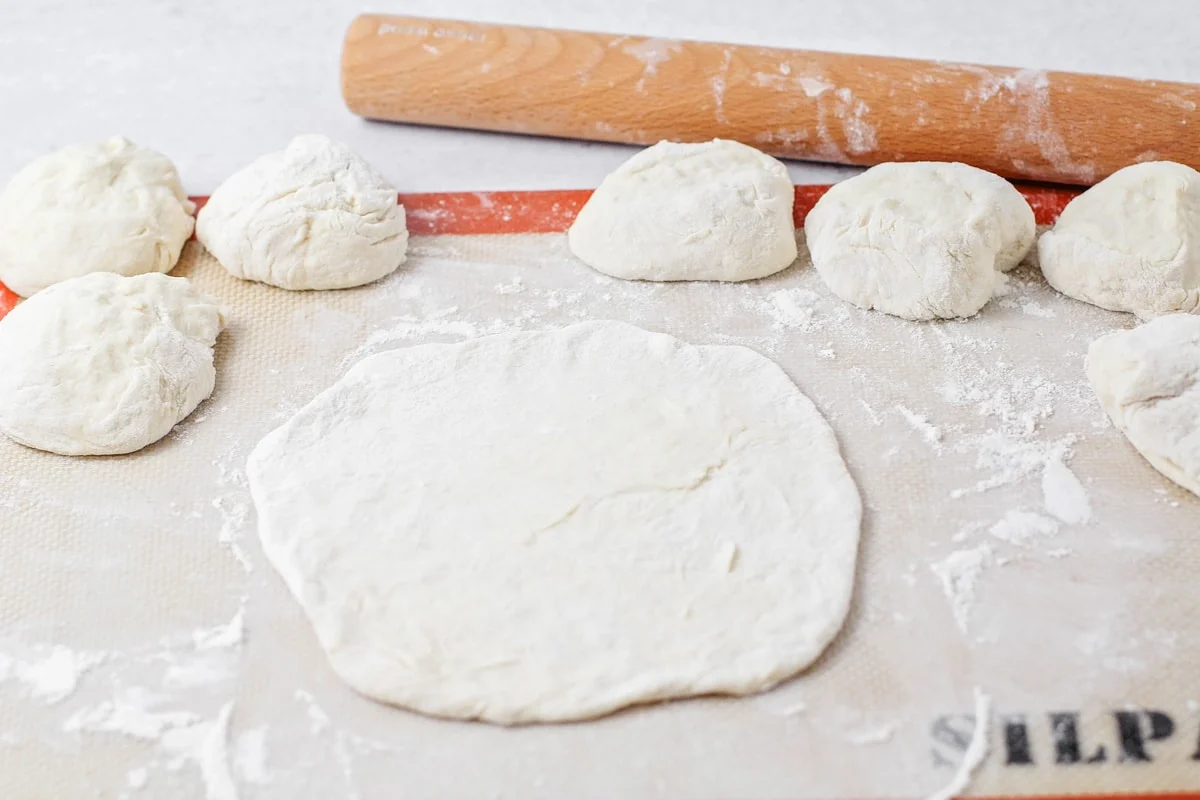
- SHAPE. Break off the pieces of dough into golf-ball-sized balls (about 1½ inches wide). Using a pastry roller or rolling pin, roll the dough onto a lightly floured surface to about 6-7 inches in diameter (the dough should be thin).
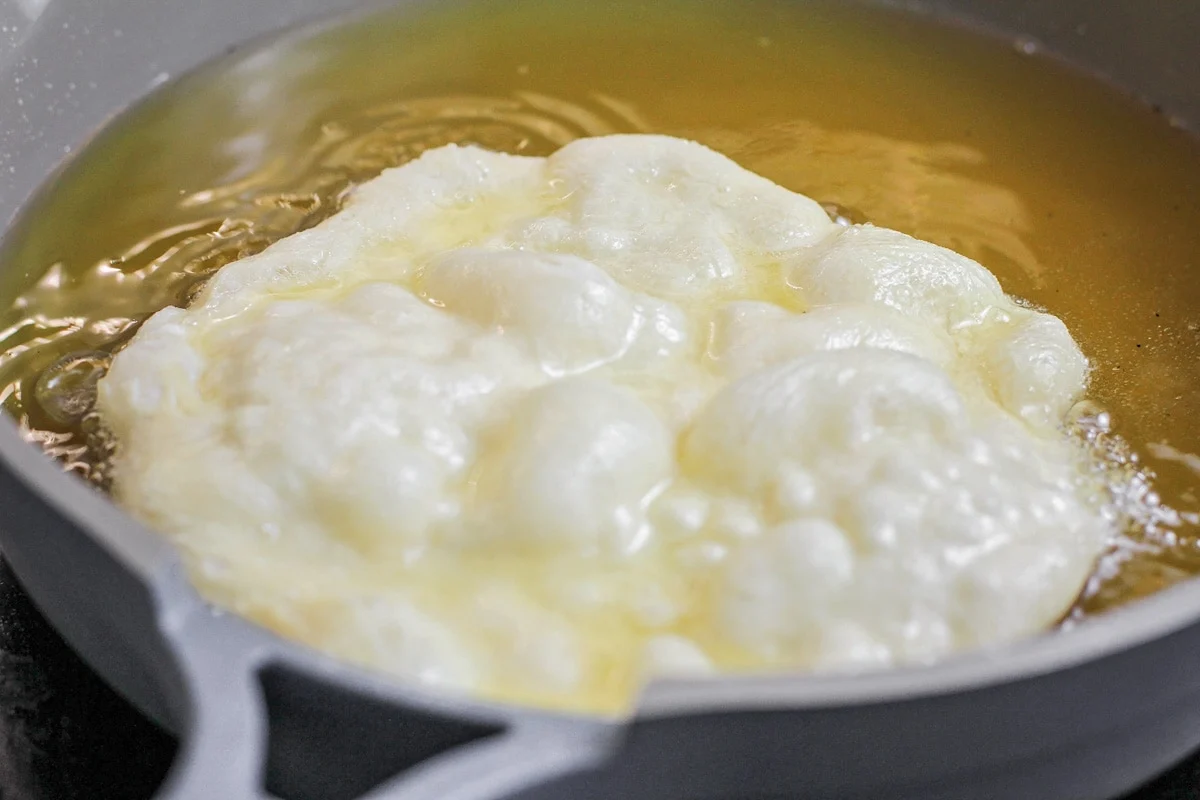
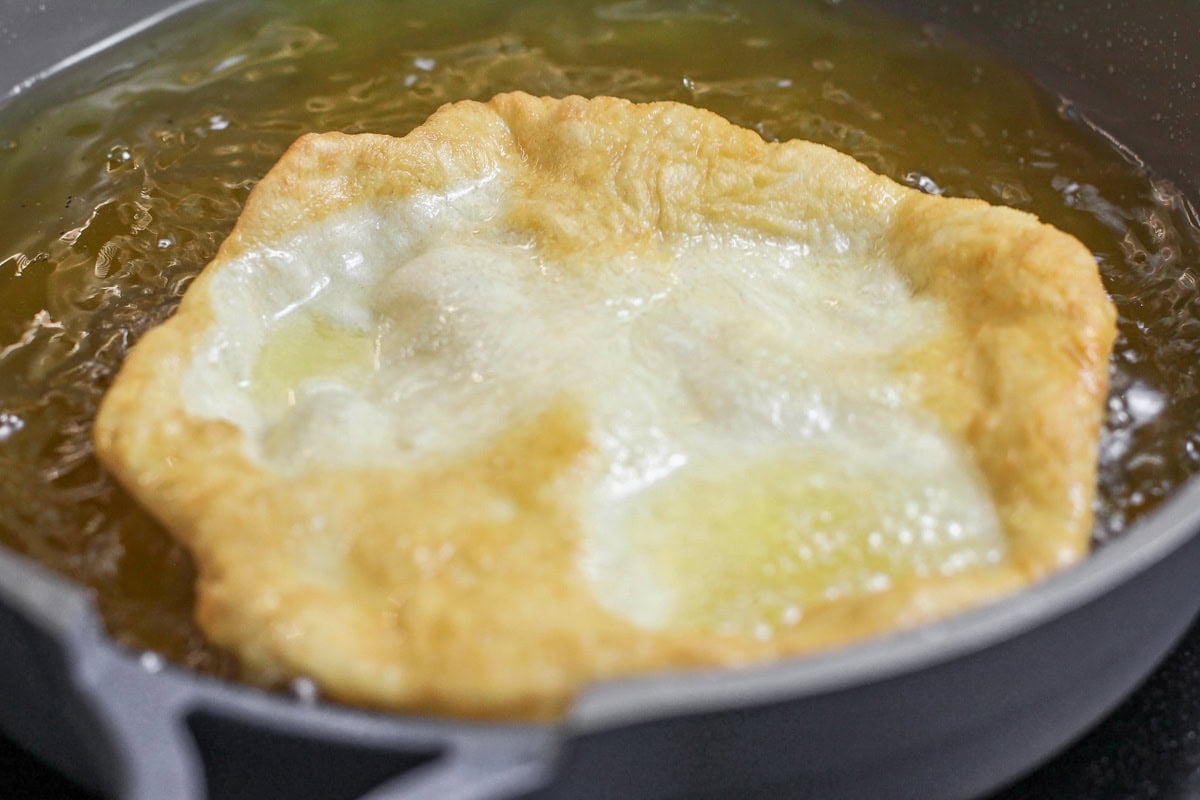
- FRY. Fry each piece in hot oil until the dough is golden brown and poofs up (about 20 seconds). Continue to fry on the other side, keeping it in the oil. Set on a paper towel-lined plate to drain oil.
Warm. Keep the fried bread warm in the oven (set at 200°F).
PRO TIP: Watch That OIL TEMP!
Make sure your oil stays at a consistent temperature. If the temp is too low, the bread will be tough. If it’s too hot, the outside will burn before the inside cooks through.
The Beans + Toppings
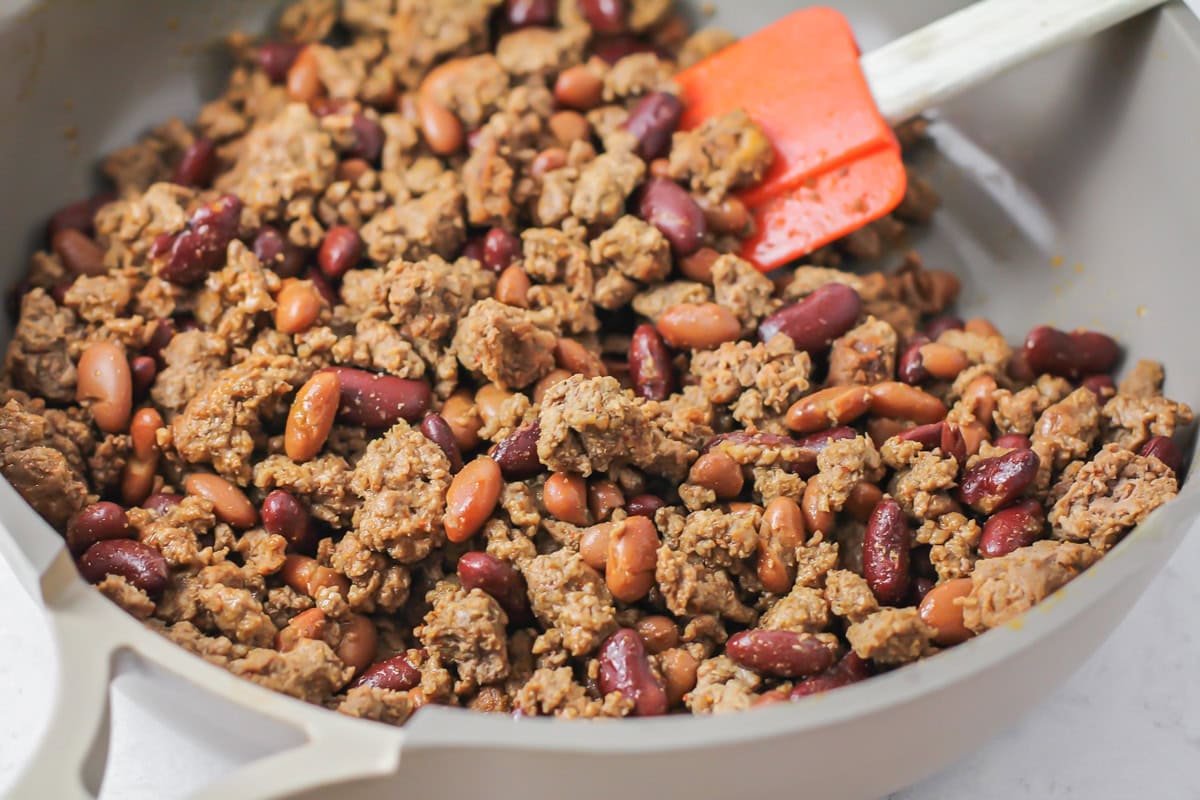
- Place 2 cups of rinsed, dried beans in a slow cooker and cover with water. Cook on low for 4–5 hours, or until beans start to become tender.
- Add bacon pieces and ground beef to the slow cooker and continue to cook on low for an additional 1–2 hours, or until beans are fully tender. (To make the bean topping using canned beans, combine canned beans, cooked ground beef, and cooked bacon and cook in a slow cooker on low for 2 hours. Set aside.)
Sweet or Savory
SWEET. Some in my family pour honey over them, or slather on butter and jam. A few also like to add powdered sugar and just eat it as is.
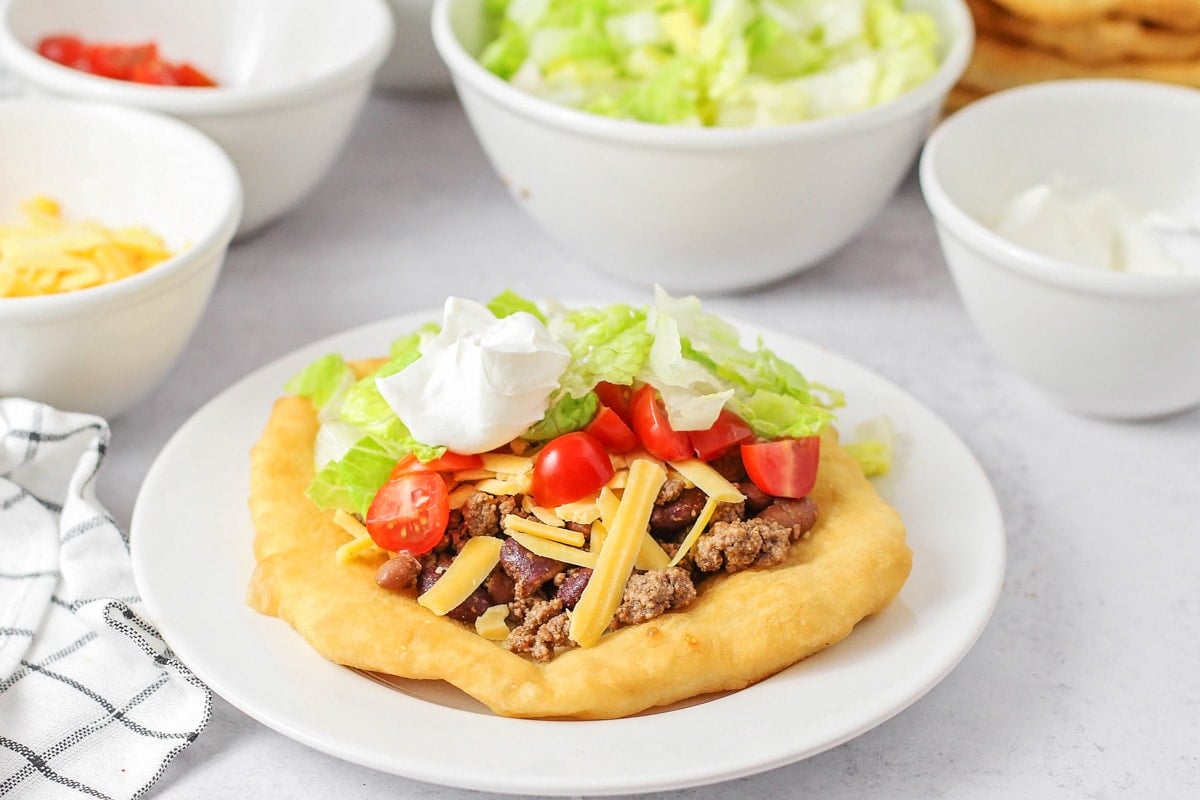
SAVORY. Most of the family eats it savory. We usually serve them up with cooked hamburger and beans, and let everyone add their own toppings:
- Tomatoes, lettuce, sour cream, Salsa, Guacamole, Pico de Gallo.
- Dressings like Cilantro Ranch or Cilantro Lime Vinaigrette are great too!
- You could even top them with a delicious, scoop of Chili.
COMPLETE THE MEAL:
- MAIN DISHES: Quesadillas, Chicken Tacos, Empanadas, Cheese Crisp
- SIDES: Cilantro Lime Rice, Canned Refried Beans, Crock Pot Pinto Beans, Homemade Tortilla Chips
- DESSERTS: Arroz on Leche, Tres Leches, Easy Tres Leches, Chocolate Tres Leches
More COLLECTIONS: Mexican Dinner Ideas, Sunday Dinner Ideas, Easy Dinner Ideas
Fry Bread Recipe
Equipment
Ingredients
Bean Topping
- 2 cups dried pinto beans, rinsed and drained or 1 (16-ounce) can pinto beans, rinsed and drained)
- water
- 2-3 slices bacon, chopped and cooked
- 1 pound ground beef, cooked and drained
Bread
- 2 cups all-purpose flour
- 1 tablespoon baking powder
- 1 teaspoon salt
- 1 cup hot water, (130 degrees F)
- vegetable oil, for frying
Other Toppings
- shredded lettuce, sour cream, chopped tomatoes, sliced avocados, shredded cheese
Instructions
- Place rinsed dried beans in a slow cooker and cover with water. Cook on low for 4–5 hours, or until beans start to become tender.
- Add bacon pieces and ground beef to the slow cooker and continue to cook on low for an additional 1-2 hours, or until beans are fully tender. (To make the bean topping using canned beans, combine canned beans, cooked ground beef, and cooked bacon and cook in a slow cooker on low for 2 hours. Set aside.)
- Make the bread: Sift flour, baking powder, and salt together in a medium bowl. Add hot water and mix with your hands until a dough forms (dough should be a little sticky). Cover and let rest for 10 minutes.
- While the dough is resting, preheat the oven to 200 degrees F. Fill a large saucepan with 1-2 inches of oil and heat over medium-high heat to about 350 degrees F.
- Break off golf ball–sized pieces of dough and roll into balls about 1½ inches wide.
- Using a pastry roller and working on a lightly floured surface, roll each dough ball into a thin circle 6-7 inches in diameter.
- Working in batches, fry each dough piece in hot oil until the dough is golden and puffs up, about 20 seconds, then flip and fry on the other side for 10-20 seconds more. Set on a paper towel-lined plate to drain. Keep the fried bread warm in the oven while frying the remaining pieces.
- Spread beans over fry bread, top with any other desired toppings, and serve warm.
Video
Notes
Soak the beans. To lessen the amount of gas in the beans, soak dried beans in a large bowl of water for 8-12 hours (or overnight). Drain and rinse beans before use.
Serving suggestions. We feel this fry bread is best served with beans, but for a sweeter version, you can also skip the savory toppings and serve it with powdered sugar and/or honey. Make ahead. Mix up the dough and store in a resealable plastic bag for 1-2 days in the refrigerator or portion the dough into 3-inch balls and flash freeze. When ready to fry, remove from the refrigerator or freezer and let the dough come to room temperature. Fry according to recipe instructions.
Nutrition
Nutrition information is automatically calculated, so should only be used as an approximation.
Recipe FAQ + TIPS
Elephant Ears Versus Fry Bread?
Though similar, there is a difference:
- Fry Bread is thick, about 6-8 inches in diameter and topped with anything from powdered sugar to beef taco ingredients.
- Elephant Ears are thin, bubbly, about 10-16 inches in diameter and traditionally only topped with cinnamon and sugar.
How to Keep Fry Bread Flat?
- To help your bread remain flat (instead of curling up on the edges and forming a bowl shape), cut a small slit in the center of each piece right before frying.
How to Store Fry Bread Dough?
Fry bread is best when fresh, so we don’t recommend making it ahead of time. However, you can mix up the dough and store it in the fridge or freezer until it’s time to fry.
- Dough in the fridge. Cover the bowl with plastic wrap or transfer the dough to a Ziploc bag. Store for 1-2 days. Some bakers even recommend chilling the dough for a few hours before frying.
- Dough in the freezer. Fry bread dough freezes well. Once your dough has been mixed, portion it into 3-inch balls and flash freeze.
Fry. When you’re ready to fry, remove the desired number of balls. Leave each ball in the baggie and thaw in the fridge overnight.
About 30 minutes before fry time, remove the dough from the baggie and let the dough come to room temperature. Fry according to recipe directions.
How to Store Cooked Fry Bread?
- Store cooked bread. Wrap the bread loosely in plastic wrap or an unsealed Ziploc bag. Store at room temperature for 1-2 days.
- Freeze cooked bread. Once the bread has cooled, pat each piece with a paper towel to remove any excess oil or water. Wrap each piece with plastic wrap and store it in an airtight freezer container. Freeze for 3-4 months.
- To reheat fry bread. Heat the oven to 350°F. Wrap each piece of fry bread in aluminum foil and bake until heated through about 15 minutes. If you’re in a hurry, throw it in the microwave.



The cuisine field is incorrect. This is not from India, this recipe is Native American.
It’s amazing how adding a name like the one here draws a crowd of wows on this recipe that I’ve enjoyed all my life. My NATIVE AMERICAN friends can’t recall such a meal. Except for a couple of changes, my family loves this quick meal, as we use raw pizza dough from my local grocer, rolling it out and frying it up then adding our own individual favorite toppings. Everyone, enjoy!
First try not as pretty as shown and a little tough, will try again and hope for better results, nothing like my mother used to make but will try again.
Thanks for giving the recipe a try! I’d say start with less flour and then add more as needed. Sometimes too much flour can result in tough dough.
The hot water is key to dough elasticity. It makes the dough easier to work.
Great recipe.😋
Should the type of Cuisine be changed to Native American?
I agree if it’s an Native American meal it should be recognized and given credit to where it was 1st created read the story 😥❤️.
I made this following the recipe. Never made this ever now I want to make it all the time
Thank you for sharing your way to make fry bread I am looking forward to trying it I make pinto beans all the time but usually with a smoked ham hock in the instapot I will have to try them with hamburger or deer burger
I’m going to try it as a pizza dough
I love as is, but I have been searching for a long time to find a perfect pizza dough. I’ll be using olive oil with garlic to spread before topping, then bake.
Wish me luck.
Looks good, I will try it!
great yummy!
Just tried this! The easiest and best recipe for fry bread I have ever tried! It rolled out so well and looks delicious! I used organic artisan bread flour. Perfect. 😊Thank you!
How did you get yours to roll out easy, mine wouldn’t, it was too sticky even after adding more flour
Maybe I can help. First, double check you measured precisely and followed the instructions, especially using hot water, active baking powder (there’s a way to check), and letting the dough rest (covered) for at least 20 minutes. It’s going to be sticky, but don’t give up. Mix the dough, initially, with a fork if you don’t want to use your fingers. That’s what I did.
Make sure you’ve floured your hands well, pinch off enough dough to form the golf-ball size. Flour your hands/fingers as much as you need to as you form the rest of the balls. (Some dough will stick to your fingers. Just flour your fingers and pull the dough off your fingers, adding it back into the ball you just made or to the next one.) The dough balls are going to remain very soft and they should have a light coating of flour on them from your hands as you shaped them.
Make sure you have a medium-floured surface. Flour your rolling pin and place the first ball on the floured surface. Roll once, flip the dough over, roll once, flip dough, roll once, and so on until you have a 6″ or so circle. (Circle doesn’t have to be perfectly round. Dough stretches nicely, anyway, by the time you get it to the hot oil.) If dough starts to stick to pin or to the surface while you’re rolling, just sprinkle a bit more flour on rolling surface or rub more on pin (keep pin free of any stuck-on dough) or even do a very light dusting of flour over the dough before each roll.
I’d recommend rolling all the dough balls out before frying any of them, layering with wax paper between. That’s what I’m going to do the next time I make these. My first time, I rolled out two and then started frying the first one. As one fried, then, I began rolling out the third and so on. If you do it this way, don’t forget about the one that’s frying, lol! I didn’t forget, but almost:)