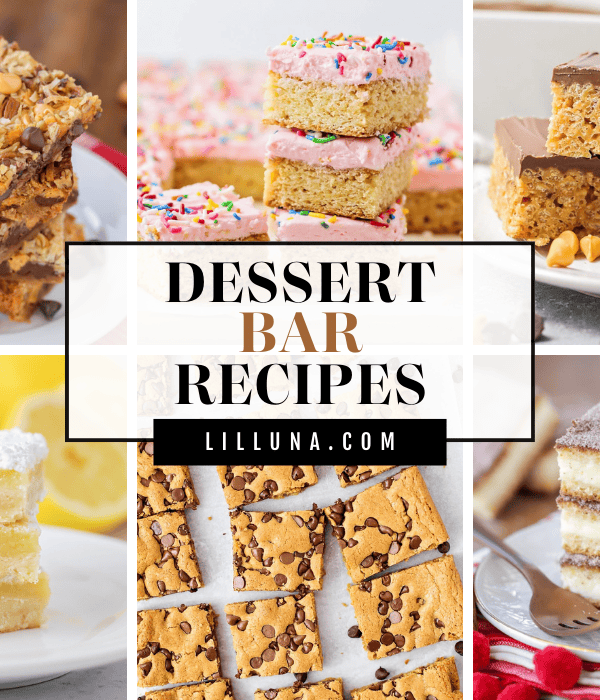
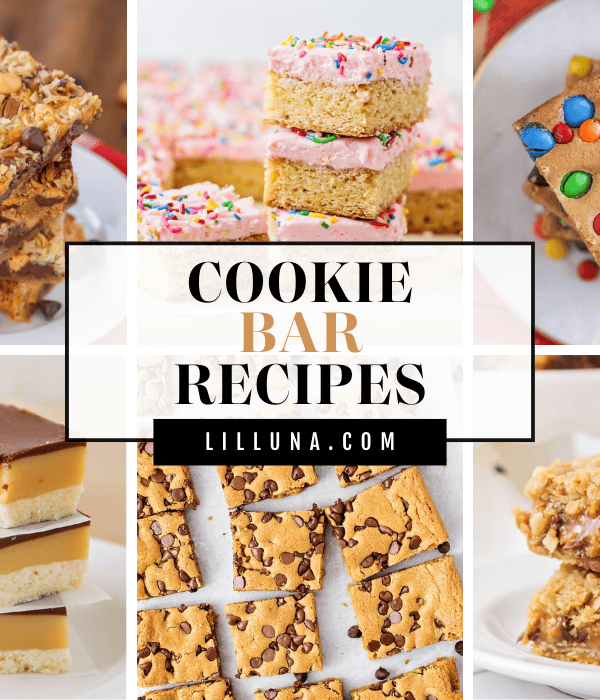
Table of Contents
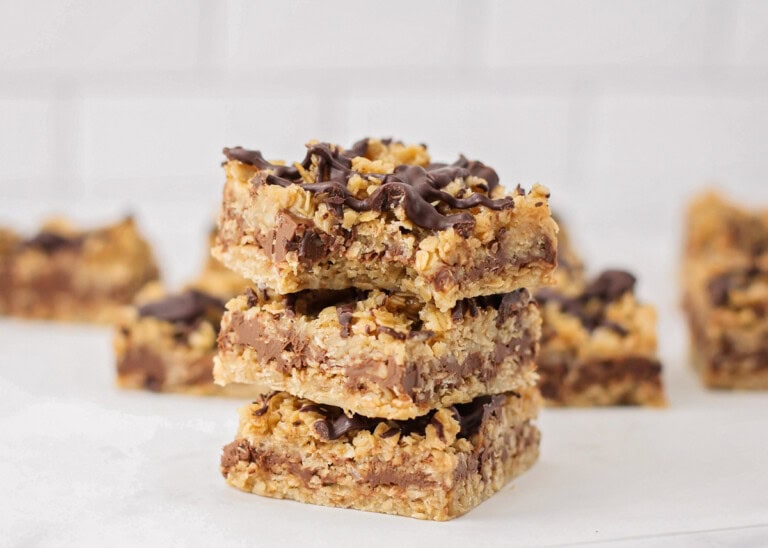
Chewy oat treats are BIG in our house, especially when it’s a no-bake dessert.
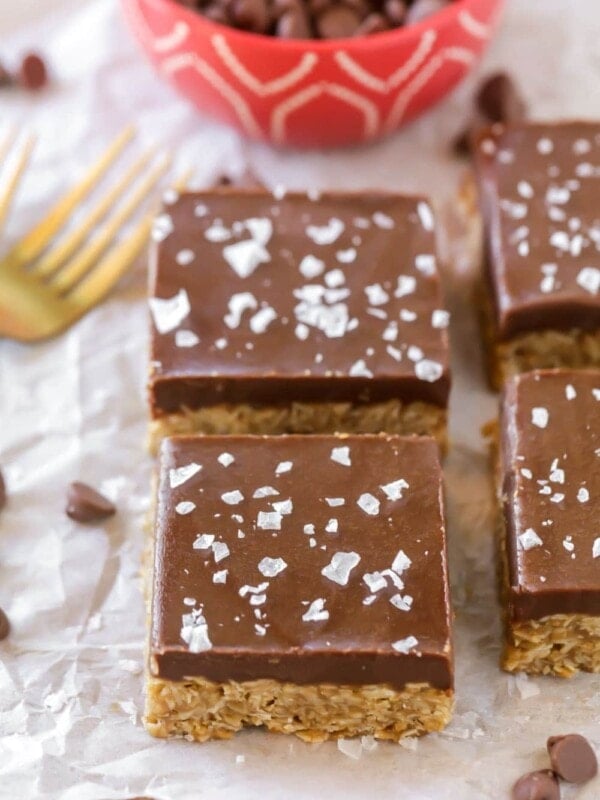
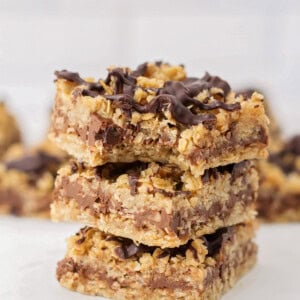
No bake chocolate oat bars are easy to make and taste more like a chocolate granola bar than a bar dessert. And our kids LOVE them! The layers prep in minutes, then you let them chill! This is one the kids love to whip up themselves.
They’re simple and full of chewy oats similar to our Almond Toffee Bars, Oatmeal Pie, or Banana Oatmeal Cookies. Not only are these perfect for summer, but they’re great all year long.
Get the feel of a delicious baked chocolate and oat treat without actually having to bake it!
Why we think you’ll love it:
- Super simple. These no-bake bars come together easily, the hardest part is waiting for them to chill in the fridge.
- Chocolate & PB. If you love the chocolate peanut butter combination, you’ll love these bars.
- Allergy-friendly. From the use of gluten-free oats to subbing in nut or seed butter, these bars can be tailored to certain allergies.

No Bake Chocolate Oat Bar Ingredients and Substitutions
- 1 cup butter – We use salted butter to help balance the sweetness, but unsalted butter can also be used.
- ½ cup brown sugar, packed – We use light brown sugar, but dark brown sugar works too.
- 1 teaspoon vanilla extract – Add 1-2 teaspoons of cinnamon for even more flavor.
- 3 cups quick cooking oats – We prefer quick oats, but old-fashioned oats can also be used; be sure to cook them over low heat for an extra 1-2 minutes to help soften them.
- 1 cup semisweet chocolate chips – or milk or dark chocolate chips
- ½ cup creamy peanut butter – For the best result, use regular peanut butter like Skippy or Jif. Natural peanut butter, almond butter, cashew butter, sunflower seed butter, and other nut and seed butters can also be used.
- chocolate chips, for drizzle – We like to reserve 2-3 tablespoons from the chocolate peanut butter mixture to drizzle on top, but you can also melt more.
- optional toppings – Caramel Sauce drizzle, butterscotch chips, mini M&M’s, crunched pretzels, or flaky sea salt


How to Make No Bake Chocolate Oat Bars
- PREP. Grease a 9×9-inch pan and set aside, or line the pan with parchment paper.
- OAT LAYER. In a medium pot, melt butter. Stir in brown sugar and vanilla. Add oats and cook on low for 2-3 minutes.
- Pour half the oat mixture into the greased pan and press down with a silicone spatula. Set aside the other half.
- CHOCOLATE LAYER. In another pot, melt the semi-sweet chocolate chips and peanut butter on low heat. Stir until smooth and pour the chocolate mixture over the top of the oat layer.
- TOPPING. Crumble the remaining oat mixture over the chocolate layer, pressing in gently.
- Melt chocolate chips and drizzle over top.
- CHILL. Cover and refrigerate for a few hours. Bring bars to room temperature before cutting, and ENJOY!

Kristyn’s Recipe Tips
- We reccomend using natural peanut butter like Skippy or Jif for the best taste and texture.
- When we’re making these for a party, we double the recipe and make it in a 9×13-inch pan.
- Be sure to add each layer before the previous one sets; otherwise, the layers will not meld together well. No need to let layers set first.
- Trust us when we say lining the pan with parchment paper makes cutting and serving these bars much easier!

No Bake Chocolate Oat Bars
Equipment
Ingredients
- 1 cup butter
- ½ cup brown sugar, packed
- 1 teaspoon vanilla extract
- 3 cups quick cooking oats
- 1 cup semisweet chocolate chips
- ½ cup creamy peanut butter
- chocolate chips, for drizzle
Instructions
- Grease a 9×9-inch pan and set aside, or line with parchment paper.
- In a medium pot, melt butter. Stir in brown sugar and vanilla. Add oats and cook on low for a few minutes.
- Pour half the mixture into the greased pan and press down with a spatula. Set aside reserve.
- In another pot, melt chocolate chips and peanut butter on low. Stir until smooth and pour over the oat layer.
- Crumble the remaining oat mixture over the chocolate layer, pressing in gently.
- Melt chocolate chips and drizzle over top.
- Cover and refrigerate for a few hours. Bring bars to room temperature before cutting and ENJOY!
Notes
- We recomend using natural peanut butter like Skippy or Jif for the best taste and texture.
- When making these for a party, we double the recipe and make it in a 9×13-inch pan.
- Be sure to add each layer before the previous one sets; otherwise, the layers will not meld together well.
- Trust us when we say lining the pan with parchment paper makes cutting and serving these bars much easier.
Nutrition
Nutrition information is automatically calculated, so should only be used as an approximation.
Recipe FAQ
While pure oats are gluten-free, many brands of oats have come in contact with gluten in one way or another. Check that the package of oats is labeled gluten-free, and you will be safe to make this recipe.
Store the bars at room temperature in an airtight container for 3-5 days or in the fridge for up to a week.
Once the bars have set. Wrap the entire bar with plastic wrap and again with foil. If freezing individual pieces, wrap each with plastic (fold top sandwich baggies also work for the individual sizes) and place them together in a freezer Ziploc. Thaw before eating.
More Like This
No-bake Desserts
No Bake Cookies Recipe
9 mins
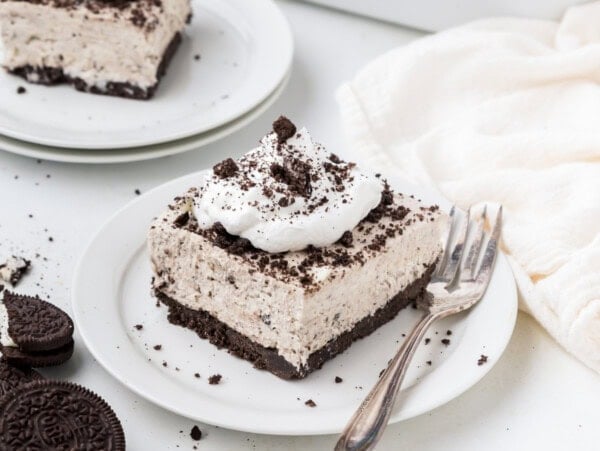
No Bake Oreo Cheesecake
4 hrs 15 mins
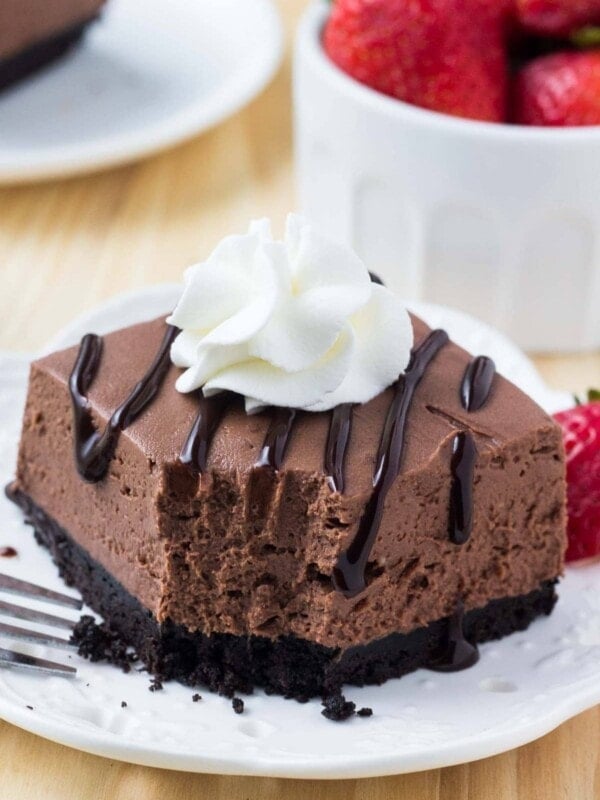
No Bake Chocolate Cheesecake
4 hrs 15 mins
Chocolate Dessert Bars

7 Layer Bars Recipe
35 mins
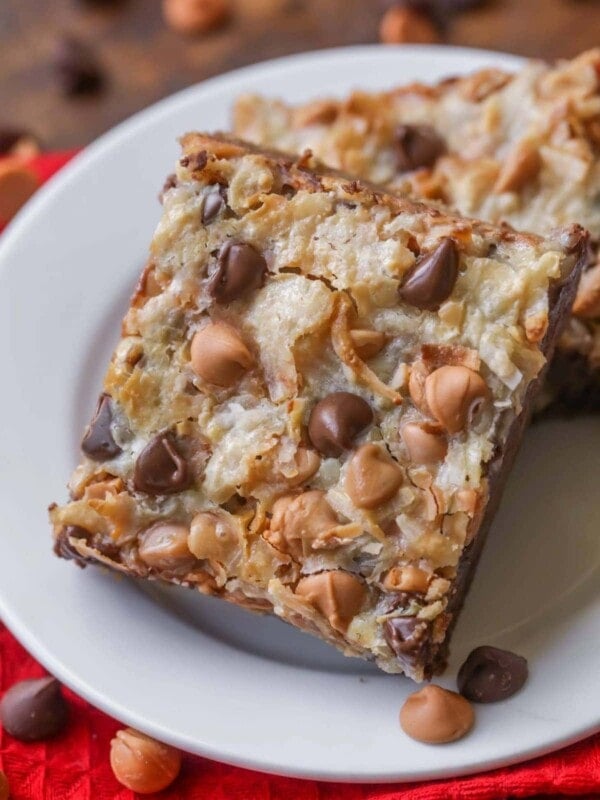
Magic Bars Recipe
45 mins
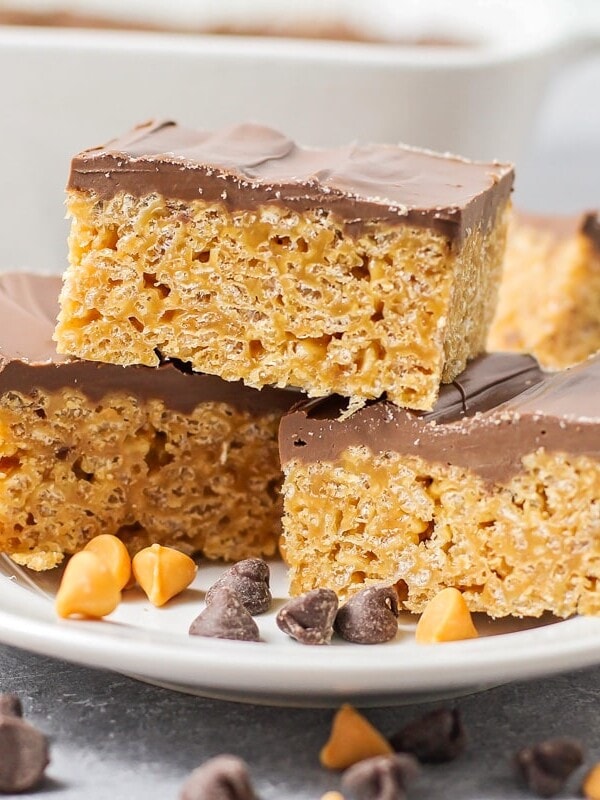
Scotcheroos Recipe
20 mins
Oh Henry Bars
3 hrs 30 mins
Collections


This recipe was originally published July 2017.


Tried these for the first time and certainly will make them again! They were a hit!
Thanks so much for the recipe. Can’t wait to try it . Those bars look wonderful,
The bottoms come off of mine after I made these. Any idea as to why? I buttered the pan before putting in the first layer so it shouldn’t have stuck like that 😒
Sorry to hear the bars stuck. I’m not totally sure why if the pan was greased well. I love to use a metal spatula/turner to help get mine out. Maybe using something like that might help keep them together when cutting/removing from the pan.
What can I sub for peanut butter?
You could probably swap for a different type of nut butter… maybe almond or cashew butter? I haven’t tried, so if you do swap it out, you’ll have to let us know how they turn out.
Since tiffany asked – just wanted to let you know I swapped the peanut butter out with sunbutter and it turned out great (our family has nut allergies). You could use oat haus granola butter, wowbutter soy butter, or lotus biscoff cookie butter too 👍 all of those are guaranteed nut free
Oh thank you for the feedback! That is so good to know!! I’m glad it turned out well swapping with different butters.
So good and so easy!
Sounds so yummy!!! I can’t wait to try this desert :).
It is important to let the layers sit before building, because unlike some layer bars these don’t need to sit before piling on the next layer. This is because you want the oats to really be a part of the chocolate layer, which is only possible when they have the opportunity to meld together. This tip is a contradiction, unless I’m just missing it here.
We’ll get that updated! Thanks for pointing it out.
I have to try this recipe. Looks so yummy.
Mmmm it is a good one! Hope you enjoy!
Way too much butter. Very fatty. Needs something else as well. A great foundation though.
Thanks for the feedback and for giving the recipe a try.
These turn out great every time, and are so yummy!!!