
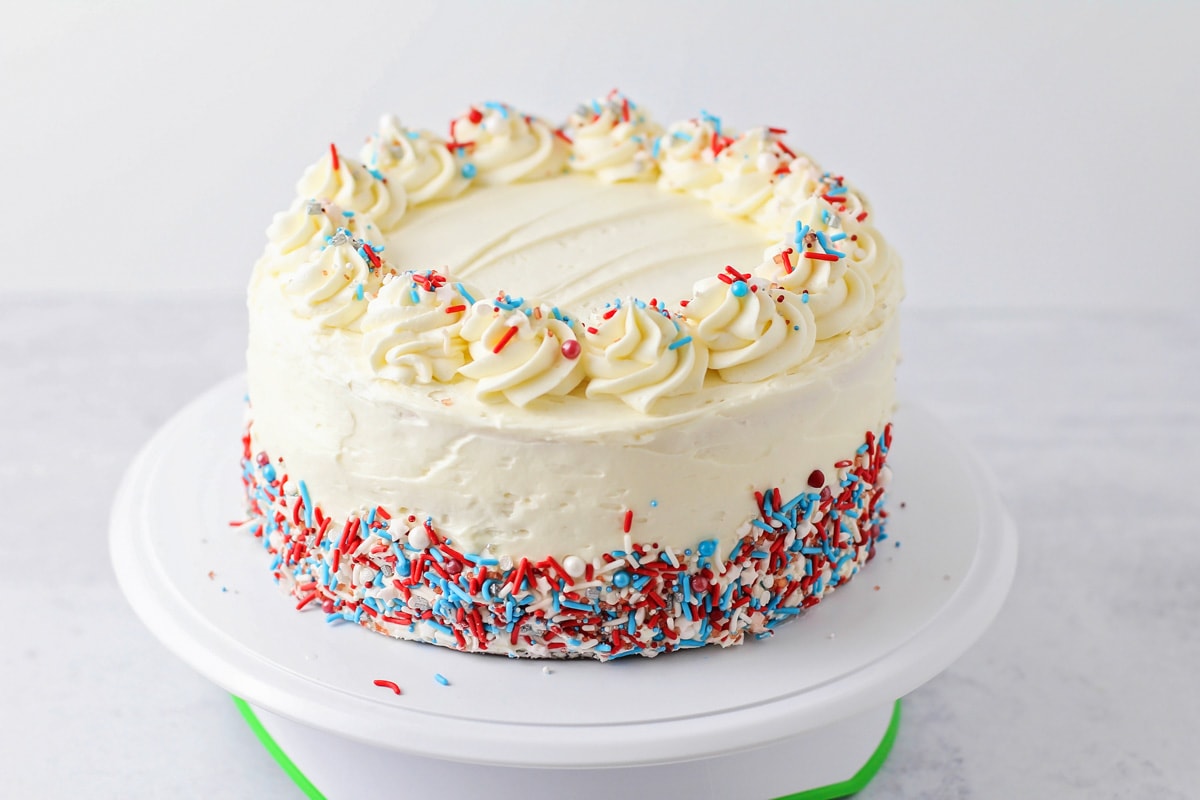
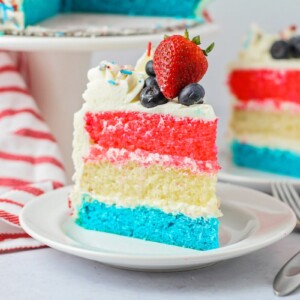
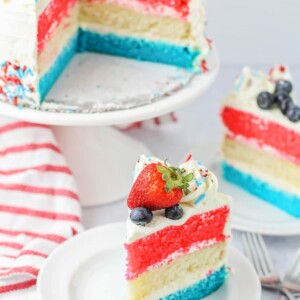
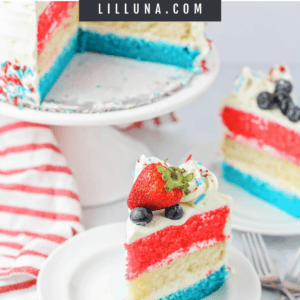
We LOVE to celebrate patriotic holidays with plenty of desserts, and one of our festive favorites is this Red white and blue cake.
Not only is this cake colorful and party-perfect, but it’s delicious and one that the kids request every year. With vibrant layers and fluffy vanilla frosting, this cake is the ultimate patriotic dessert/
The best part about this fun and festive cake is that it’s not only delicious but also easy. We start with three simple cake layers, each dyed a different color, then layer and frost!
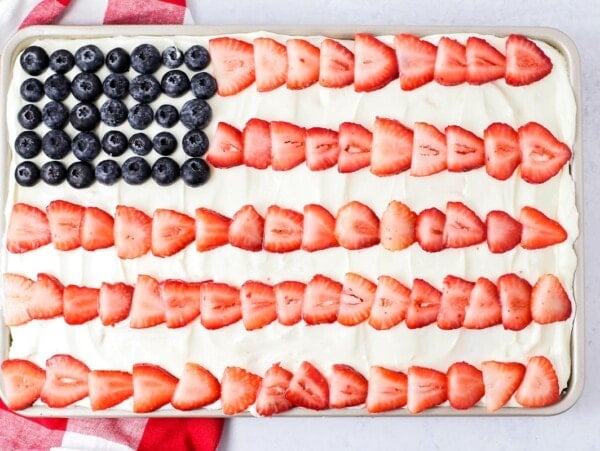
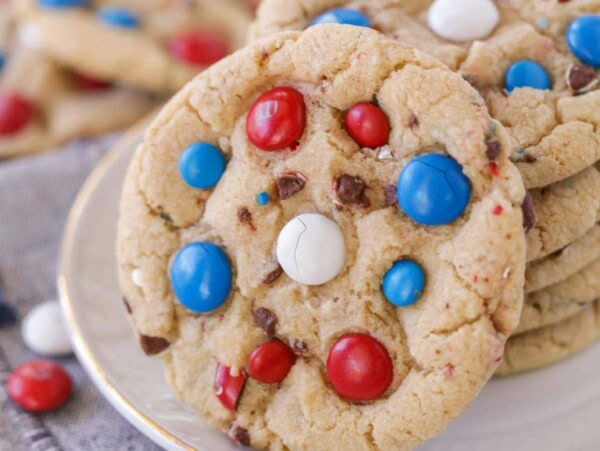
For another patriotic favorite, try our 4th of July Cookies and Fruit Pizza.
Why we think you’ll love it:
- Anyone can do it. We’ve made it easy to achieve with step by step directions, so even a novice baker/cake decorator can enjoy this beautifully tasty cake.
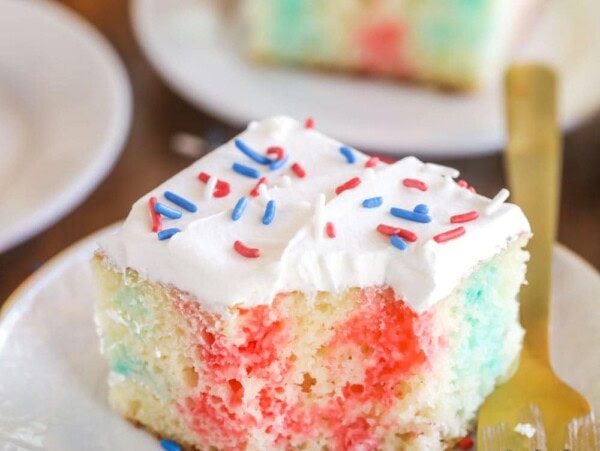
- Customizable. Make it yours with different decorations and toppings from sprinkles to fresh fruit!
- Show-stopper. This cake has a beautiful presentation with red, white, and blue layers, a festive 4th of July dessert or Memorial Day dessert! It’s great for parties and gatherings.
Red White and Blue Cake Ingredients
Cake
- Cake flour (3⅔ cups): Creates a soft, tender crumb. To make your own, add 2 tablespoons of cornstarch to a 1 cup measuring cup. Fill the rest of the way up with all-purpose flour. Level the top. Dump the contents of the measuring cup into a bowl and use a whisk to sift them together.
- Salt (1 teaspoon): Enhances flavor.
- Baking powder (1 teaspoon): Helps the cake rise.
- Baking soda (¾ teaspoon): Adds additional lift and balances acidity.
- Butter (1½ cups, softened): Adds richness and flavor. See How to Soften Butter Quickly.
- Sugar (2 cups): Sweetens and helps create a light texture.
- Whole eggs (3): Provides structure and moisture. Room temperature eggs incorporate best.
- Egg whites (2): Adds extra lightness. See How to Separate Egg Whites.
- Vanilla extract (1 tablespoon): Adds classic flavor.
- Buttermilk (1½ cups): Keeps the cake moist and tender. Or make Homemade Buttermilk for this recipe.
- Red and blue food coloring: Creates the patriotic layers. We use blue gel food coloring and red gel food coloring to get a deeper color. Using too much liquid food coloring can affect the texture of the cake batter.
Frosting
- Butter for frosting (1½ cups, softened): Forms the creamy base.
- Powdered sugar (6 cups): Sweetens and thickens the frosting.
- Milk or half and half (⅓ cup): Creates a smooth spreadable texture.
- Vanilla extract (1½ teaspoons): Adds flavor to the frosting.
- Pinch of salt: Balances sweetness.
- Sprinkles: Adds festive decoration.
- Optional: Add fresh blueberries and strawberries to the top
How to Make Red White and Blue Cake

PREP. Preheat the oven to 350°F. Line 3 (8-inch) cake pans with parchment paper, then grease and set aside.
BATTER. In a medium bowl, whisk cake flour, salt, baking powder, and baking soda, and set aside.
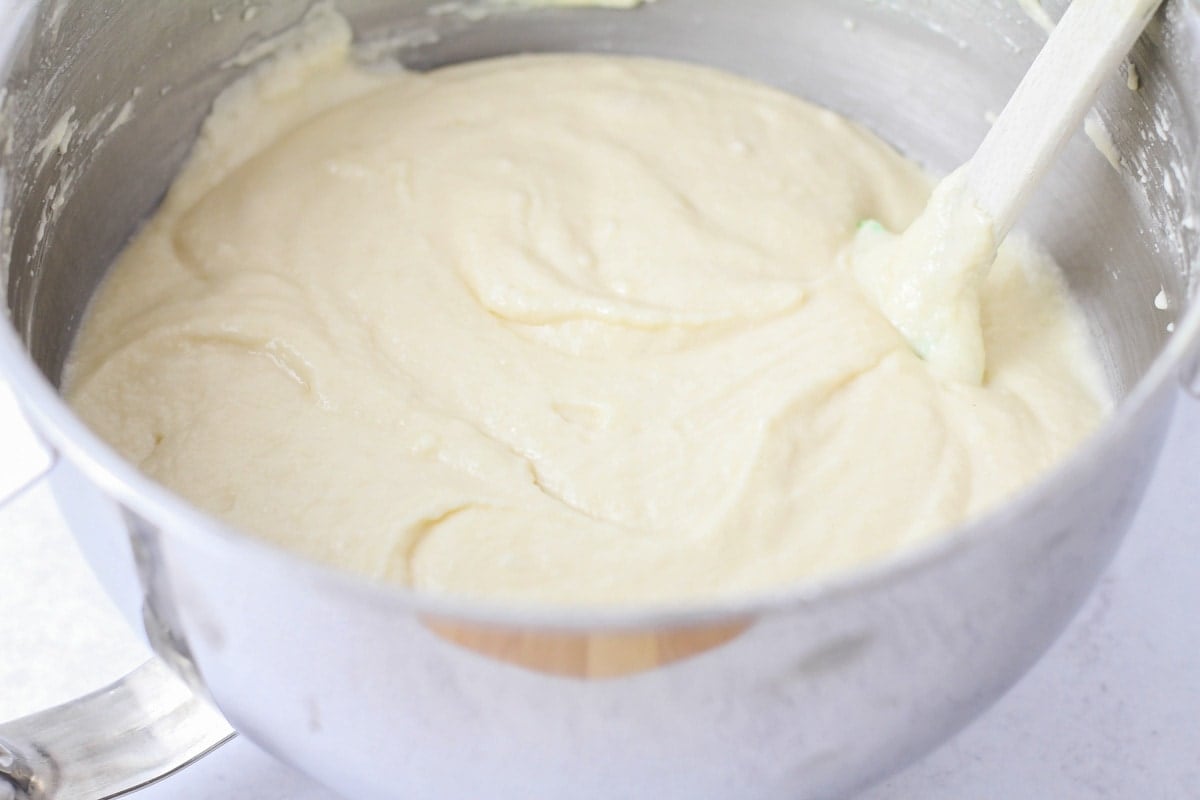
In a large bowl or the bowl of a stand mixer, beat butter and sugar until light and fluffy. Add eggs, egg whites, and vanilla. Mix until smooth.
With the mixer on low, gradually add the dry ingredients until well combined, scraping down the sides of the bowl as needed. Pour in buttermilk and mix until combined.

COLOR. Divide the batter into 3 bowls and add red food coloring to one and blue to another, keeping the third white. Pour into three prepared cake pans.
BAKE. Bake for 25-30 minutes, until lightly browned around the edges, and a toothpick inserted in the center comes out clean. Remove from oven. Cool completely.
How to Frost and Assemble
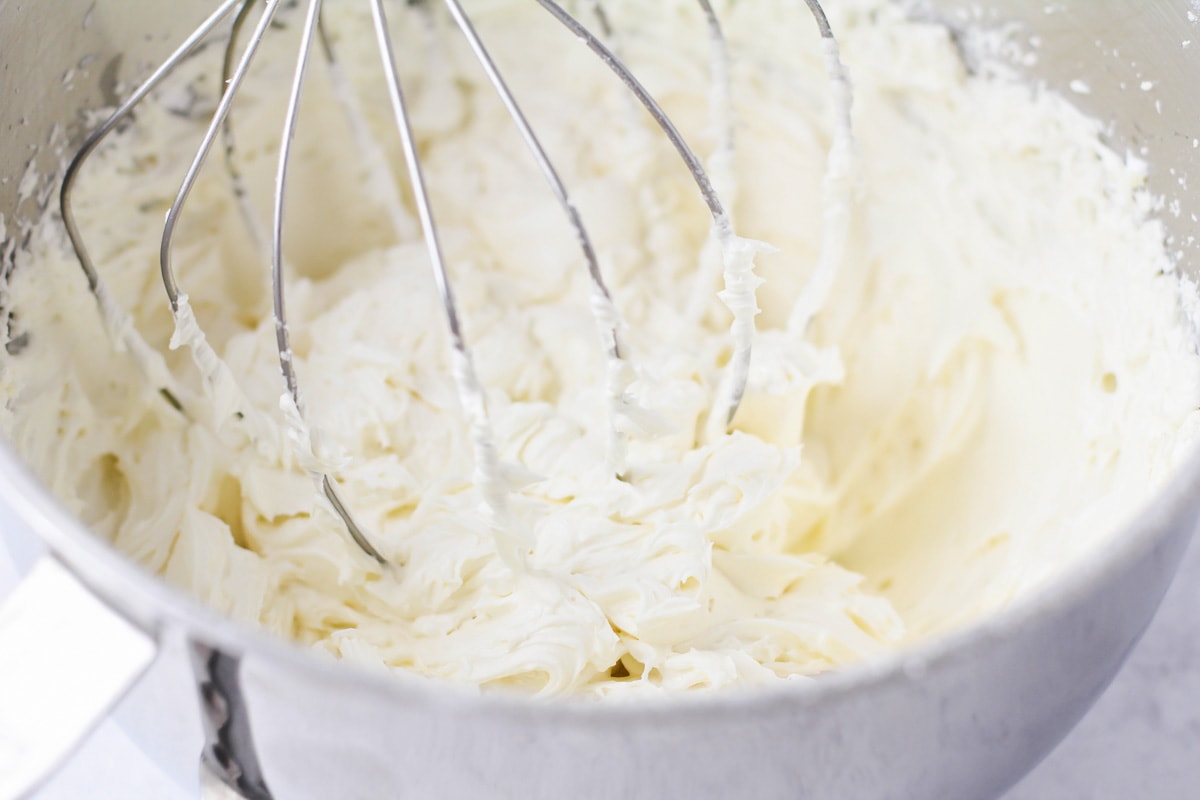
FROSTING. To make the frosting, beat butter in a large bowl or the bowl of a stand mixer until light and fluffy.
Add powdered sugar, milk, vanilla, and a pinch of salt. Mix to combine. Add milk or powdered sugar as needed to make a smooth frosting. Beat on high for 2 minutes, until light and fluffy.


ASSEMBLE. Once each cake layer has cooled, level the tops. Use a long serrated bread knife to cut off the domed portion of the cake leaving a flat and level top.
Place the blue cake layer down on a cake turntable or serving platter.
Spread on one cup of frosting.


Place the white cake layer on top and spread with another cup of frosting.
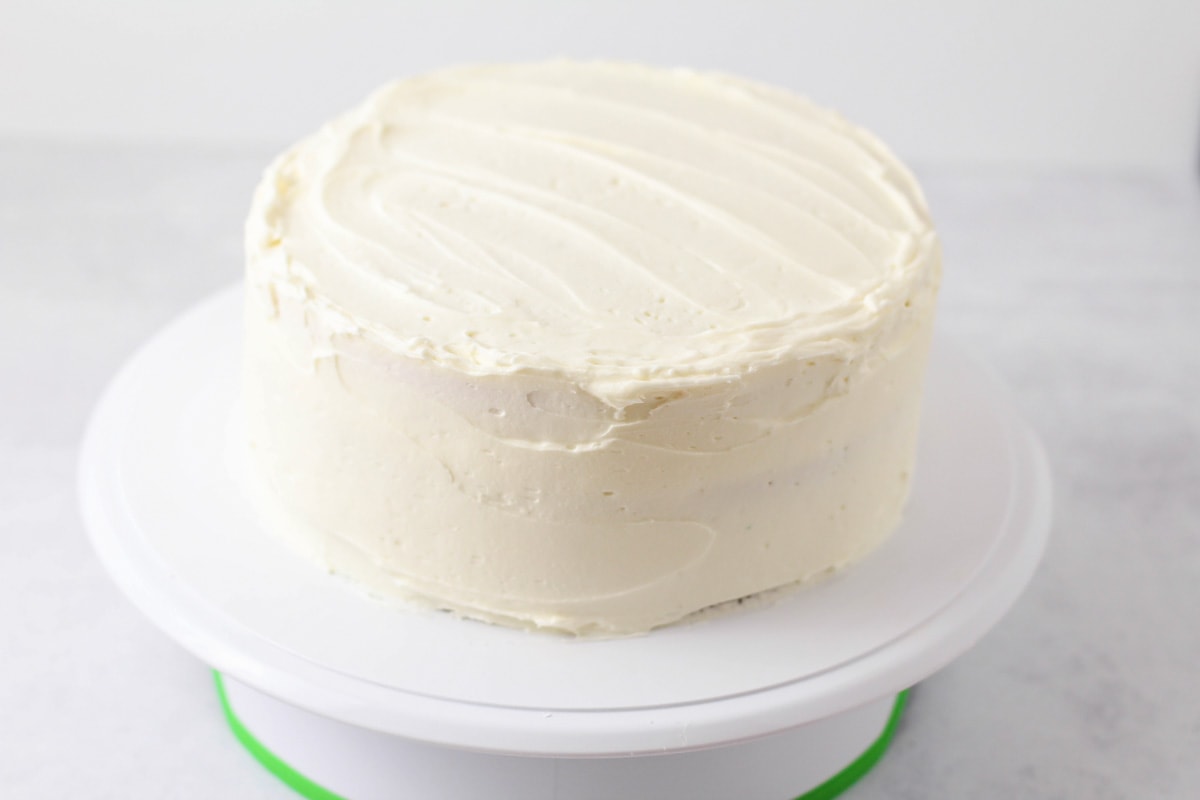
Place the red cake layer on top, then spread the frosting around the top and sides of the cake.


Kristyn’s Recipe Tips
- When we have them, we love topping this cake with sparklers.
- Do not over-mix the batter to keep the cake tender.
- Let cakes cool completely before frosting.
- Level layers for a stable stacked cake.
- Ateco 848 or Wilton 1M piping tips work great to get a fluffy textured frosting design.
- To keep crumbs from getting into the frosting apply a very thin layer of frosting and chill for 30 minutes. This layer seals any crumbs in and you can then apply a thicker final layer of frosting.
- For a shortcut version, use a box cake mix to make the 3 layers and assemble as directed.
- Chill slightly before slicing for cleaner cuts.
Red White and Blue Cake Recipe
Ingredients
Cake
- 3⅔ cups cake flour
- 1 teaspoon salt
- 1 teaspoon baking powder
- ¾ teaspoon baking soda
- 1½ cups butter, softened
- 2 cups sugar
- 3 whole eggs
- 2 egg whites
- 1 tablespoon vanilla extract
- 1½ cups buttermilk
- red and blue food coloring
Frosting
- 1½ cups butter, softened
- 6 cups powdered sugar
- ⅓ cup milk or half and half
- 1½ teaspoons vanilla extract
- pinch salt
- sprinkles
Instructions
Cake
- Preheat the oven to 350°F. Line 3 (8-inch) cake pans with parchment paper, then grease and set aside.
- In a medium bowl, whisk cake flour, salt, baking powder, and baking soda, and set aside.
- In a large bowl or the bowl of a stand mixer, beat butter and sugar until light and fluffy. Add the whole eggs, egg whites, and vanilla, and mix until smooth.
- With the mixer on low, gradually add the dry ingredients, until well combined, scraping down the sides of the bowl as needed. Pour in buttermilk and mix until combined.
- Divide the batter into 3 bowls and add red food coloring to one and blue to another, keeping the third white. Pour into three prepared cake pans.
- Bake for 25-30 minutes, until lightly browned around the edges, and a toothpick inserted in the center comes out clean. Remove from oven and let cool completely.
Frosting
- Beat the butter in a large bowl or the bowl of a stand mixer until light and fluffy.
- Add powdered sugar, milk, vanilla, and a pinch of salt. Mix to combine. Add milk or powdered sugar as needed to make a smooth frosting. Beat on high for 2 minutes, until light and fluffy.
Assemble
- Level the tops of each of the cake layers with a serrated knife.
- Place the blue cake layer down on a cake turntable or serving platter.
- Spread on one cup of frosting.
- Place the white cake layer on top and spread with another cup of frosting.
- Place the red cake layer on top, then spread the frosting around the top and sides of the cake.
Notes
Nutrition
Nutrition information is automatically calculated, so should only be used as an approximation.
Recipe FAQ
Use a large kitchen knife to cut a 4-inch diameter circle right in the center of the cake.
This will also create a 2-inch band around the perimeter of the cake. Cut that band into 1-inch sections (wedding-size pieces) or 1½ inch sections (party-size pieces).
Once the outer pieces have been served, slice the remaining center circle into 6-8 triangles.
Bake the cake rounds ahead of time and store until ready to assemble and decorate. Wrap the cooled rounds in plastic wrap and refrigerate for 3-5 days. Add a layer of aluminum foil and freeze up to 3 months.
Remove any fresh fruit before storing. Keep the cake in an airtight container(s) at room temperature for 3-5 days or in the fridge for 5-7 days. To freeze, wrap the cake in plastic and freeze for 3-4 months. It will be safe for longer but will begin to lose some of its flavors.
More Like This
Summer Cakes

Patriotic Recipes
Collections


This recipe was originally published May 2023.


Amazing cake! Turned out perfect and relatively simple to make.
This is a go-to 4th of July dessert! Sooo easy yet delicious and delightful!
I made this last year for July 4 and everyone loved it! I am making it for memorial day (as per my kids request) Thanks for a yummy recipe!
This cake looks great and easy to make – the kids will love it and I’m sure the colors will be a little different after they help make it!
Happy 4th everyone !
Kids thought this was neat to do different colors and enjoyed eating it as well. Love all your recipes!
Very moist and awesome cake.