This post may contain affiliate links. Please read our disclosure policy.
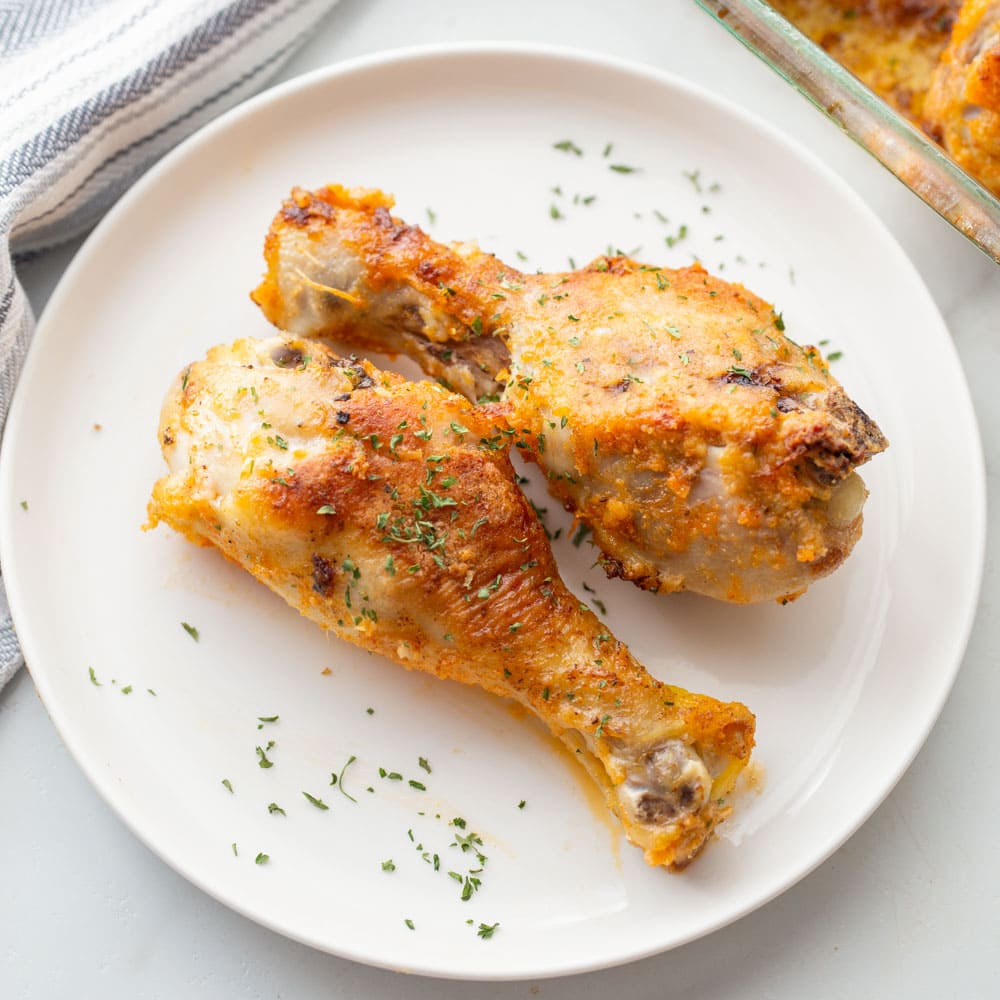
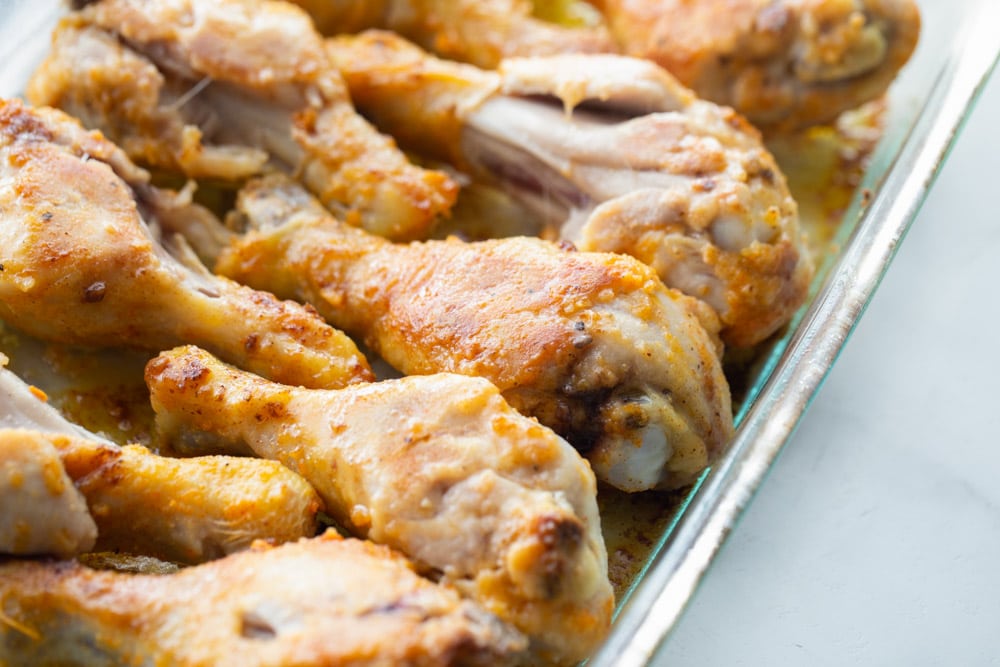
Enjoy this healthier baked alternative to fried chicken, by following these simple steps for Chicken Drumsticks in the Oven!
A Healthy Twist to Love!
We are huge fans of chicken wings and drumsticks! We eat a lot of chicken recipes in general, but wings are the perfect appetizer or a finger-licking main dish.
Chicken drumsticks in oven have all of that crispy flavor with less guilt, just like our Baked Chicken Fingers!
Why we love these:
- Crispy! The batter coating the chicken is light, tasty, and just perfect enough to make you lick your fingers.
- Healthier option. The best part is that it tastes just like Kentucky Fried Chicken but they’re not fried at all – they’re BAKED!!
- Easy. These drumsticks require few ingredients and minimal prep time for an easy dinner idea the kids are going to love!
Ingredients
PREP TIME: 10 minutes
COOK TIME: 45 minutes
- 2-3 tablespoons unsalted butter – helps the chicken bake up golden brown and delicious as well as keeps the chicken from sticking to the dish.
- ¾ cup Bisquick mix – Bisquick contains fat, flour, leavening, and seasonings that allow it to crisp up nicely when cooked.
- 1½ teaspoons paprika
- 1¼ teaspoons salt
- ¼ teaspoon black pepper – add more flavor by adding spices like garlic powder, onion powder, red pepper flakes, or a favorite seasoning blend
- 3 pounds chicken drumsticks (chicken legs) – You can use other cuts of chicken but adjust the baking times and temperature.
- spray butter – using spray butter makes it easier to coat the chicken, but you can also brush on melted butter.
Other Cuts of Chicken
Easily substitute other cuts, just adjust the bake times. Bake until the juices run clear. If you have a meat thermometer, check the internal temperature reaches 165°F
- boneless chicken thighs: 400°F oven for about 20 minutes
- bone-in thighs: 425°F for about 40 minutes
- boneless chicken breasts: 400°F oven for about 20 minutes
- bone-in breasts: 375°F for about 35 minutes
- bone-in chicken wings: 400°F oven for about 45 minutes
How To Make Chicken Drumsticks in Oven
- PREP. Preheat oven to 425°F. Melt 2-3 tablespoons butter in a 9×13 baking dish in the oven. (For easy clean up, line the cooking pan with aluminum foil.)
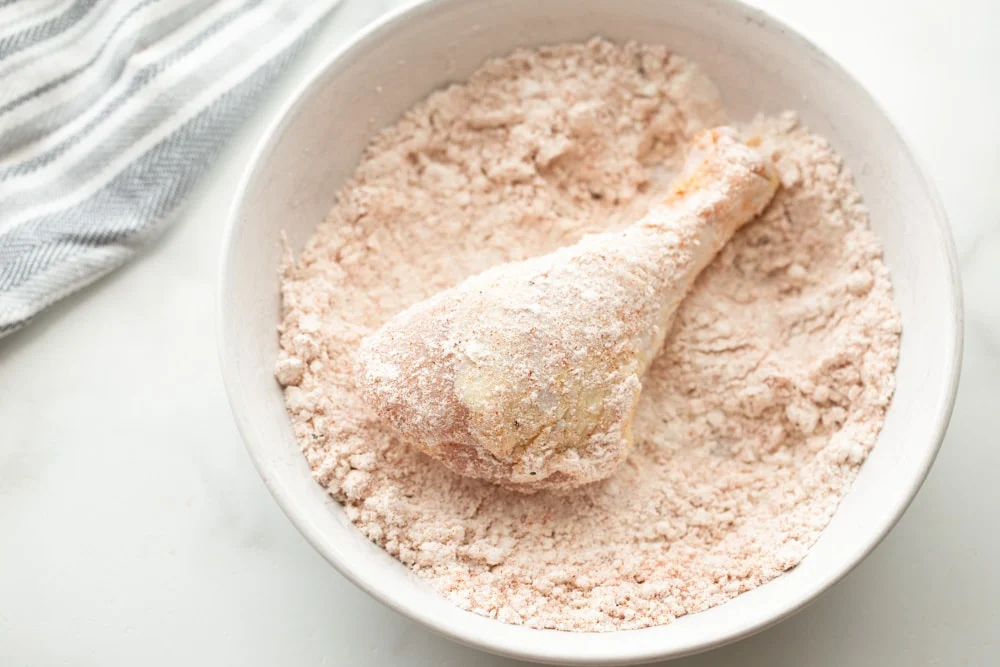
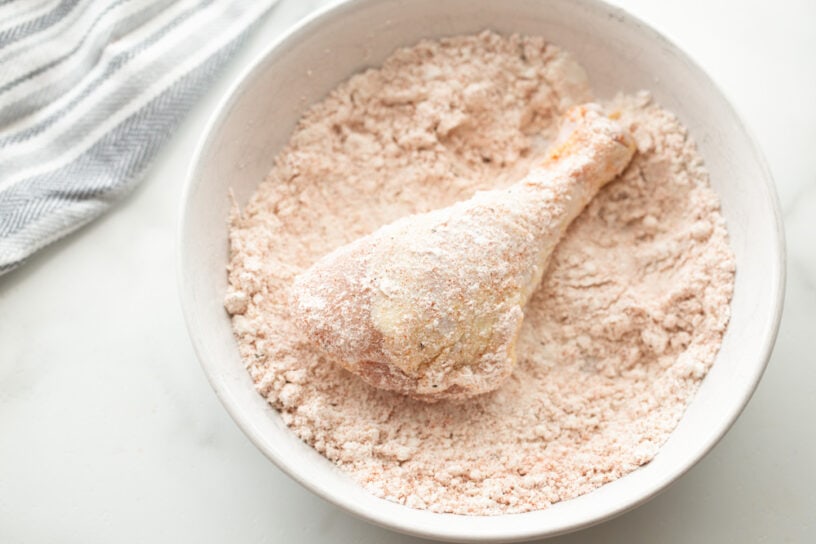
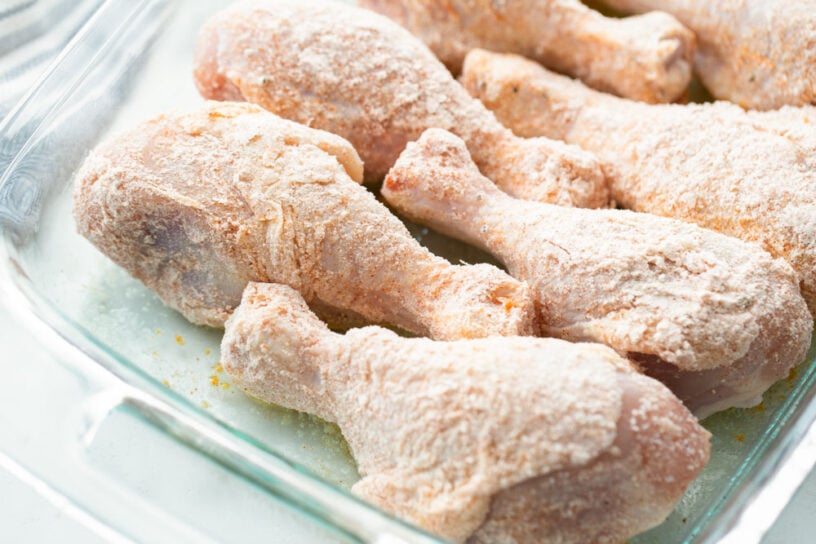
- BATTER. While butter is melting, stir ¾ cup Bisquick, 1½ teaspoons paprika, 1¼ teaspoons salt, and ¼ teaspoon pepper in a bowl. Coat each chicken drumstick and place in the baking dish with melted butter.
- Coat with butter before baking and once during baking.
- BAKE. Bake for 30 minutes, flip, and bake an additional 15-25 minutes. ENJOY!!
PRO TIP: For Crispy Skin
The chicken skin covers one side of the drumstick more the the other side. For the crispiest skin, start baking with the skin side down, then flip halfway so the skin side is up during the remainder of the baking time. You can also broil it for a minute or two before removing it from the oven.
Complete the Meal
- Side dishes: Roasted Broccoli, Easy Coleslaw, Homemade Mac and Cheese.
- Desserts: Strawberry Shortcake, Mud Pie, Lemon Sheet Cake
- More chicken dishes: Buttermilk Fried Chicken, Fried Chicken Breast Recipe, Baked Ranch Chicken
More collections: Chicken Breast Recipes, Chicken Dinner Ideas, Healthy Dinner Ideas

Chicken Drumsticks in Oven
Ingredients
- 2-3 tablespoons butter
- ¾ cup Bisquick mix
- 1½ teaspoons paprika
- 1¼ teaspoons salt
- ¼ teaspoon pepper
- 3 pounds chicken drumsticks, chicken legs
- spray butter
Instructions
- Preheat oven to 425°F.
- While butter is melting, stir ¾ cup Bisquick, 1½ teaspoons paprika, 1¼ teaspoons salt, and ¼ teaspoon pepper in a bowl. Coat each chicken drumstick and place in the baking dish with melted butter.
- Coat with butter before baking and once during baking.
- Bake for 30 minutes, flip, and bake an additional 15-25 minutes. ENJOY!!
Video
Notes
Nutrition
Nutrition information is automatically calculated, so should only be used as an approximation.
Recipe FAQ
How to Store Chicken Drumsticks in oven recipe?
- Place leftovers in an airtight container and store in the fridge for 3-4 days.
How to Freeze?
- Place in a freezer-safe Ziploc or container and store for 4-6 months.
- To reheat, place baked chicken drumsticks on a microwave-safe dish, cover with a damp paper towel, heat for 45 seconds flip and heat for 45 seconds more. To heat in the oven place the chicken in an oven-safe dish. Preheat oven to 325°F. Lightly coat the chicken with olive oil, and heat uncovered for 25 minutes.
For More Baked Chicken Recipes:
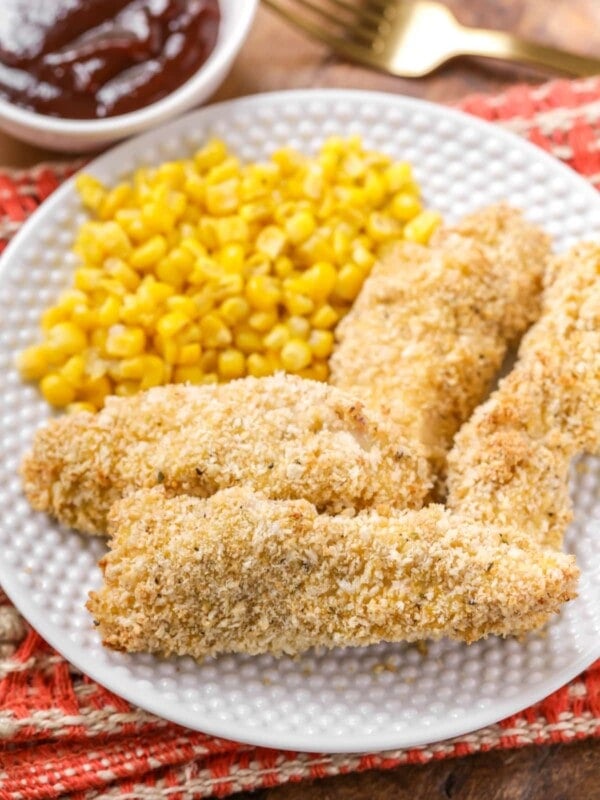
Baked Chicken Fingers
35 mins
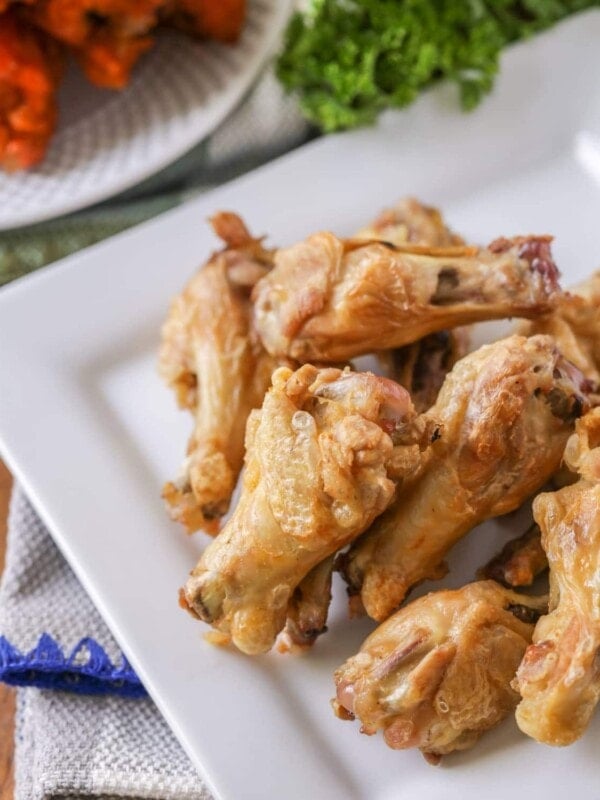
Baked Chicken Wings
30 mins
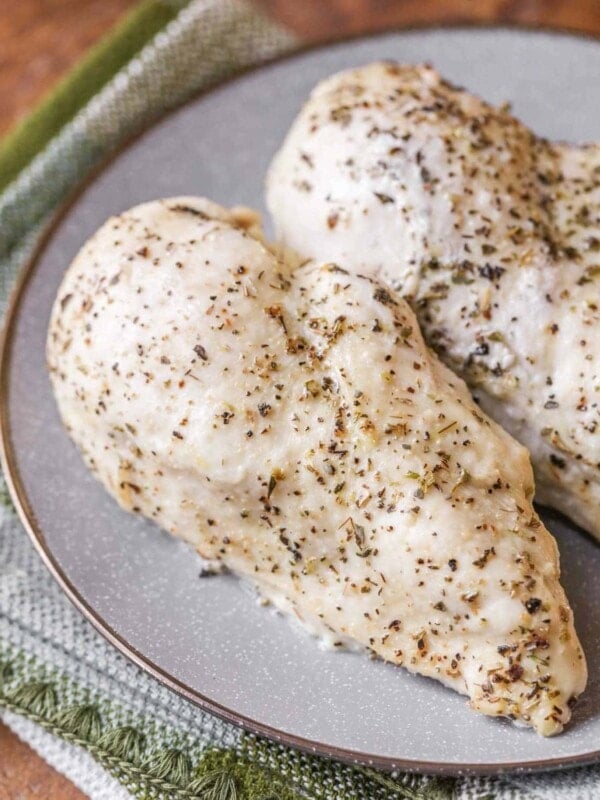
Baked Chicken
35 mins
Baked Chicken Nuggets
35 mins
Adapted from bettycrocker.com.


Did you put foil in the bottom of the pan?
No, i did not. Sprayed the bottom really well 🙂
What is the pasta dish on the plate? It looks so good!
I will have to share that recipe. I don’t have it on the site. It really is good! Keep checking for it 🙂
The video says to bake for 15 minutes then flip & bake for an additional 15 minutes. The written recipe days to bake for 30 minutes then flip & bake another 15-20. Which is correct?
It’s 30 min, then an additional 15-20. Sorry for the confusion. ENJOY!
What is the recipe for the salad pictured?
Here ya go….https://lilluna.com/penne-tomato-and-mozzeralla-pasta/
Thank you
I made this recipe tonight, It was very tasty.
The only thing I did differently was melt more butter and brush it over the chicken since I use only real butter and no margarine/spray butter. I served it with cheddar Bisquick biscuits with garlic butter and a salad. Very good dinner thank you for the recipe.
I am so glad you liked it!! Thank you for letting me know 🙂
Tried making these. Butter splatters all over oven. I do not have a self cleaning oven. Any suggestions how to make these so butter won’t get all over?
Hmm..I’m honestly not sure? Mine didn’t splatter all over, but maybe you can just do a smaller amount?
Top with a splatter screen.
I Am in the mist of making this…don’t have spray butter. Canola spray I have. What should I do?
This is the best, most tasty, crispy skin, baked chicken I’ve ever had! I had saved this recipe for sometime and finally made it this week. I added 1 & 1/2 tsp. garlic powder to the flour mixture and used Smart Balance spread instead of butter. I also used a whole chicken that I cut up myself. I then sprinkled the remaining flour mixture over the chicken prior to cooking to see if I’d get more of a flavorful coating-it worked! I don’t know if the “I Can’t Believe It’s Not Butter” spray is the game changer, but I’m not going to change it! It was simply delicious! I liked it so much better than cornflake baked chicken. The skin actually crisped up with the flour coating. I feel cornflakes get too mushy. Thank you, so much, for sharing this with us! I’ll never crave restaurant fried chicken again!
You are so very welcome and thank you so much for letting me know! I love hearing when recipes are a hit 🙂
What is spray butter? Pam?
It’s just butter that comes in like a spray bottle form. You spray the chicken before putting in the oven and once during baking to give it that crisp 🙂
But is there a brand name for spray butter? I think PAM is a spray oil.
I use…I Can’t Believe it’s Not Butter spray. I am sure there are others, that’s just what I have. Hope that helps!!
Another spray “Butter” is Parkay Spray. The reason I know this is my son has pancreatitis and can have no butter or margarine with fat. I hope this helps!
Sharon
Thank you for sharing that Sharon!
HAS ANYONE USED BONELESS/SKINLESS BREASTS? WHAT ARE THE VARIATIONS IF SO?
I tried the boneless skinless chicken breasts, they were really good. My husband likes legs & thighs & I like breasts so I just did what the recipe said but I baked everything 25 minutes on each side. We really like it.
Thanks Donna!!