This post may contain affiliate links. Please read our disclosure policy.
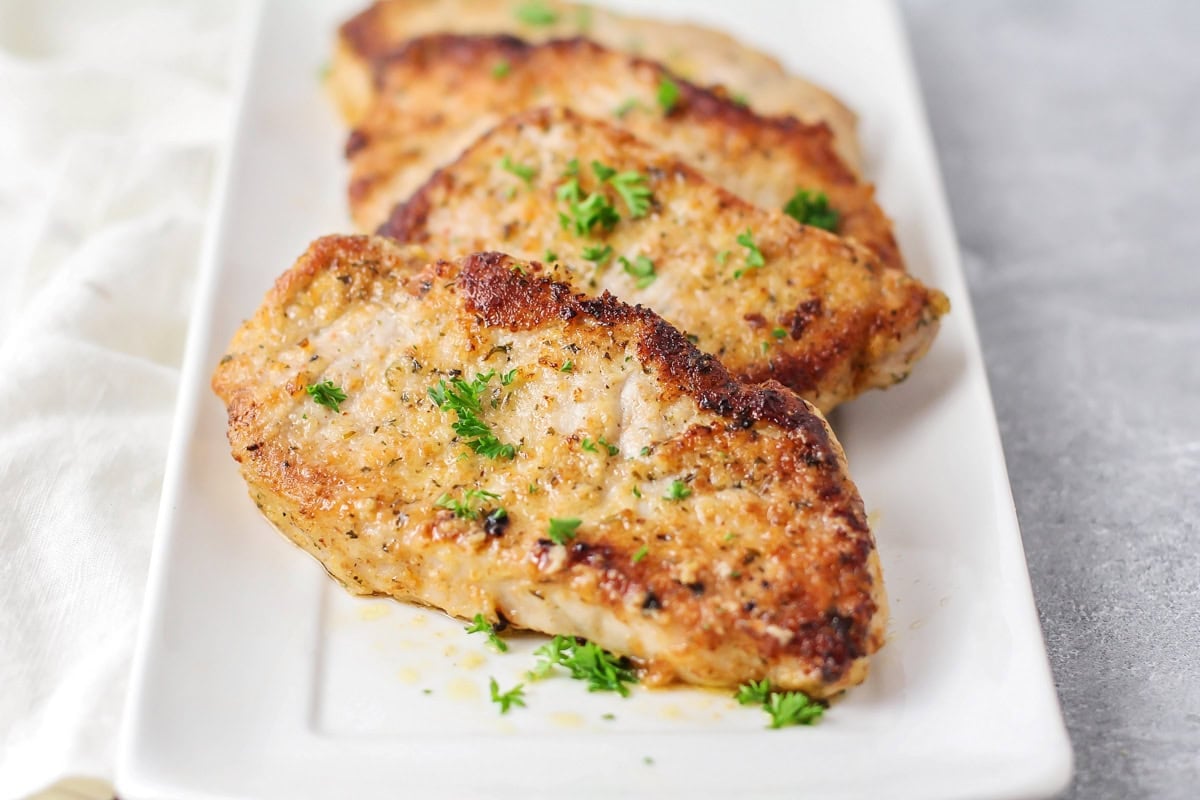
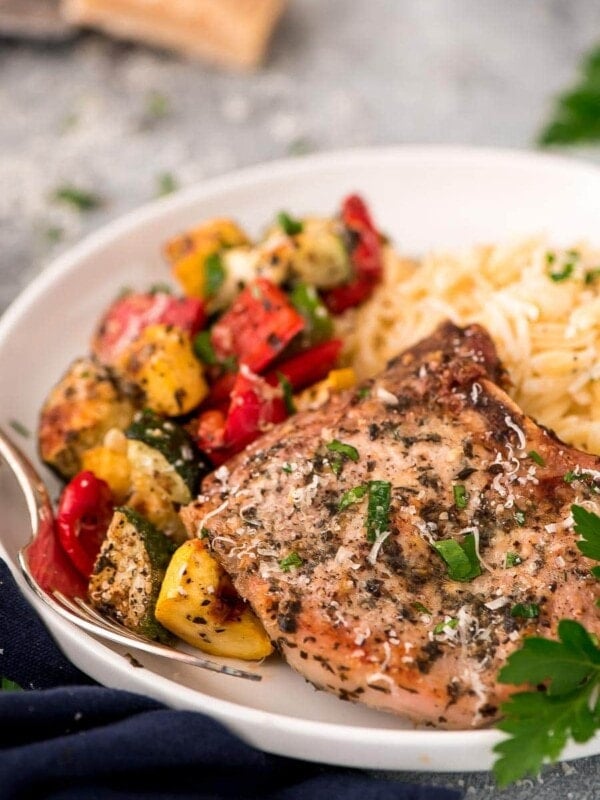
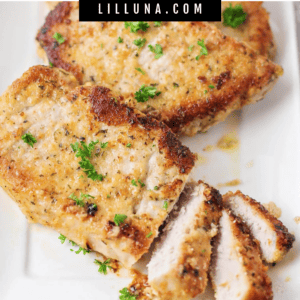
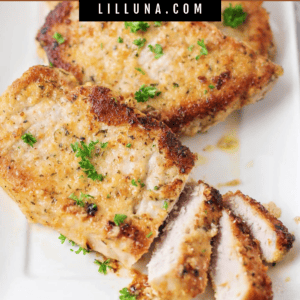
With less than 10 minutes of prep work, these Parmesan Crusted Pork Chops are simple, delicious and the best way to enjoy pork chops.
a family Favorite!
Pork chops have become a dinner time staple over the years. Both of our parents have made them for as long as we can remember, and now we can’t get enough of them!
Over the past decade, we have tried MANY ways to prepare our favorite pork dish, and we hit the JACKPOT with this juicy parmesan rendition 🙂 Coated in breadcrumbs and grated parmesan cheese, these perfect chops have quickly claimed the title of World’s Best Pork Chop Recipe.
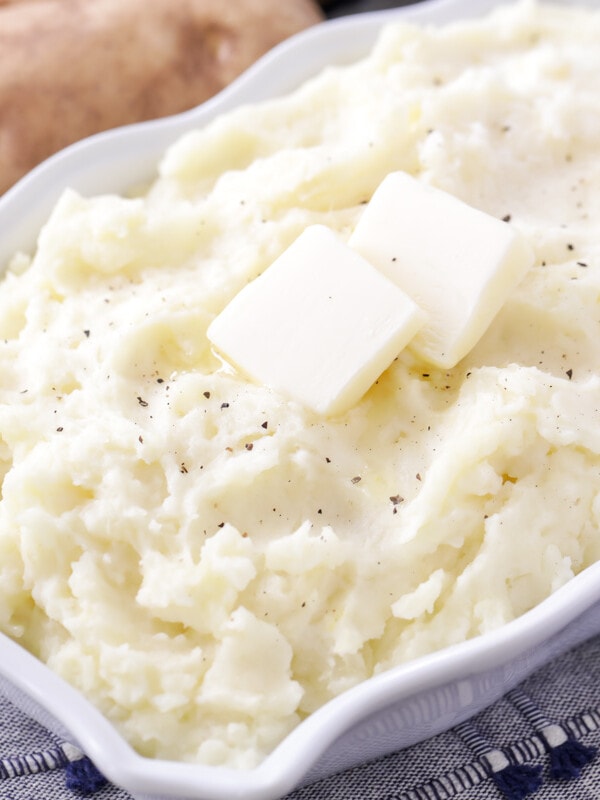
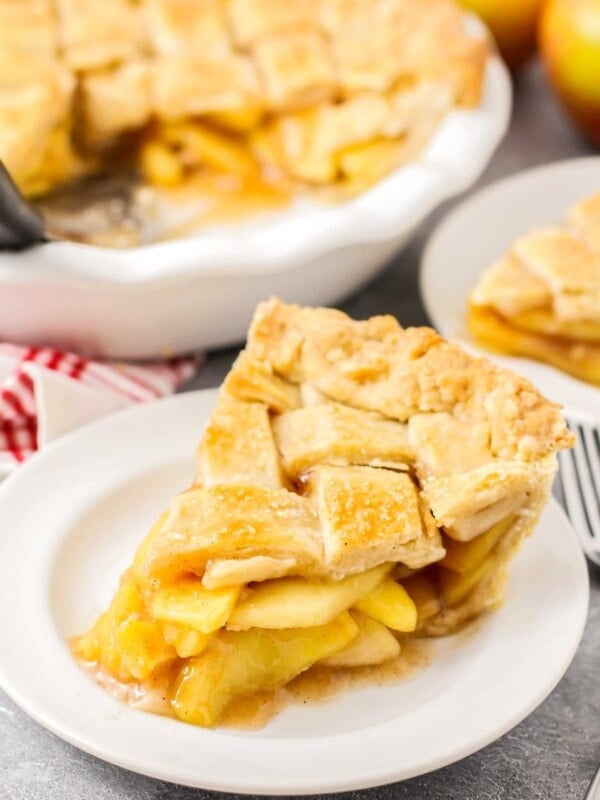
Add them to your Sunday dinner menu alongside our Best Mashed Potatoes followed up with a slice of homemade Apple Pie, and you have the perfect meal!
WhY WE LOVE IT:
- Simple. This recipe only requires 10 minutes of prep time.
- Flavorful. With the different spices and searing of cheese on the outside, this recipe cannot be beat.
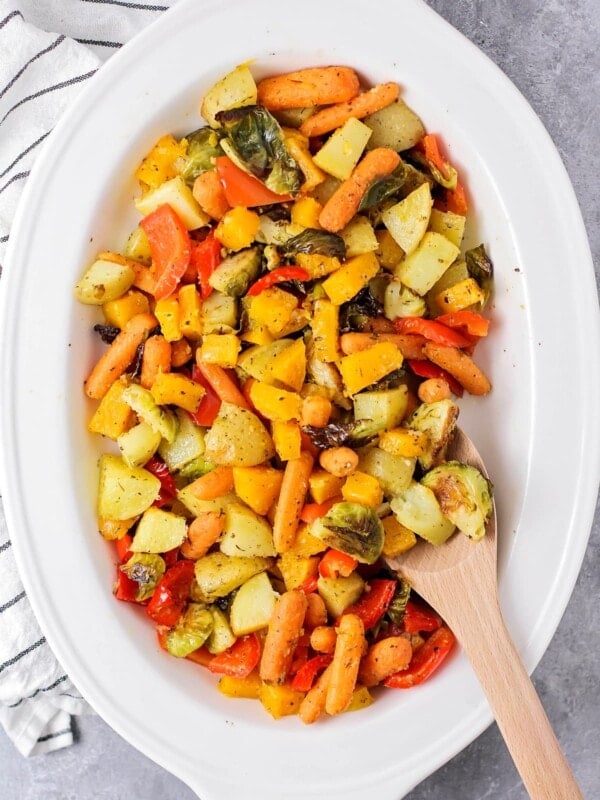
- Kid-Friendly. Even the kids like this recipe because the result is delicious, juicy pork chops. The kids love them even more with Mashed Potatoes and Roasted Vegetables.
Ingredients
PREP TIME: 10 minutes COOK TIME: 30 minutes
- 4 boneless pork chops, (about ¾ inch thick) – Boneless pork chops come in various cuts, such as loin chops and shoulder chops. Loin chops are generally leaner and more tender, while shoulder chops are more flavorful but can be tougher.
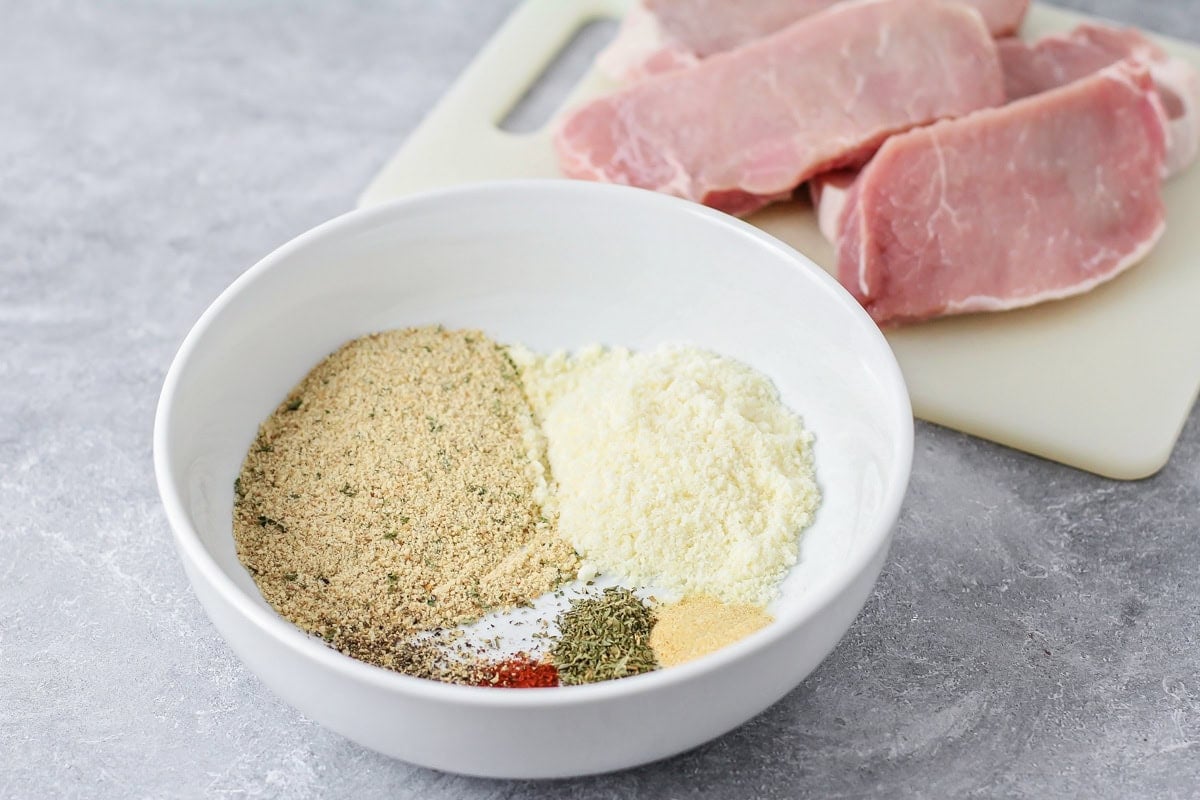
- ⅓ cup grated Parmesan cheese – or Pecorino Romano or Asiago. The cheese needs to be finely grated to ensure it easily sticks to the pork chop.
- 2-3 tablespoons Italian breadcrumbs – We use Italian breadcrumbs because they are packed with flavor and finer in texture, allowing them to stick to the chops better, but Panko breadcrumbs can also be used in a pinch.
- ⅛ teaspoon paprika
- 1 teaspoon dried parsley
- ½ teaspoon garlic powder
- 2 tablespoons olive oil – or any oil with a high smoke point
- ¼ teaspoon black pepper
How to Make Parmesan crusted Pork Chops
- SEASON. Mix ⅓ cup parmesan cheese, 2-3 tablespoons bread crumbs, ⅛ teaspoon paprika, 1 teaspoon parsley, ¼ teaspoon pepper, and ½ teaspoon garlic powder and place on a plate.
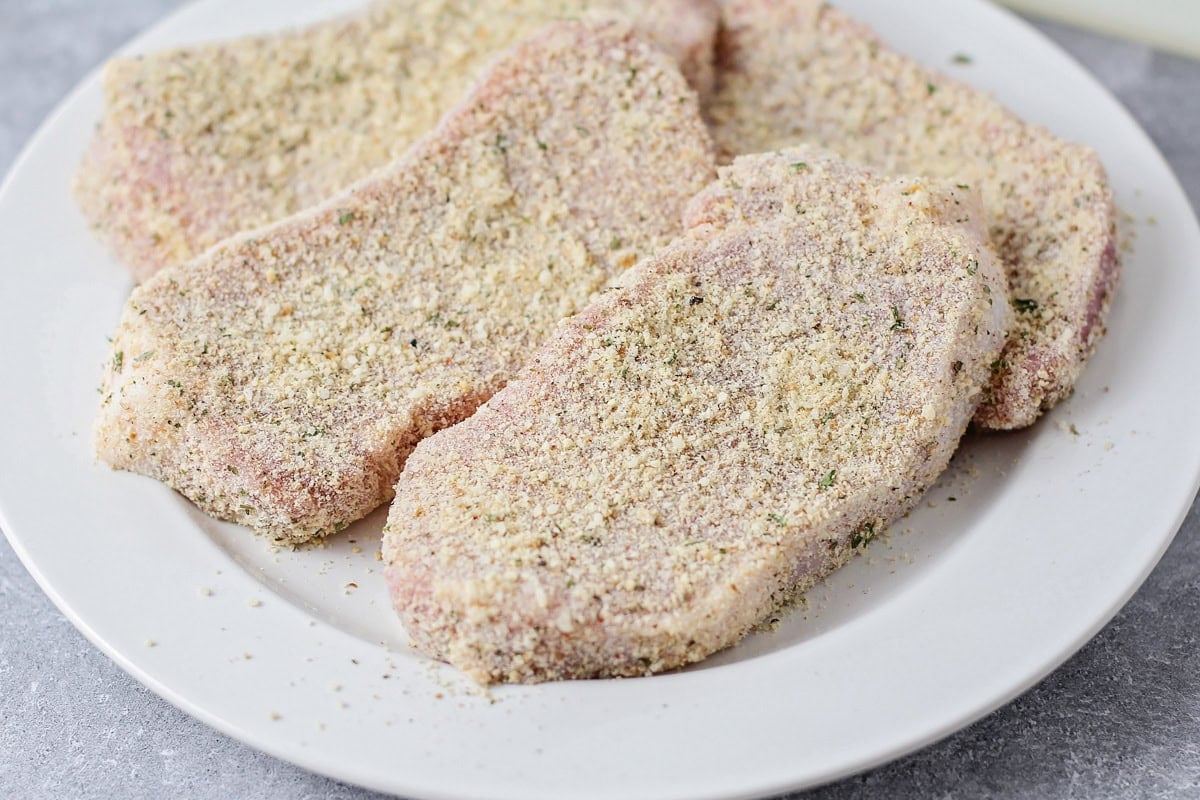
- COAT. Before dipping the pork chops in the egg mixture, pat them dry with a paper towel. This simple step ensures the breading sticks more effectively. Dip pork chops in the mixture (making sure the mixture sticks).
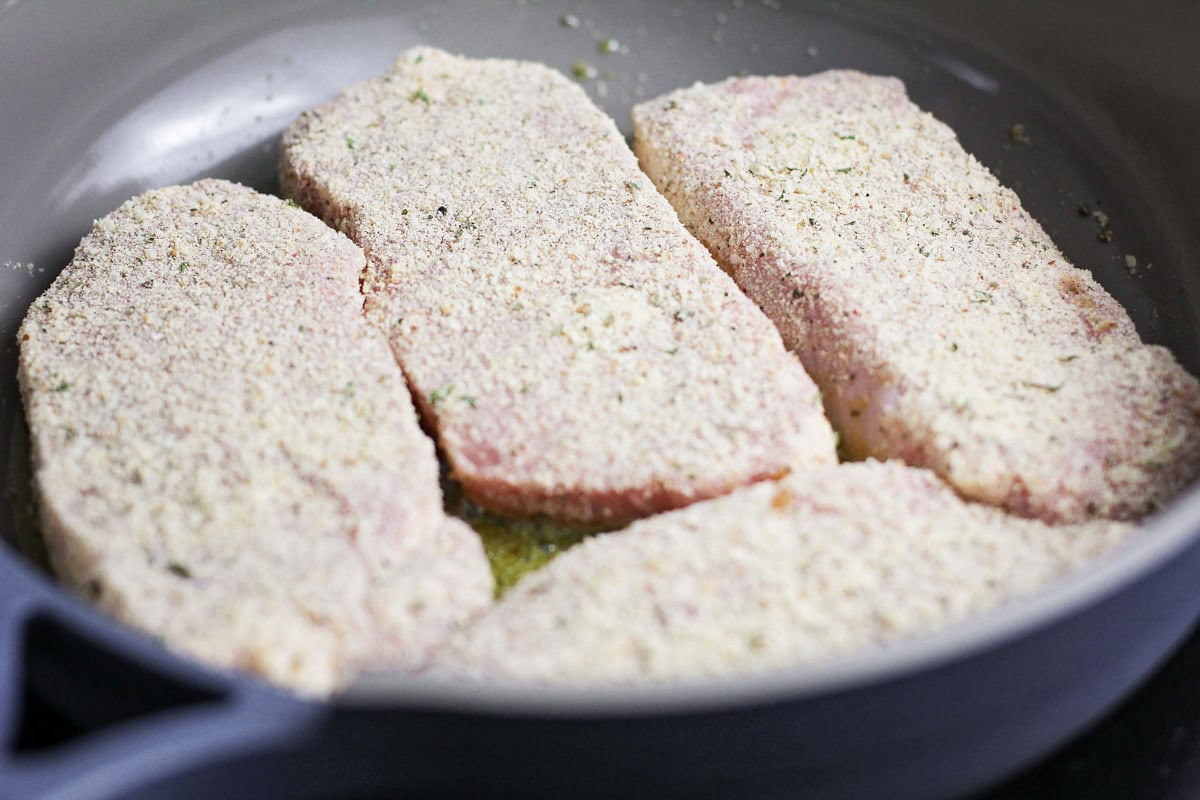
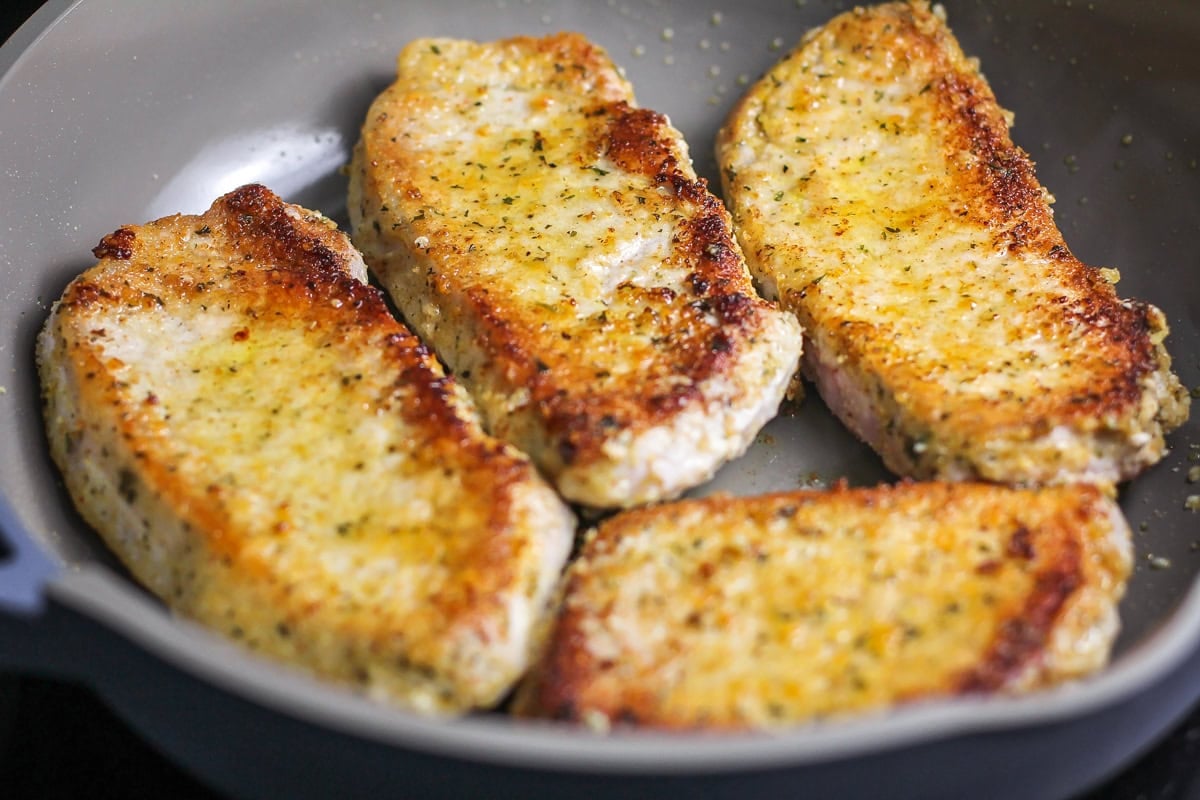
- SEAR. Heat a large skillet over medium-high heat until hot. Add 2 tablespoons of olive oil, and then place the breaded pork chops in the pan. Sear each side for about 5 minutes, or until golden brown.
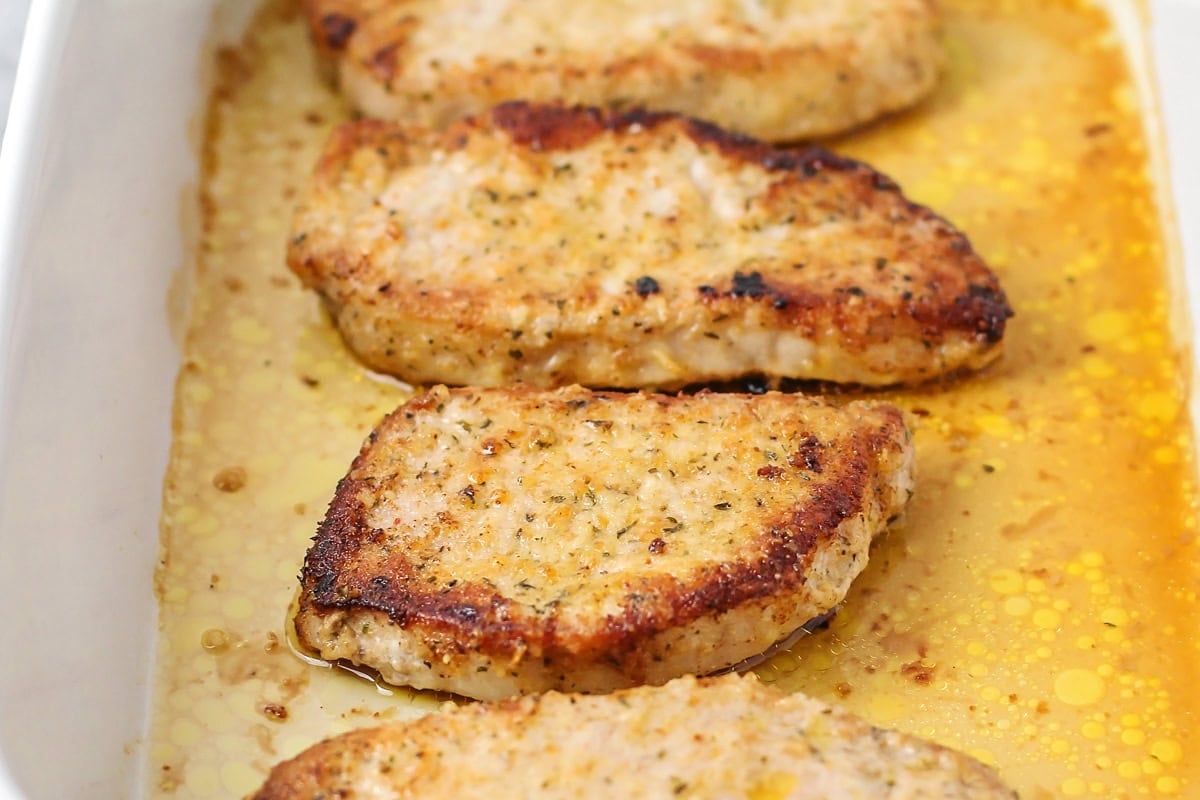
- BAKE. Place pork chops in a glass baking dish (making sure to leave 1 inch around each chop) and cook according to thickness. NOTE: For crispier pork chops, bake on a greased wire rack over a baking sheet.
- Bake at 350°F for 15-20 minutes until the internal temperature reaches 145°F. This ensures the meat stays tender and juicy, avoiding overcooking which can lead to dryness.
- To make sure the pork chop temp is correct, we use a meat thermometer.
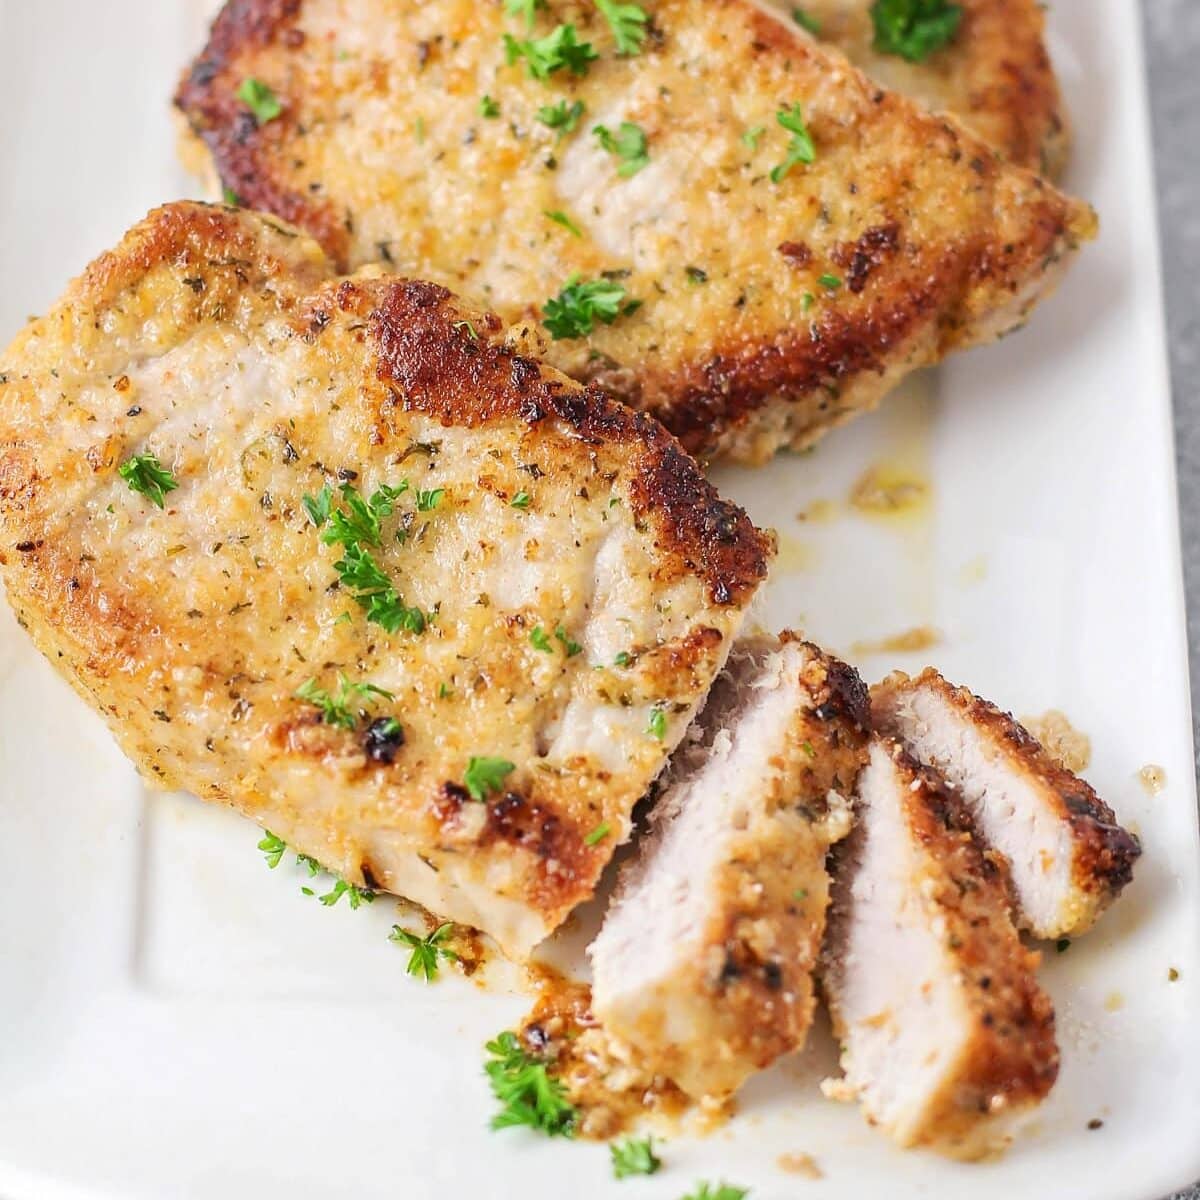
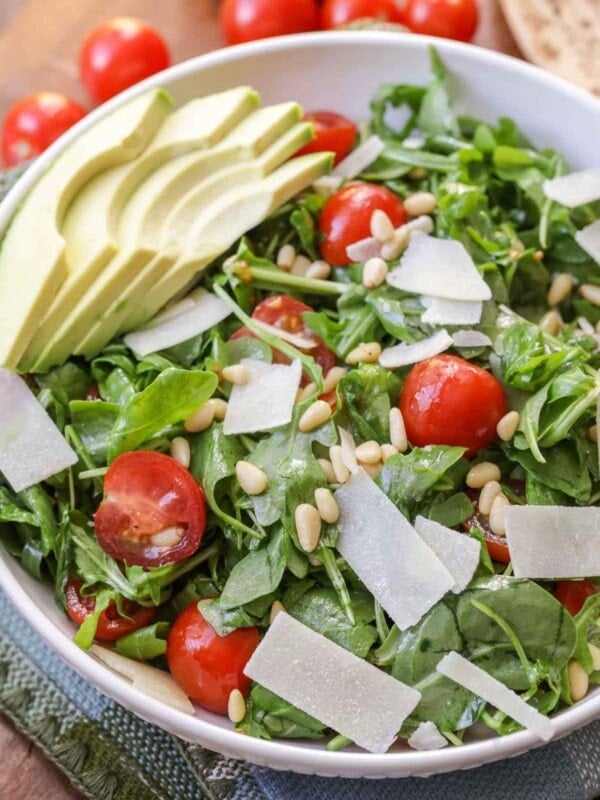
- SERVE your Parmesan-Crusted Pork Chops with a fresh Arugula Salad or Roasted Vegetables for a complete, easy dinner. You can even add a squeeze of lemon juice for a bright, tangy finish.
PRO TIP: Brining
For even juicier pork chops, you can brine them in a mixture of water, salt, and sugar for 30 minutes before dipping them in the breadcrumb mixture and cooking. This step infuses the meat with moisture and flavor, making it even more tender.
Cooking Variations
Bake without sautéing. Sautéing the spices and cheese into the pork chops infuses the flavor even more but if you’re stretched for time you can skip right to baking:
- Preheat oven to 350°F (180°C). Place pork chops in a baking pan. Spread 1 teaspoon of butter over each pork chop along with spices.
- Since you are not flash-frying them first, bake them a bit longer. Bake for 20-25 minutes or until the internal temperature of the chops has reached 145°F (63°C) and the juices run clear.
Air fryer pork chops. The temperature and length of time that the pork chop will need to cook will depend on the thickness and if it is boneless:
- For a boneless chop, approximately ¾ inch thick, cook them at 380°F for 4-5 minutes.
- Flip and cook for another 4-5 minutes. (Be sure to spray both sides of the chop with cooking spray before placing it in the air fryer basket.) For bone-in and/or thicker pork chops, increase the cooking time.
Complete The Meal
Side Dishes
Best Mashed Potatoes
35 mins
Oven Roasted Vegetables
35 mins
Yeast Dinner Rolls
2 hrs 12 mins
Arugula Salad
10 mins
Desserts
Apple Pie Recipe
3 hrs 45 mins
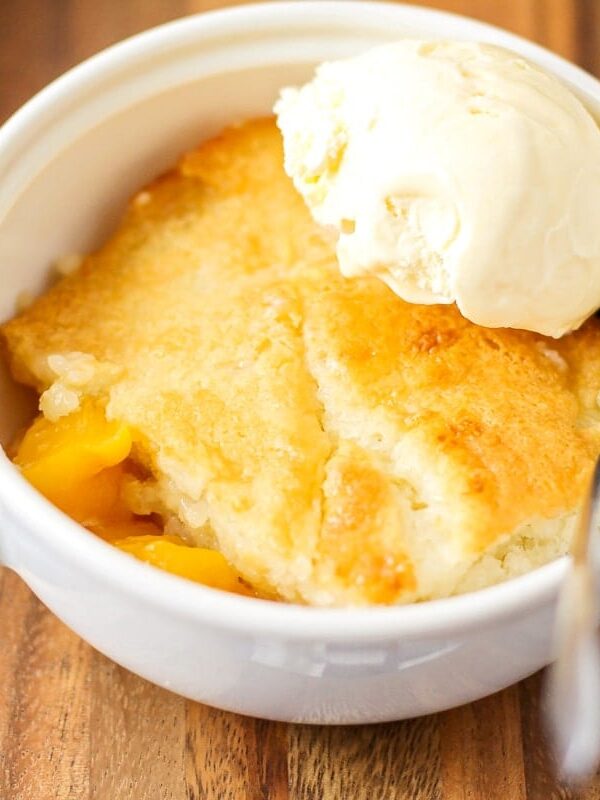
Easy Peach Cobbler
45 mins
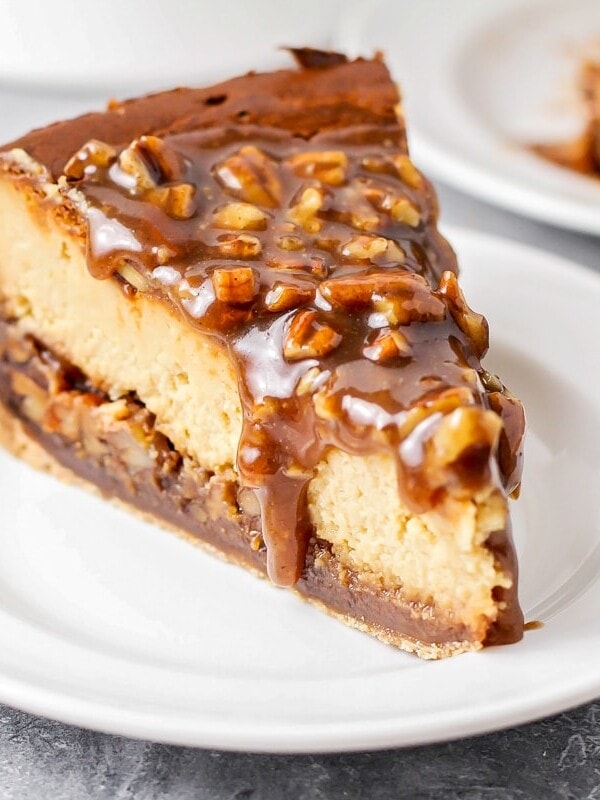
Pecan Pie Cheesecake
2 hrs 25 mins
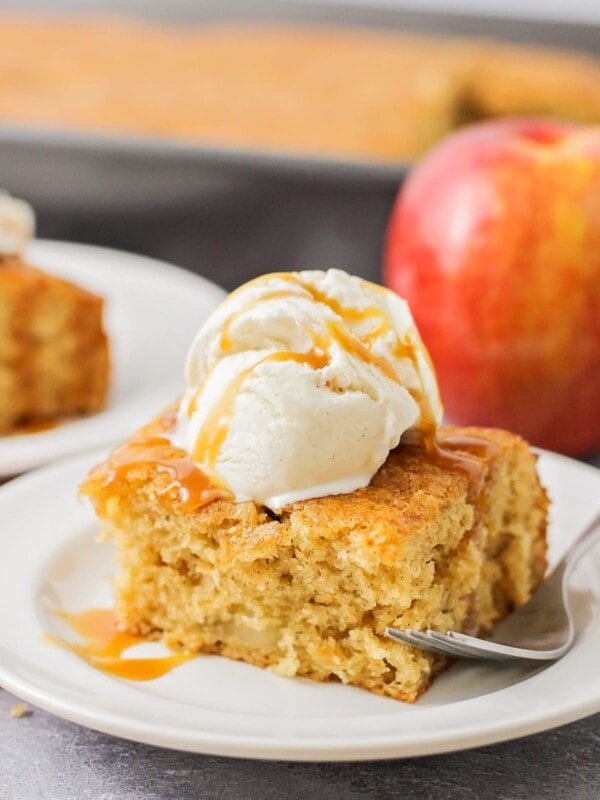
Easy Apple Cake
40 mins
More Pork Chops
Italian Pork Chops
25 mins
Smothered Pork Chops
35 mins
Fried Pork Chops
25 mins
Slow Cooker Pork Chops
2 hrs 15 mins
Collections
Parmesan Crusted Pork Chops
Equipment
Ingredients
- ⅓ cup grated Parmesan cheese, finely grated
- 2-3 tablespoons Italian breadcrumbs
- 1 teaspoon dried parsley
- ½ teaspoon garlic powder
- ¼ teaspoon pepper
- ⅛ teaspoon paprika
- 4 boneless pork chops, (about ¾ inch thick)
- 2 tablespoons olive oil
Instructions
- Preheat the oven to 350°F.
- Mix parmesan, breadcrumbs, parsley, garlic powder, pepper, and paprika in a shallow dish.
- Before dipping the pork chops in the egg mixture, pat them dry with a paper towel. This simple step ensures the breading sticks more effectively. Dip pork chops in the mixture (making sure the mixture sticks on both sides).
- Heat oil in a pan over medium-high heat until hot. Add pork chops and cook for 5 minutes on each side to sear.
- Transfer pork chops to a glass baking dish large enough to hold them with 1 inch of room around each chop (or, for crispier chops, bake on a greased wire rack over a baking sheet).
- Bake for 15-20 minutes until the internal temperature reaches 145°F. Let rest for 5-10 minutes before serving.
Video
Notes
- For even juicier tender pork chops, you can brine them in a mixture of 4 cups water, 1 tablespoon salt, and 1 tablespoon sugar for 30 minutes before coating them.
- Searing the pork chops infuses the flavor on the chops, but if you’re stretched for time you can place the coated chops straight into the baking pan and drizzle the olive oil (or use butter) on top before baking.
- For an extra thick crust, dredge in the egg mixture and breadcrumbs twice.
- If you are using thinner pork chops, searing may be sufficient to cook them all the way through without baking.
- Use finely grated parmesan, as shredded parmesan tends to burn while being seared.
Nutrition
Nutrition information is automatically calculated, so should only be used as an approximation.
Recipe FAQ
If you find the breading doesn’t stick well, try dipping the pork chops in a simple egg wash (1 egg beaten with 1 tablespoon of water) before coating with the Parmesan mixture.
Allow the pork chops to come to room temperature before cooking.
Use a cast iron skillet or another heavy-bottomed pan. This will help the chops fry evenly.
Sauté the chops on medium heat but adjust as necessary so the crust doesn’t burn.
Let the cooked pork chops rest before cutting. Resting allows the center to finish cooking to a perfect 145°F as well as distribute all the moisture evenly through the chop
Totally up to you! We prefer boneless chops as they cook faster and are easier to cut. If using bone-in pork chops, allow them to bake 10-20% longer to ensure they are cooked all the way through.
Fridge. Coat the pork chops and place them on a platter. Cover with plastic wrap and keep them in the refrigerator for 1-2 days before cooking.
Freezer. Wrap each pork chop with plastic wrap and place them together in a freezer Ziploc for up to 2 months. Unwrap and thaw on the counter for 20-30 minutes before frying and baking. Allow extra baking time if partially frozen.
Leftover baked pork chops can be stored in an airtight container in the fridge for up to 3-4 days, or wrapped tightly in plastic and foil and frozen for 3 months.




CC
Had these last night and the recipe will be a keeper. So good!
This recipe was easy to make and very good!
Thanks for sharing.
Made these tonight and they were the most juicy chops I’ve ever cooked. I followed the recipe as written using three very thick boneless chops and cooked them in a heavy duty skillet that went from stovetop to oven. The only change I will make next time is to use more seasoning and a wire rack if I’m in the mood for extra dishes to do🤓
Hi Nettie
I read your review & wanted to ask you what you meant about this comment. ? the only change I will make next time is to use more seasoning & a wire rack , questioning the wire rack comment. How would you do this ? I love chops & always find them a little dry & for that reason my husband doesn’t really like to cook them much. So if this way of cooking them would help to prevent the dryness, I would love to try it. Can you respond also to my email so I will see it when you post.
Thanks
Jan Butler
GREAT RECIPE -GREAT FLAVOR -EASY TO MAKE- EXCELLENT RECIPE- THANKS
Tripled this recipe for a family dinner. Costed the chops (after brining them) with mayo so the coating would stick!
They were delicious! Definitely investing in a baking rack for next time!
Excellent taste! I should have read the reviews first because the cheese mixture did not stick to the chops and next time I will dip them in a beaten egg first.
Thanks for the feedback and for giving the recipe a try!
It was great, of course i had local farmer quality chops but the seasonings, tenderness and flavor throughout the meat as great. I followed the suggestion to have chops at room temp and sear in a heavy pan (used cast iron). I did not bake on a rack but in a heavy pan and even pulled it at 155 F out of oven and it was perfect. Time does fly. And for those who dont do eggs or dont want a heavy batter on their good meat this is the perfect recipe. Thanks:)
You’re welcome!! I’m glad you enjoyed the recipe!
I don’t think very much of the mixture stuck to the pork chops, they turned out nicely cooked but not a lot of flavor. Will try coating in egg next time.
Thanks for the review and feedback and for giving the recipe a try!
Can this dish be frozen after the searing step? I’d like to make it for someone for a meal train but am trying to keep them from doing extra steps – just thaw and put in the oven. Or would it be better to skip the searing and just prepare it for them to bake only?
If I were doing it, I would probably just prepare for baking only (instructions are in the post for that). You can try searing, then cooling in the fridge then freeze. I haven’t tried, so I don’t know exactly how the texture would be… you can let us know how it turns out if you do. But again, I’d probably just prepare for baking if you are planning on freezing and giving away.