This post may contain affiliate links. Please read our disclosure policy.
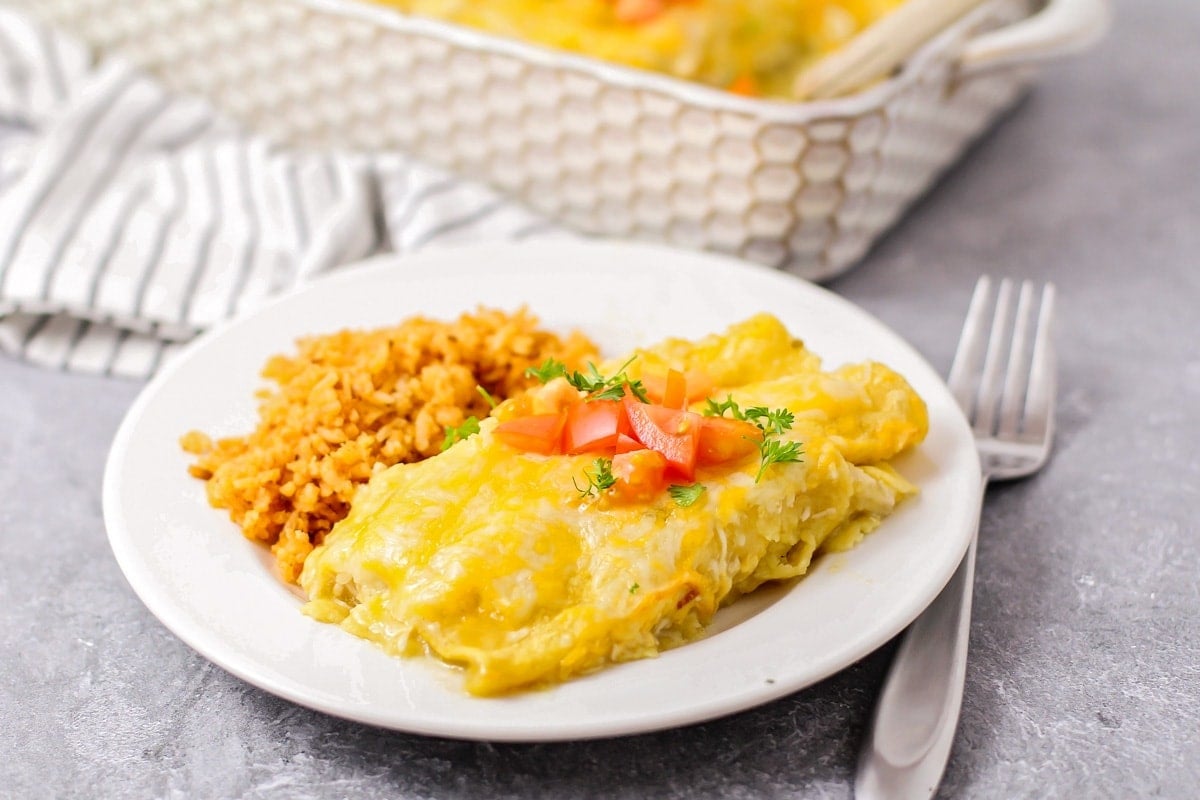
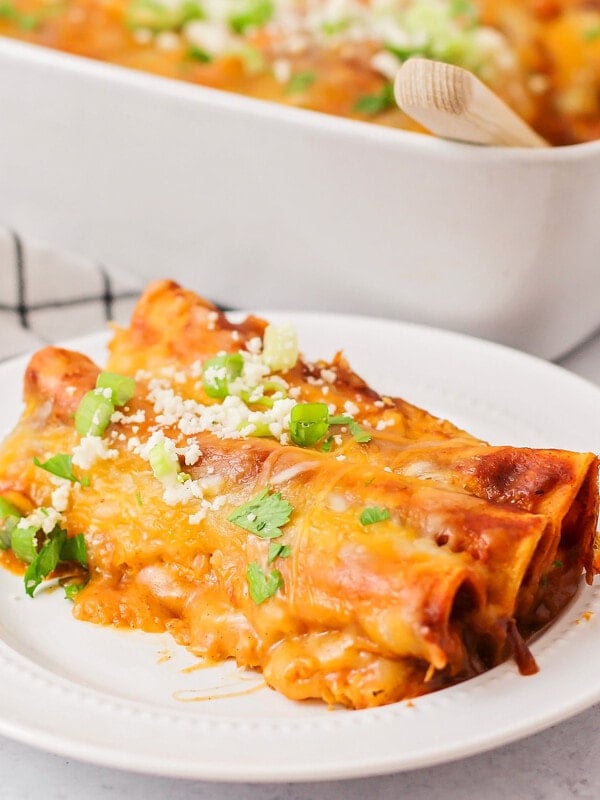
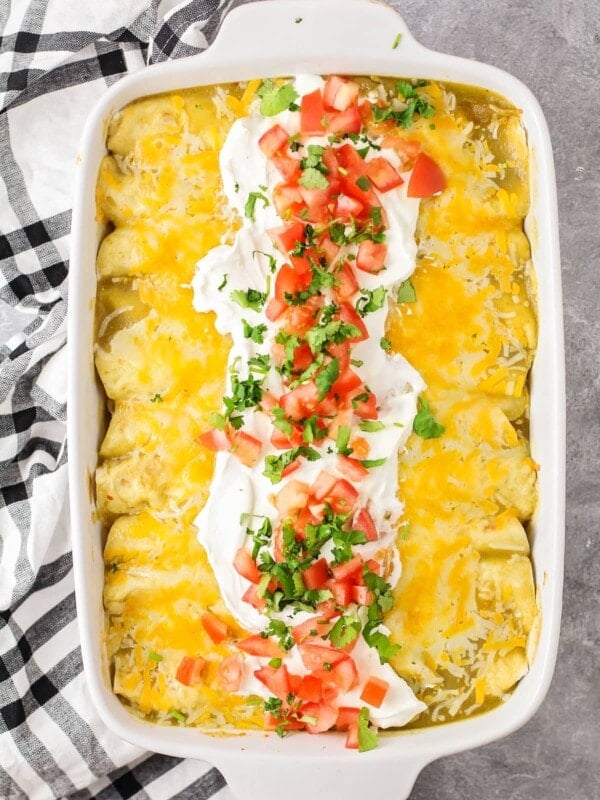
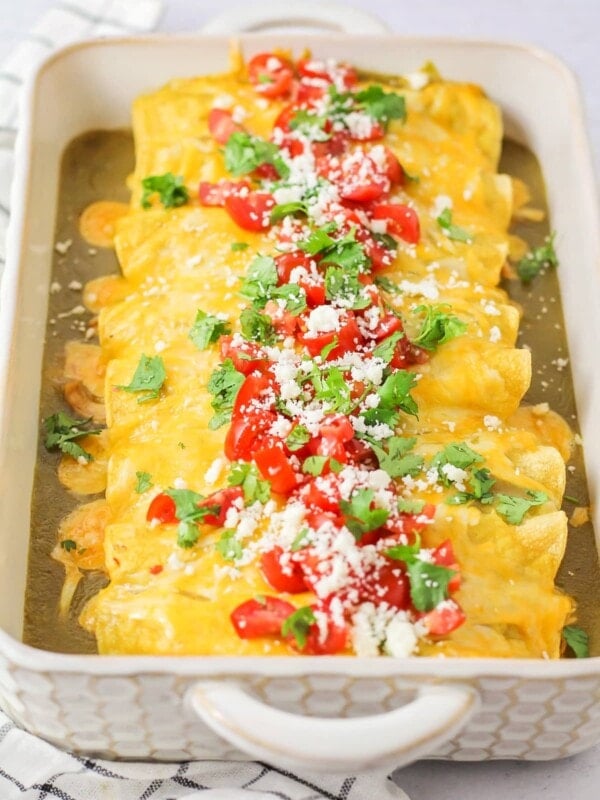
Our green chili chicken enchiladas are bursting with flavor and perfect for busy nights – plus, it’s freezer-friendly!
A family go-to!
Because of my heritage, I have learned how to make so many Mexican recipes – and this green chili chicken enchilada recipe is the FIRST Mexican dinner I learned to make.
Since then, it’s been made HUNDREDS of times (maybe more) and we’ve deemed enchiladas as a family favorite dinner!
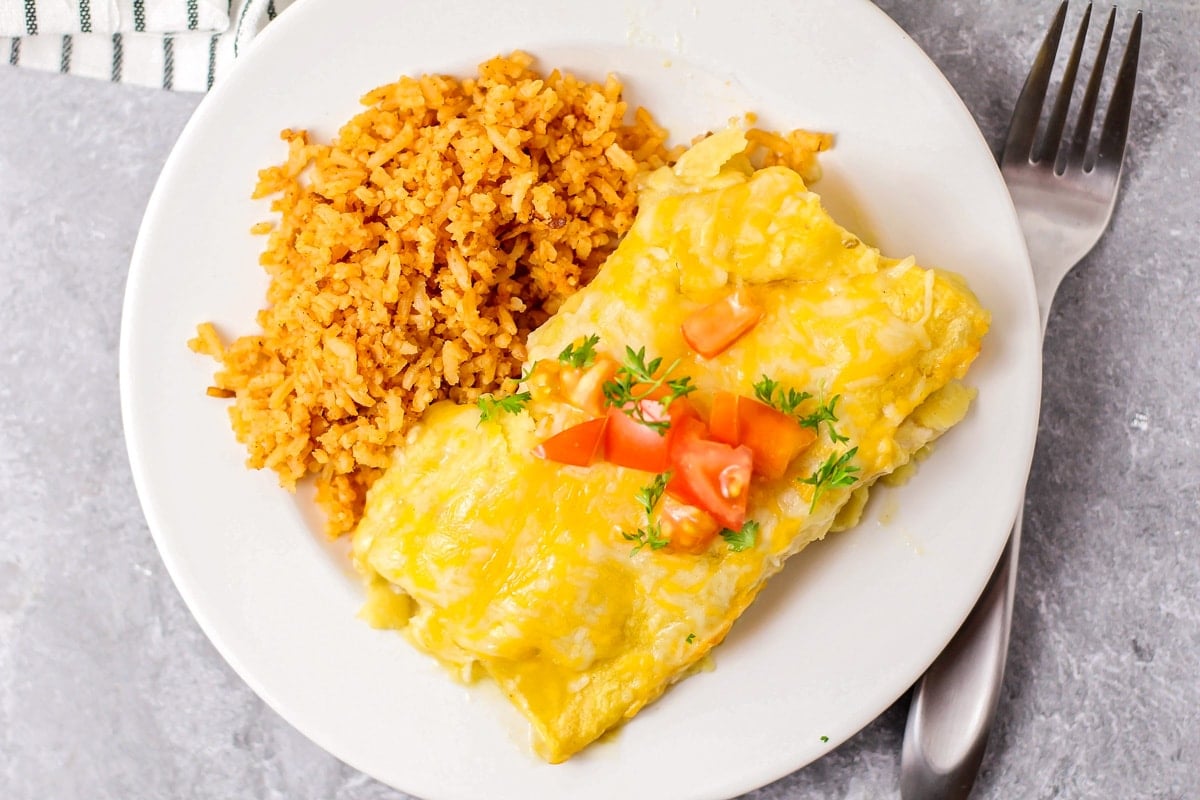
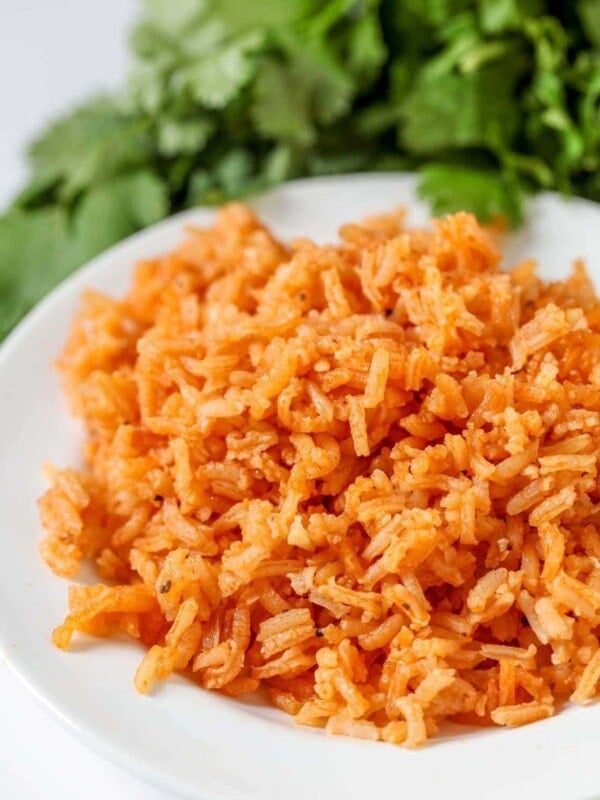
The flavors of green chiles + loads of chicken and gooey cheese make this an absolutely irresistible Mexican dish. Serve it alongside our Homemade Spanish Rice for a complete Mexican feast!
WHY WE LOVE It:
- Done in a flash. A 20-minute prep time makes these perfect for a quick dinner and entertaining.
- Feeds the masses. Great for making for company because it’s easy to double (or even triple!)
- Freezer Friendly. This is our favorite recipe to store in the freezer for a rainy day!
Ingredients
PREP TIME: 20 minutes
COOK TIME: 20 minutes
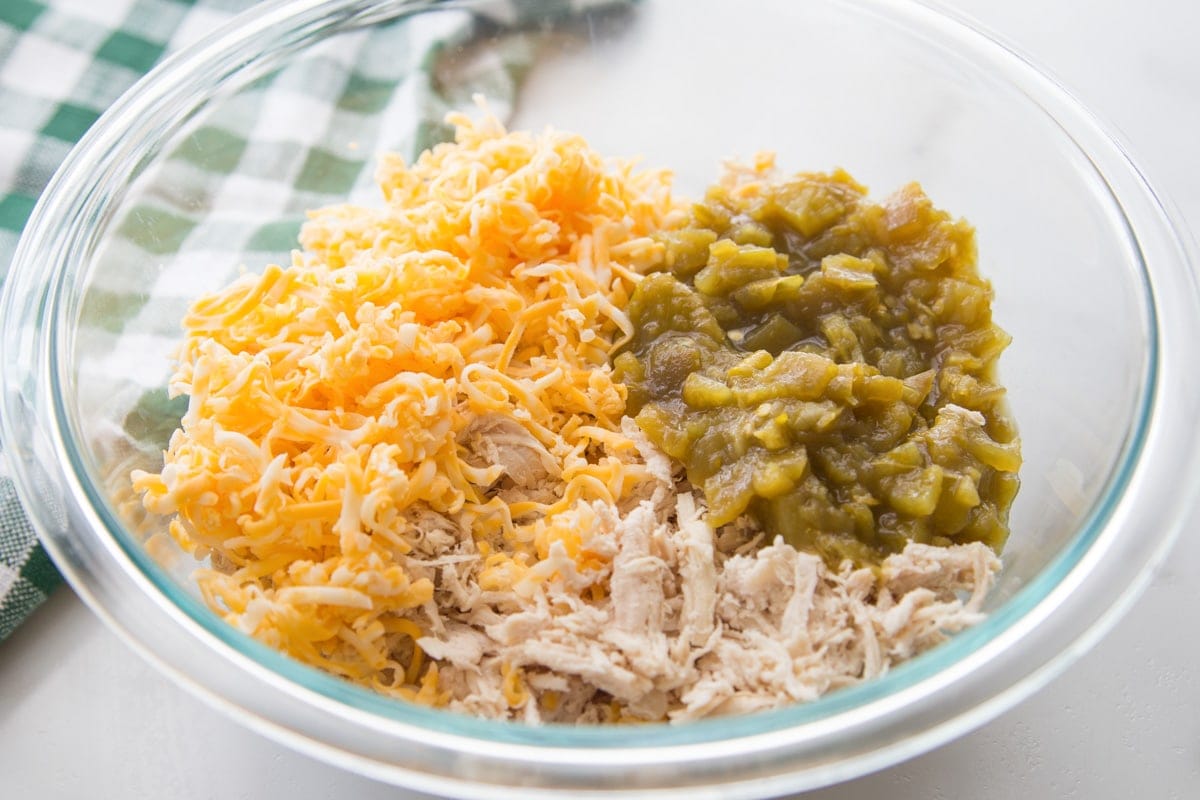
- 2 cups cooked and shredded chicken – Use canned chicken, Baked Chicken, rotisserie chicken, or even Shredded Chicken
- 2 cups shredded Colby jack cheese – or try a Mexican blend, grated marble Colby jack, or a cheddar cheese and pepper jack blend
- 1 (19-ounce) can of Las Palmas green chile enchilada sauce – or homemade Green Enchilada Sauce
- 1 cup sour cream – or plain yogurt
- 6-8 corn tortillas – We prefer corn tortillas since they are more traditional and add more flavor to the recipe, but you can swap the corn tortillas with similarly sized Flour Tortillas. (No need to dip flour tortillas in the sauce before rolling.)
- 1 (4½ ounce) can of chopped green chiles – For mild flavor use diced green bell peppers. For extra heat use diced jalapenos
- salt and black pepper – start with a little and add until the chicken is perfectly seasoned
- Toppings (optional) – Add olives, tomatoes, diced red onions, sliced jalapenos, fresh cilantro, salsa, chili peppers, black beans, or corn.
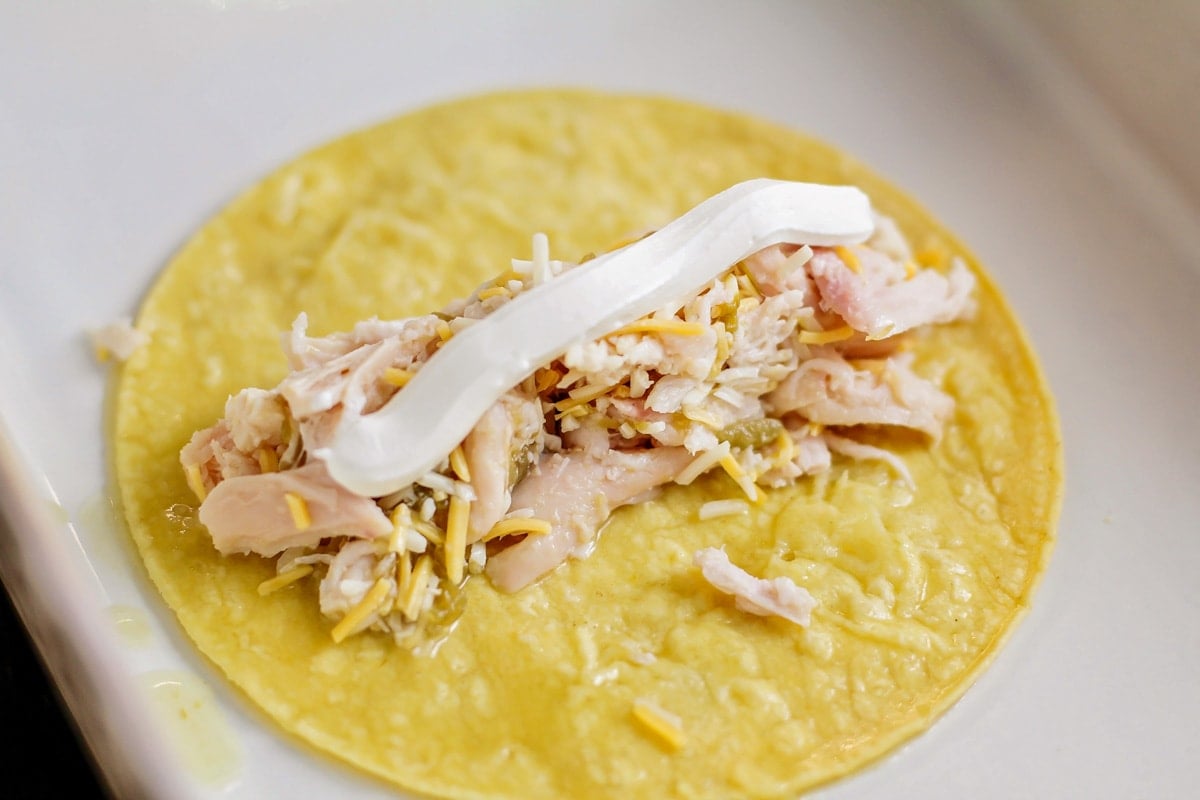
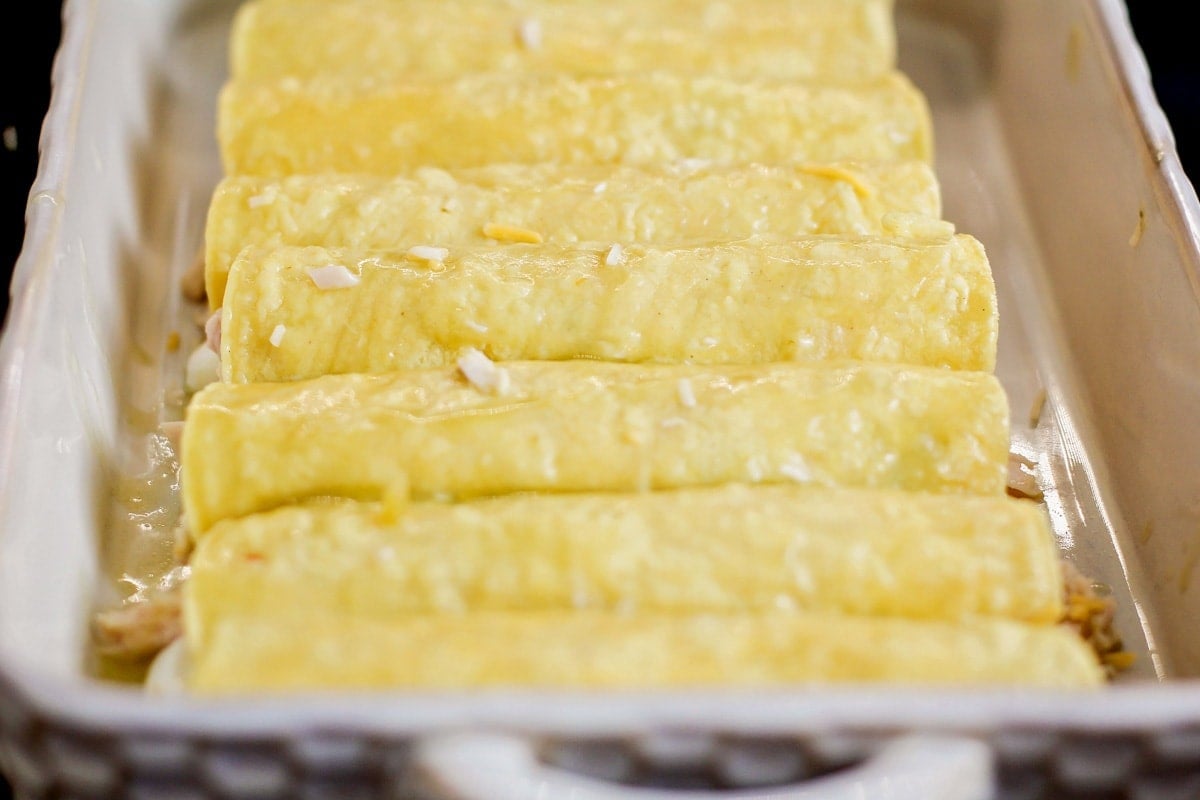
How to Make Green Chili Chicken Enchiladas
- PREP. Preheat the oven to 350°F.
- FILLING. In a small bowl, combine 2 cups shredded chicken, 1 cup of cheese, 1 (4½-ounce) can green chiles, salt, and pepper.
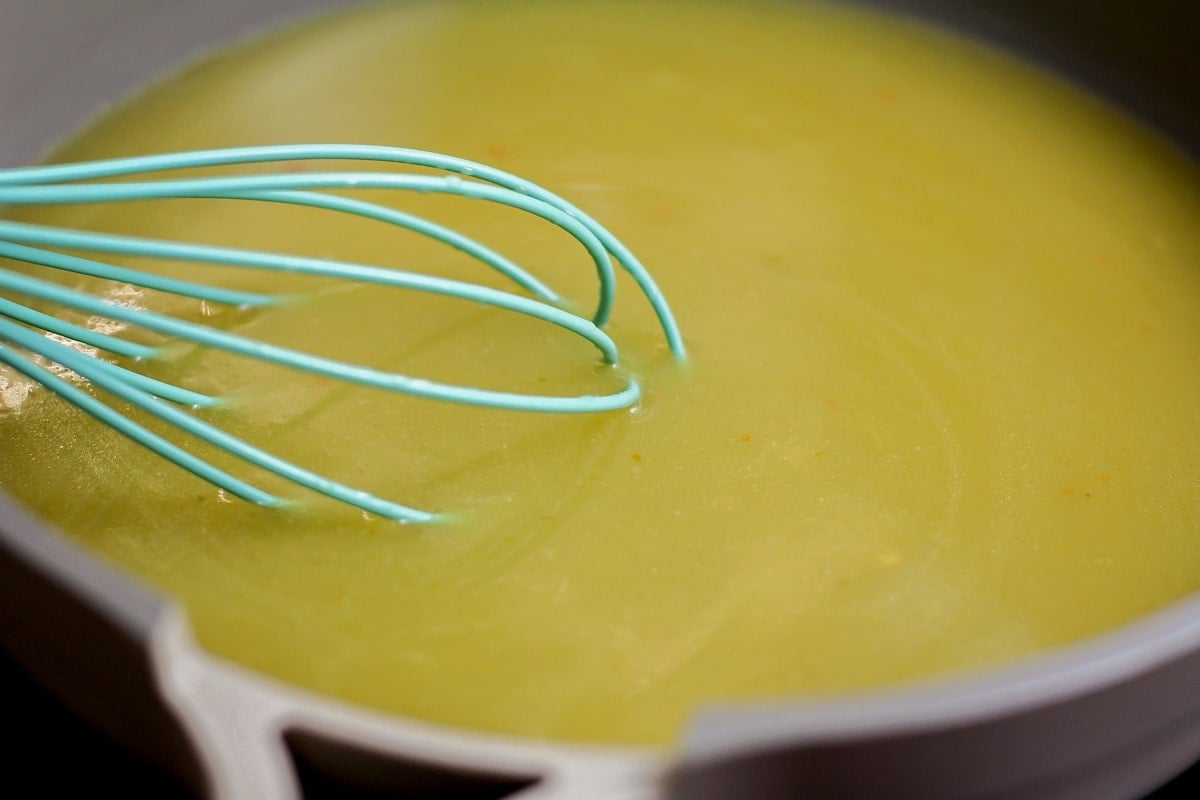
- SAUCE. In a small skillet, bring 1 (19-ounce) can of enchilada sauce to a boil. Remove from heat.
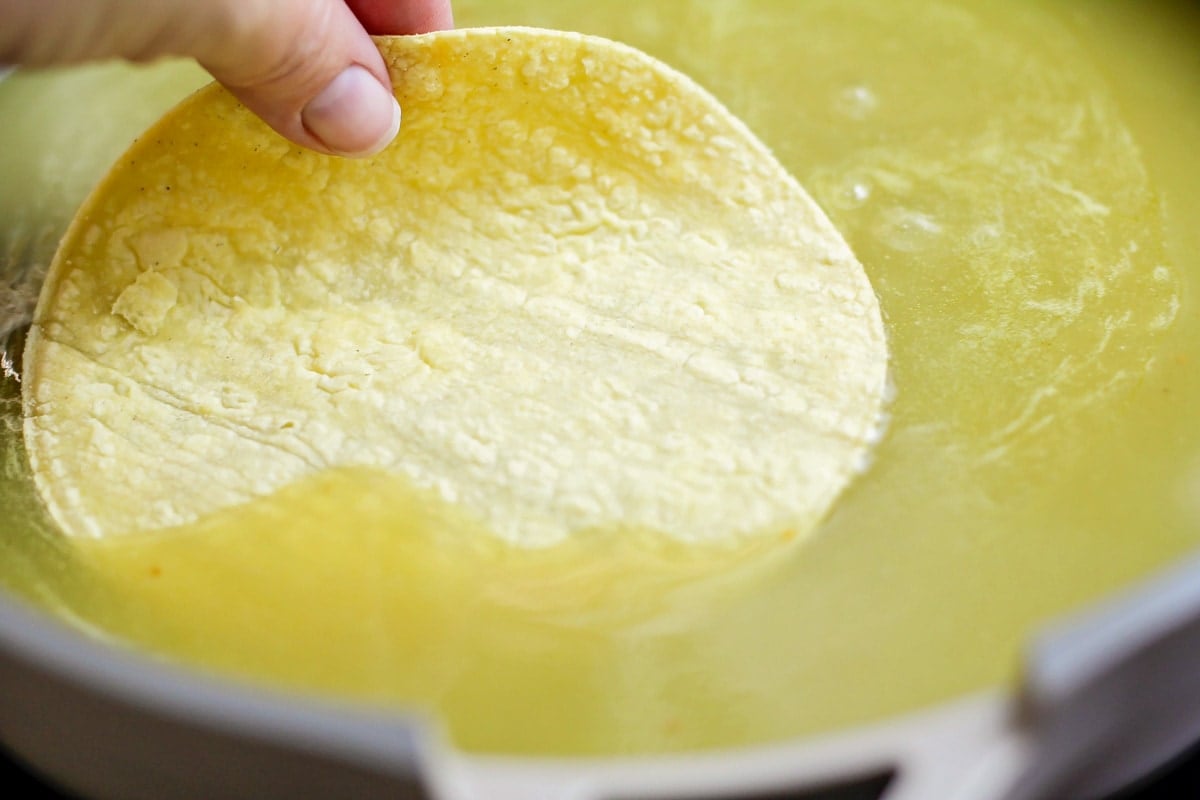
- FILL. Dip each tortilla into the heated sauce for a few seconds to soften.
- Spoon ⅓ cup of chicken mixture and 2 tablespoons sour cream down the center for each tortilla (I usually put the sour cream in a sandwich bag and cut the bottom tip which makes it easier to squirt right down the center).
- Roll the tortilla and place seam-side down in 8×8 (or 9×9) inch baking dish.
- Repeat with remaining tortillas. Pour the remaining heated enchilada sauce over the top. Sprinkle with the remaining 1 cup of cheese.
- BAKE. Bake the green chili chicken enchilada recipe uncovered for 20 minutes. Serve with favorite toppings like Pico de Gallo, Sweet Salsa Verde, Homemade Salsa, and Guacamole.
PRO TIP: Keep Tortillas from Cracking!
Wrap tortillas in a damp paper towel and microwave for 30-60 seconds to help keep them from cracking while rolling.
Complete The Meal
Side Dishes
More Enchiladas
Desserts
Collections
Green Chili Chicken Enchiladas
Equipment
Ingredients
- 2 cups chicken, cooked and shredded
- 2 cups Colby jack cheese, shredded
- 1 (19-ounce) can Las Palmas green chile enchilada sauce
- 1 cup sour cream
- 6-8 corn tortillas
- 1 (4½-ounce) can can chopped green chiles
- salt and pepper to taste
Instructions
- Preheat the oven to 350°F.
- In a small bowl, combine shredded chicken, 1 cup of cheese, green chiles, salt, and pepper.
- In a small skillet, bring enchilada sauce to a boil. Remove from heat.
- Dip each tortilla into the heated sauce for a few seconds to soften.
- Spoon ⅓ cup of chicken mixture and 2 tablespoons sour cream down the center for each tortilla.
- Roll the tortilla and place seam-side down in an 8×8 (or 9×9) inch baking dish.
- Repeat with remaining tortillas. Pour the remaining heated enchilada sauce over the top. Sprinkle with the remaining 1 cup of cheese.
- Bake uncovered for 20 minutes.
Video
Notes
- Make sure to dip the tortillas in the sauce so they can soften and won’t crack when rolled.
- Freshly shredded cheese melts better than pre-shredded packaged cheese.
- For easy application use sour cream in a squeeze bottle or put the sour cream in a sandwich bag and cut off the bottom tip.
- To bake. Thaw overnight in the fridge. Pour on the extra sauce and add the cheese before baking according to the recipe directions.
Nutrition
Nutrition information is automatically calculated, so should only be used as an approximation.
Recipe FAQ
Avoid adding too much sour cream or enchilada sauce. You can always add more sauce after they have baked. Also, let the enchiladas cool for a few minutes before serving!
Make as instructed, cover them with foil or plastic wrap, and place them in the fridge for up to 24 hours in advance. Take the excess sauce and place it in an air-tight container. Pour on the sauce and add the cheese before cooking.
Allow the enchiladas to cool to room temperature and store smaller portions in airtight containers in the fridge. Enchiladas can be stored in the refrigerator for up to 3-4 days. When ready to eat, reheat them in a preheated oven at 350°F (175°C) until heated through.
We LOVE to freeze these for up to several months! We suggest making them in a disposable pan. Cover tightly with foil and place in a freezer-safe bag. To cook, let the enchiladas thaw in the fridge overnight and cook for about 25 minutes.
Of course! Just double the ingredients and follow the same instructions.







I make these using the exact same ingredients, but later as a casserole. Just as yummy and even easier. Sauce on bottom, layer of corn tortillas, layer of chicken, layer of cheese, layer of sour cream, repeat. Soooo easy. Soooo yummy!
I also microwave my tortillas so they are very soft and won’t break when rolling. I add sliced olives and diced onions (from frozen package).
Love your recipes
I too am also a halfer 😉 and my grandpa who was 100% mexican used to make his enchiladas JUST like this! When I got married this was the only thing I knew how to make, glad to see I’m not the only one who uses the sauce to soften the tortillas. *you can also microwave them on a paper towel for 1 min per 5 tortillas for xtra softness*
I made this tonight and it is absolutely delicious! I can’t wait to make it for my children when they are all home from college. I appreciate comments from people who MAKE the dish , then post a comment. It is more helpful . Any dish can look amazing but looks do not equal taste. This dish looks and taste fabulous! Thanks for posting!
Hi Chris! Thanks for stopping by and for commenting. I appreciate it!! This is one of our favorite recipes too. In fact, I’m making Saturday for friends. We think it’s simple and so delicious, and I’m so glad you feel the same way. 😉
My sentiments exactly! Thank you for the comment. 🙂 I just found it and am making it tomorrow for dinner and I’ll be back to report.
Please do..I’d love to know what you think 🙂 I sure hope you like it!
Would I be able to make the enchiladas ahead of the day before and it still turn out delicious? My family is really excited to try it!
YES!! I make these ahead of time on a regular basis. I also freeze them too. 🙂
Hi! These look amazing and I love the idea of an easy freezer meal. At what point do you freeze them? Thanks!!
I would just freeze them before you would bake it. Then they are ready to bake & eat!! Enjoy!
I’m actually making it right now. But I just wanted to know, when you stick it in the oven to bake it, should it be covered with foil???
So sorry I didn’t see this earlier. I don’t cover my enchiladas, and they always turn out great. Hope that helps.
I just came across this recipe, and noticed that you don’t have to fry the tortillas in oil to get them soft. Do they really soften up in the sauce? If so, that is awesome!! I hate having to fry my tortillas. 🙂 I can’t wait to try this recipe! Thanks!
The sauce will soften the tortillas – they’re great! Let me know if you give them a try. 🙂