This post may contain affiliate links. Please read our disclosure policy.
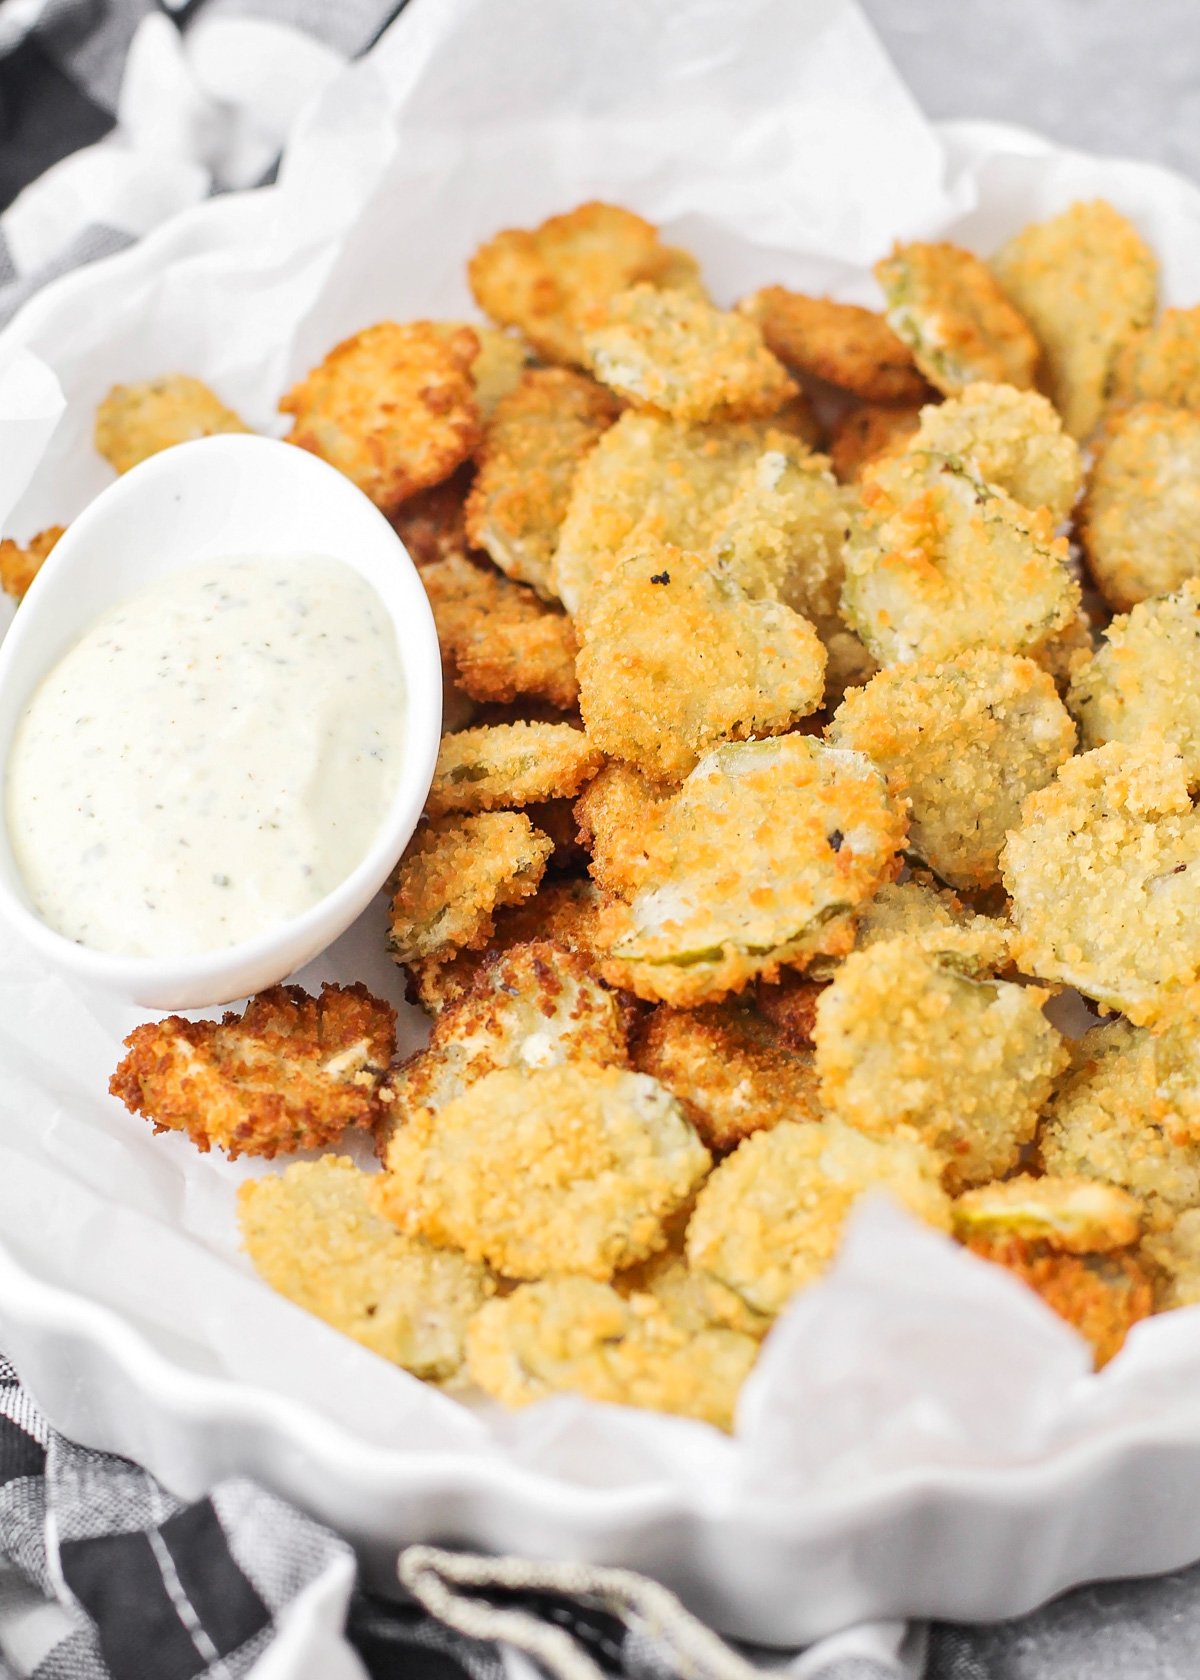
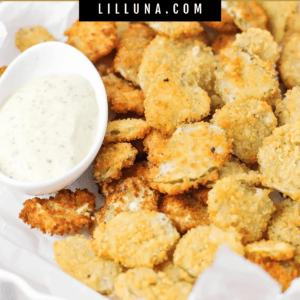
Deep Fried Pickles are crunchy, flavorful, and SO tasty! They are breaded and fried to perfection, making them a crowd favorite!
These crispy little Deep Fried Pickles are for sure on the list of favorite appetizers, right on up there with Bacon Wrapped Smokies and Jalapeño Poppers!
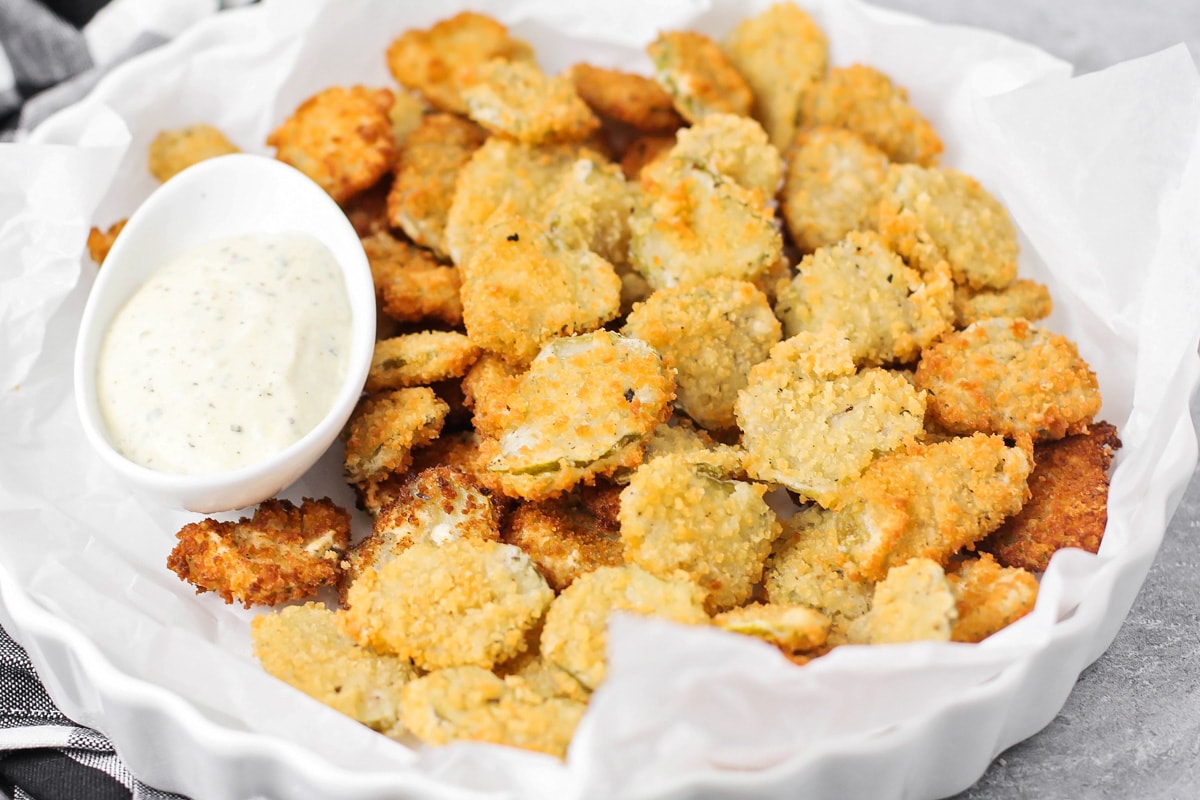
Why we love THEM!
Deep Fried Pickles are one of our FAVORITE appetizers at restaurants. If they have “frickles” on the menu, we order them.
We love the salty pickle taste with the crunchy breadcrumb coating, similar to our popular Fried Zucchini and Fried Green Beans.
Did you know they are super easy to make at home? This recipe is here to prove it.
These Fried Pickles give a big punch in the flavor department! Add that perfect crunchy outside, and you’ve got one delicious appetizer.
These are sure to be a hit at any football party or family get-together. Make sure to make a big batch because these fried pickles don’t last long around a hungry crowd.
Best Pickles for FRying
There are lots of different pickles you can use for this recipe! You can use sweet pickles, but we really love dill pickles for breading and frying.
Slice your own pickles. If you want to slice your own pickles I suggest cutting them just shy of a ¼ inch thick for the best pickle to batter ratio.
Varying shapes. Feel free to use any kind of shape and size of pickle you want—round, ovals, spears, or halves.
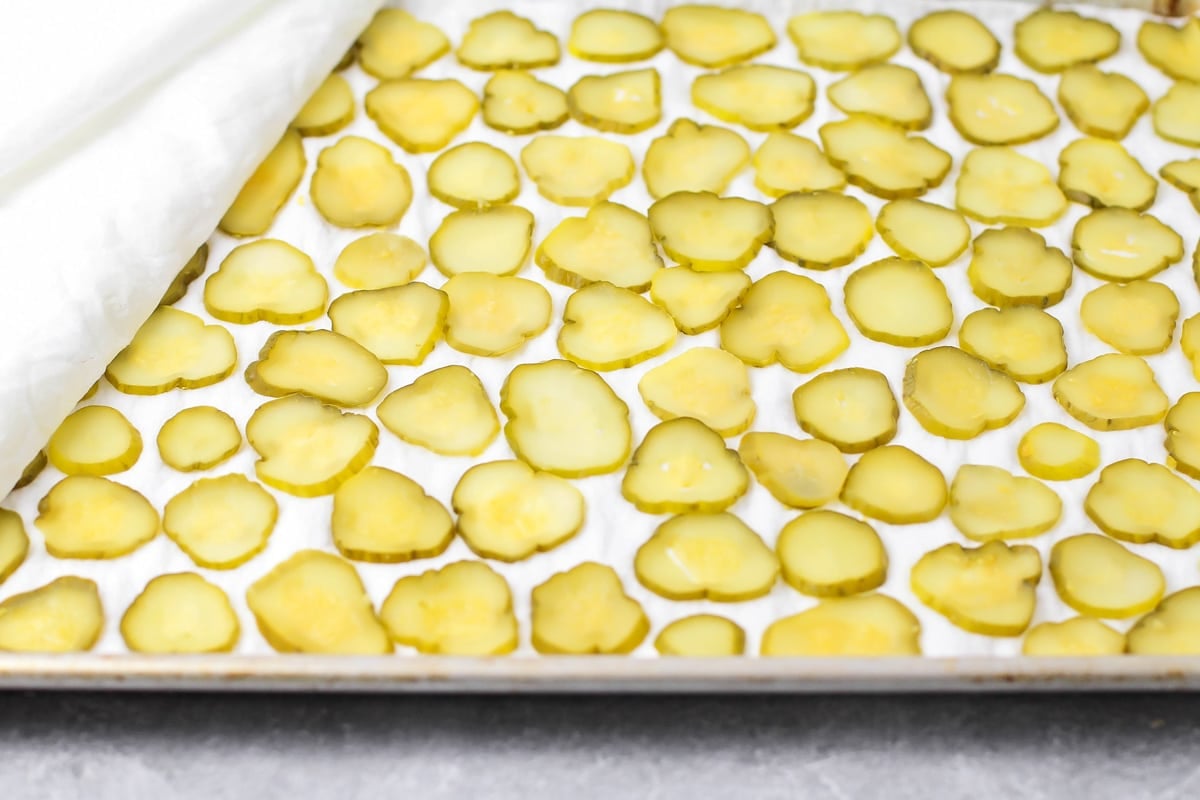
Pickle prep. Take your pickles out of the jar and make sure they are completely dried. Pat them dry and place them on a paper towel.
How to Make Fried Pickles
PREP. Heat oil in a frying pan over medium-high heat. Drain and dry pickles and place them on paper towels. Pat DRY with double-layered paper towels.
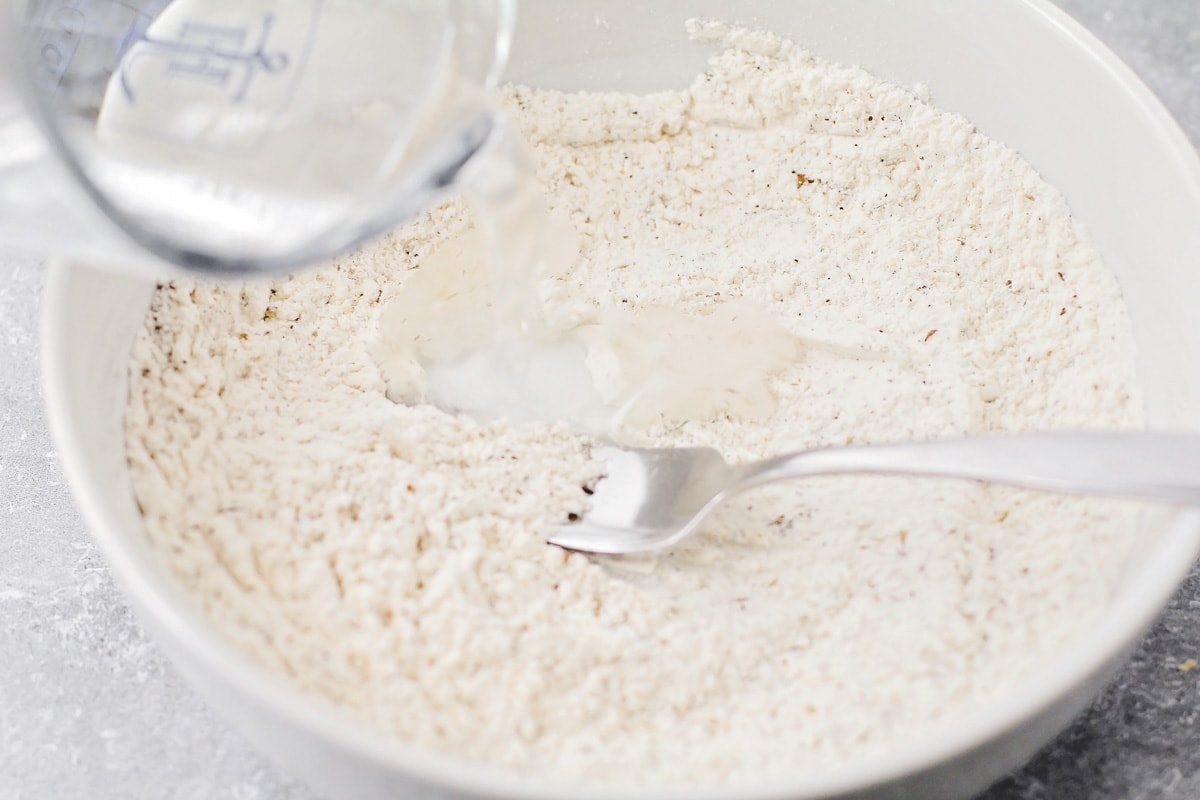
BATTER. While the oil is heating whisk together flour, Italian seasoning, garlic powder, salt, and pepper in a shallow bowl. Add water and mix until smooth.
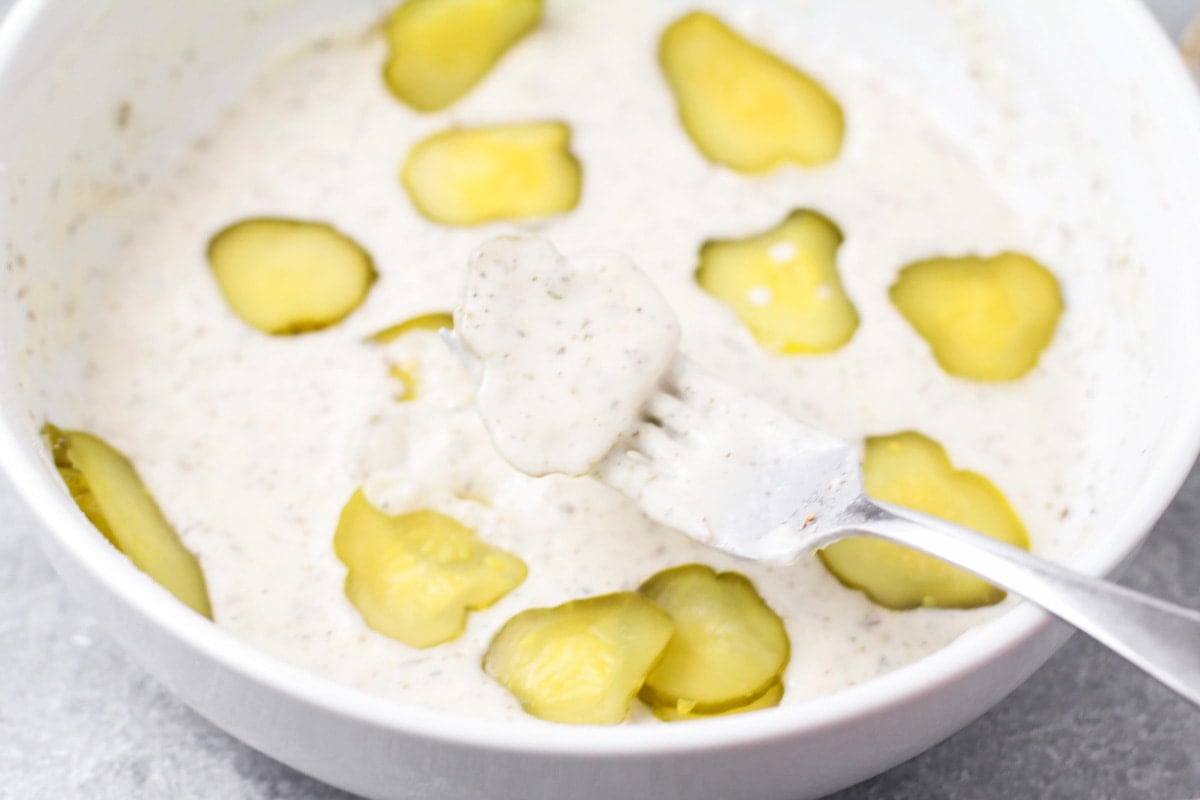
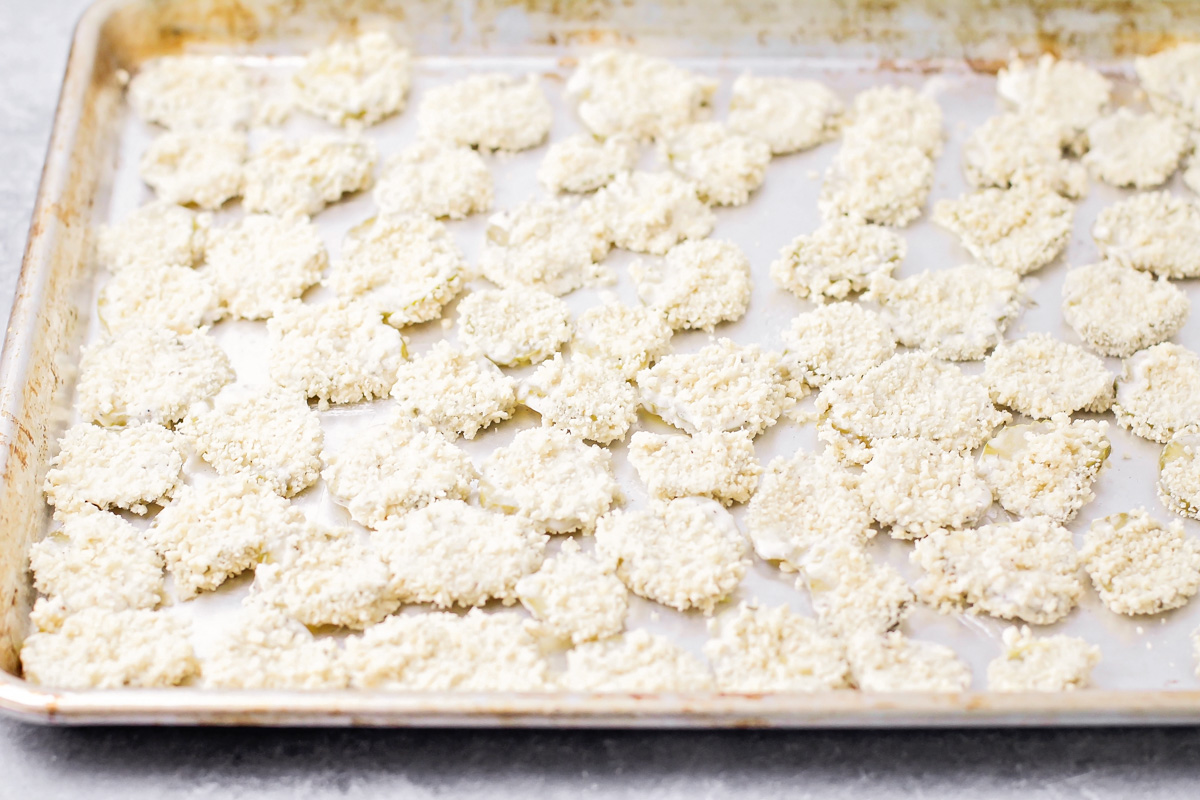
COAT. Add part of the dried pickles to the batter and toss to coat. Dip pickles in a pie pan filled with Panko.
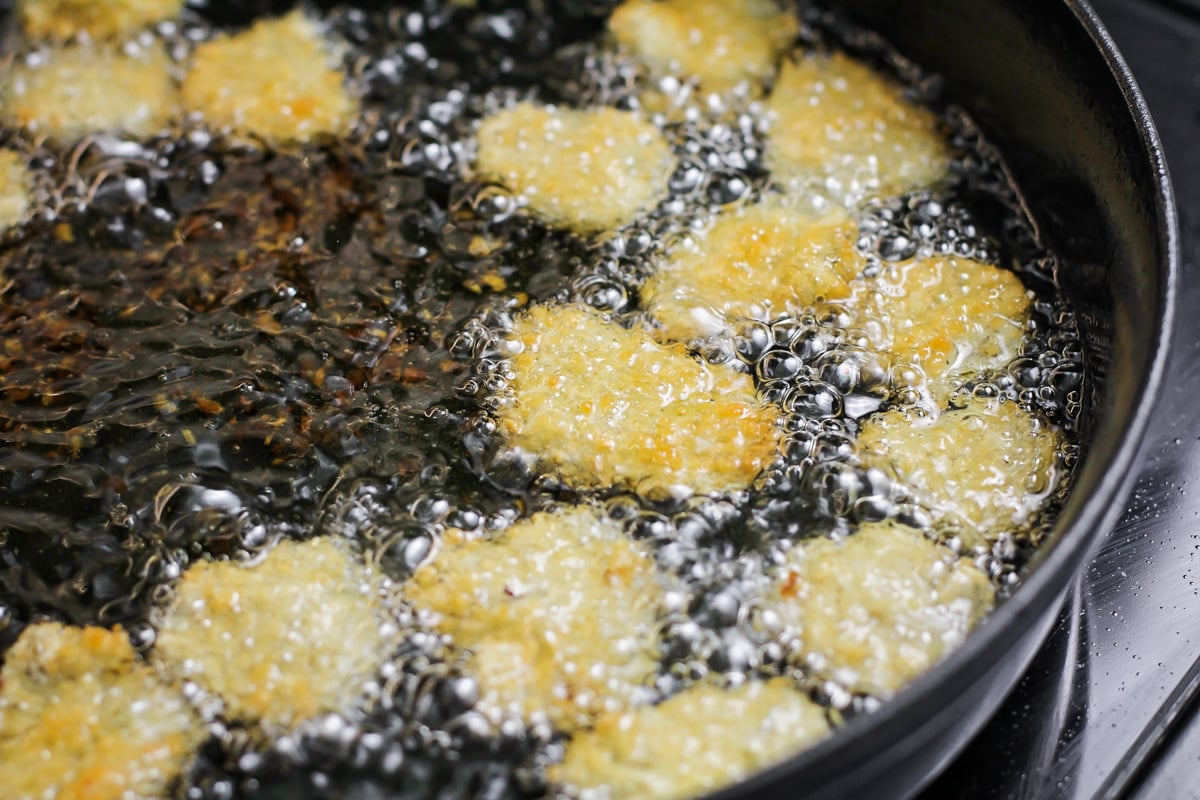
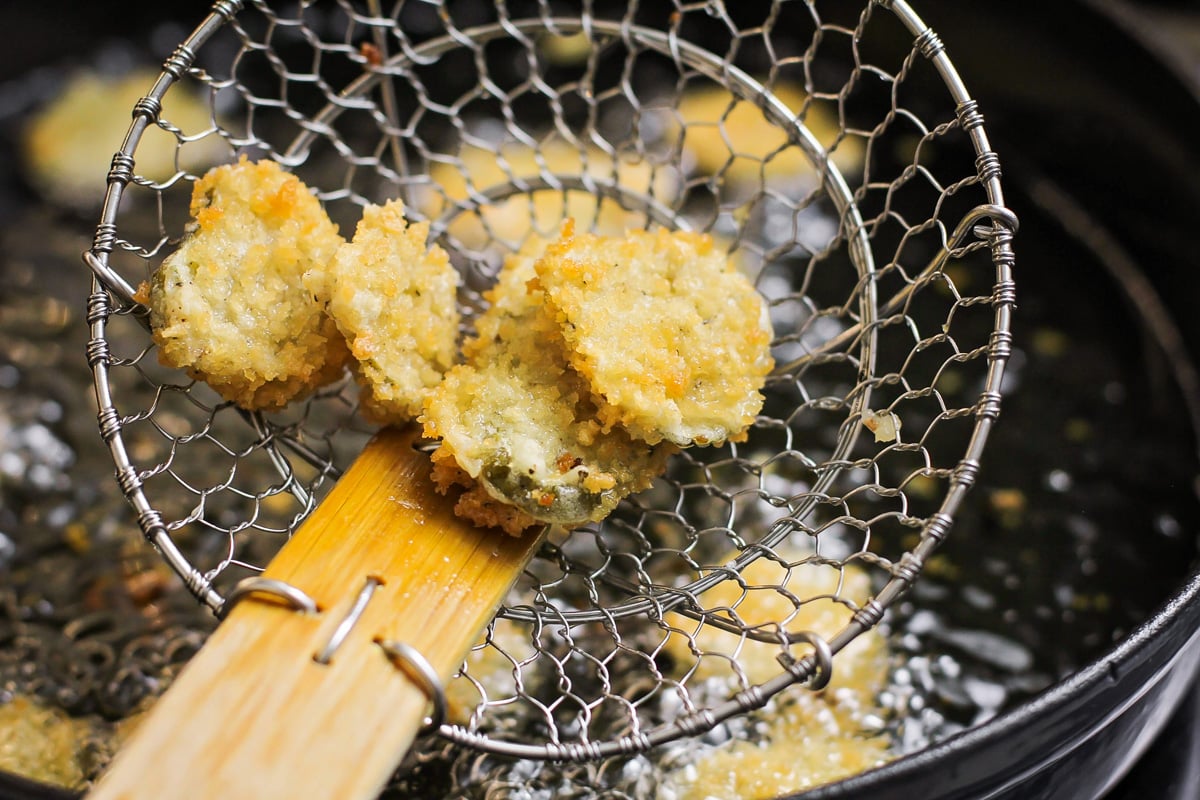
FRY. Fry in the oil until golden brown. Continue until all the pickles are fried. Serve immediately with Ranch or your favorite dipping sauces.
Alternative cooking methods
BAKE. Preheat the oven to 425°F. Place your breaded pickles in one layer on a lightly greased cookie sheet. Bake for 10-15 minutes until golden brown.
AIR FRYER. Preheat the fryer to 425°F. Place the pickles in a single layer in the fryer basket and cook for 7-10 minutes. They should be golden brown and crispy. Flip the pickles and cook for an additional 7-10 minutes on the other side.
Tips + Storing Info
Flavor variations. Feel free to change up the herbs/spices/seasonings in the batter. Add some paprika or chili powder to make it a little spicy.
Oil. When frying, choose an oil with a high smoking point such as vegetable oil, canola oil, or peanut oil.
STORE. If you happen to have any leftovers, store them covered in the fridge for a couple of days.
To reheat. The best way to reheat them is in the oven. I like to crisp them up under the broiler for 1-2 minutes. You can also reheat them in an air fryer.
Favorite dips to serve with fried pickles:
Recipe FAQ
You can really use any kind or shape. We prefer dill pickle rounds. See the section above titled “Best Pickles for Frying” for more details.
Make sure you’re using an oil that’s meant for frying and can tolerate higher temperatures. Then make sure it’s hot enough for frying before adding the pickles. This way the pickles will crisp up rather than absorbing the oil and becoming soggy.
Make sure you pat the pickles plenty dry after taking them out of the jar. Dredging them in the flour mixture before adding the breadcrumbs also helps the batter adhere to the pickle.
For more favorite appetizers, try:
- Fried Ravioli
- Southwest Egg Rolls
- Veggie Tortilla Roll Ups
- Queso Blanco
- Mozzarella Sticks
- Deviled Eggs
- Buffalo Wings
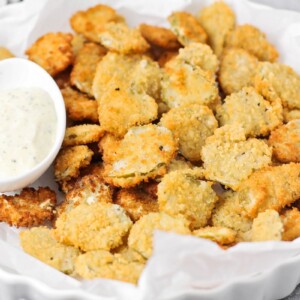
Fried Pickles
Equipment
Ingredients
- vegetable oil, for frying
- 1 (16-ounce) jar dill pickle slices
- ½ cup all-purpose flour
- 2 teaspoons garlic salt
- 1 teaspoon Italian seasoning
- ¼ teaspoon pepper
- ¾ cup water
- 1½ cups panko breadcrumbs
Instructions
- Fill a frying pan with ½ inch oil and heat over medium-high heat to 350–375°F.
- While the oil is heating, drain pickles and place them on paper towels. Pat dry to remove excess juice.
- Whisk flour, garlic salt, Italian seasoning, and pepper in a shallow bowl. Add water and mix until smooth.
- Place breadcrumbs in a separate shallow dish.
- Working in batches, add pickles to the batter and toss to coat. Then dip pickles in breadcrumbs, making sure to coat all sides.
- Fry pickles in batches in the oil for 1–2 minutes on each side or until golden brown. Repeat with the remaining pickles.
- Serve immediately with Ranch dressing.
Video
Notes
- While you can use sweet pickles, we like dill pickles best. Make sure the pickles are completely dry before dipping.
- Feel free to change up the seasonings in the batter for a different flavor. Add some paprika or chili powder to make it a little spicy.
- Fry the pickles in oil that’s 350-375°F. Too low, and they’ll become soggy. Too hot, and the pickles will burn.
Nutrition
Nutrition information is automatically calculated, so should only be used as an approximation.



Have you made these in a convection oven at 425*? I’d like to try this for a healthy hire version . Thanks!
Freaking Amazing!!
This recipe was a big hit! I made it gluten free by using gluten free breadcrumbs and flour. The gf breadcrumbs made the fried pickles super crunchy. They didn’t get soggy even after a few hours and still had a Big Crunch to them. Thank you for your recipe!!
[email protected]
These are awesome
THE VIDEO IS NOT AVAILABLE.
If you scroll down towards the bottom of the page, just after the recipe card, the video should be there for you! 🙂
I really want to try these, but I’m confused. The Ingredients list states “garlic salt” and “black pepper” but the Instructions state “garlic powder” and “salt and pepper.” Please clarify.
Thanks for catching that. I’d stick with the measurements/ingredients in the ingredient list. We’ll make a note to update that post.
Delicious! We also did jalapeños. So happy!
Yummy! I bet they were tasty too. Glad you enjoyed the recipe!
They looked just like the photo and tasted better than restaurant by quality! Yum!
Could I prep these & refrigerate til time to fry?
You could! I haven’t actually tried it, but I imagine it’d be fine. You might run into the breading becoming soggy if you leave them in the fridge for too long before frying, so just keep that in mind. You’ll have to let us know how they turn out if you do prep them early.