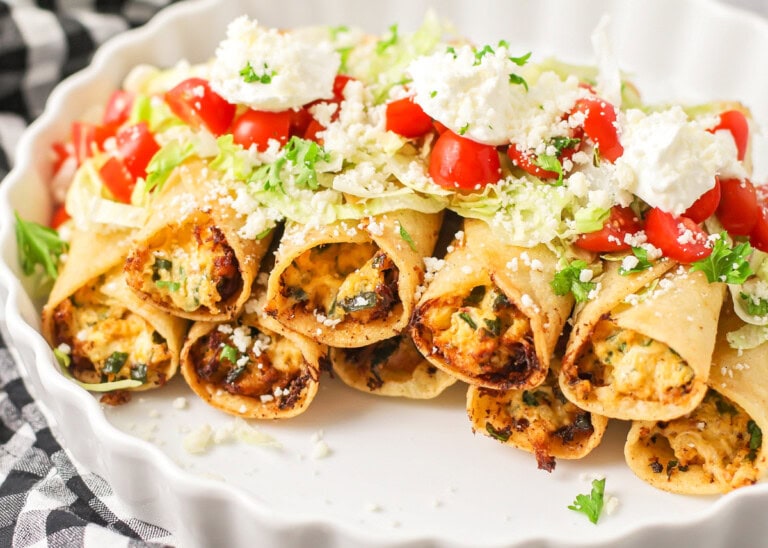
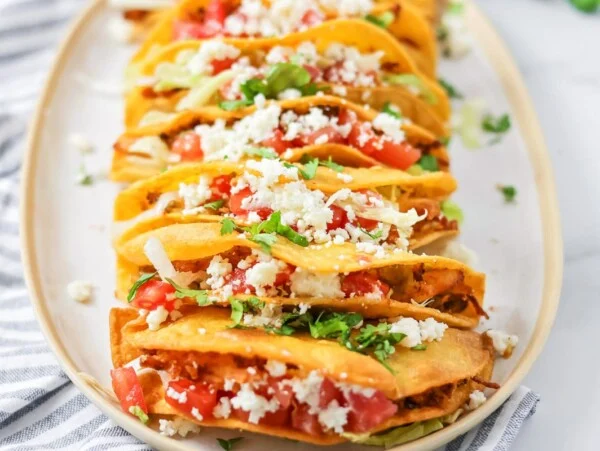
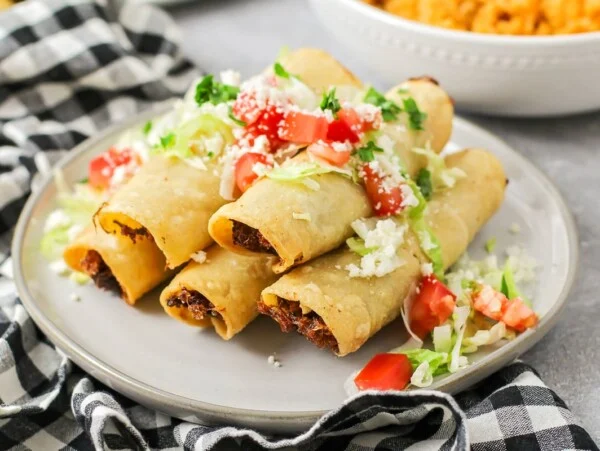
This cheesy chicken Taquitos recipe always results in crispy, golden, simple taquitos thst are so delicious we have them on the dinner calendar every month.
These taquitos are stuffed with creamy chicken, spinach, and melty Colby Jack, then fried for that irresistible crunch and dipped in your favorite toppings. They are so delicious that the entire family is obsessed and we get asked for the recipe any time we make them.
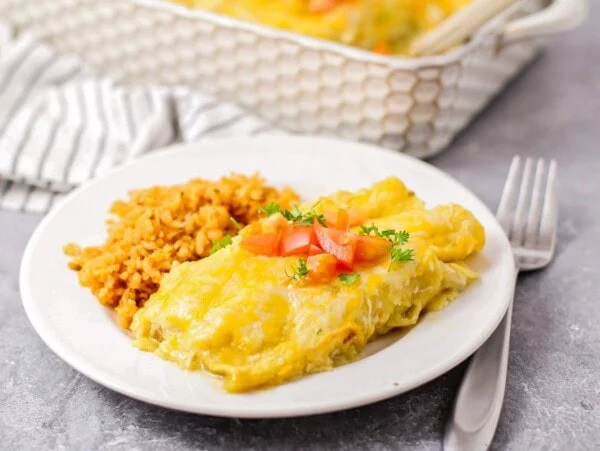
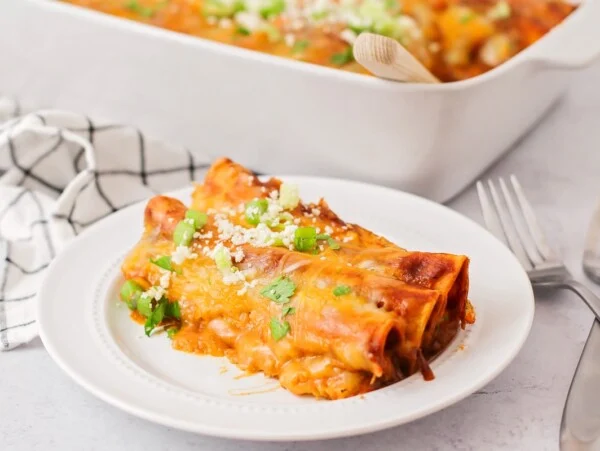
If you love easy Mexican-inspired dinners, try our Chicken Enchiladas, Mexican Rice, and Homemade Salsa.
Why you’ll love them + Why it works:
- Simple + Quick. Quick to make, cooks in just a few minutes per batch.
- Change it up. The filling can be easily adapted to suit different tastes, from using different meats to adding various spices and toppings.
- Creamy filling that stays put. Cream cheese binds the chicken and cheese so it does not fall out while frying.
- Seam-side down starts the seal. Placing taquitos seam-side down first helps them stay rolled and crisp.
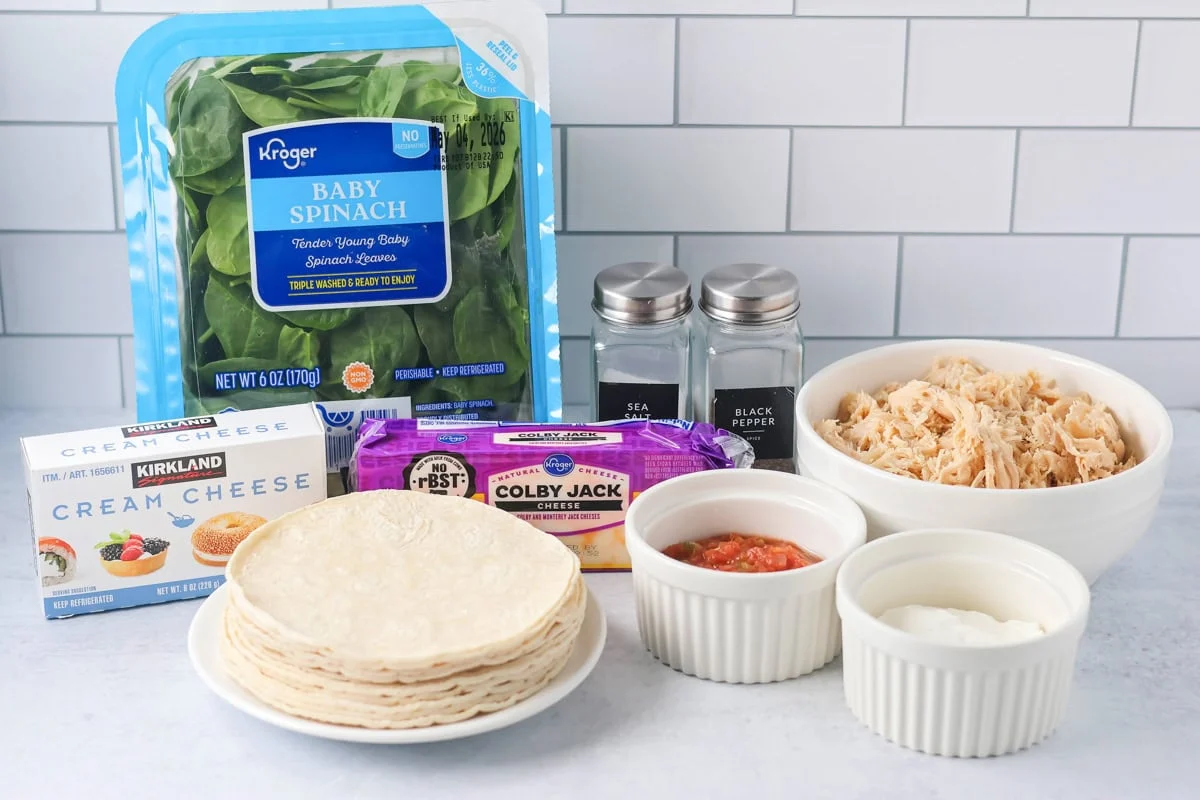
Taquitos Ingredients
- Vegetable or canola oil (for frying): Neutral flavor and high smoke point ensure a crisp, golden shell without greasiness.
- Shredded cooked chicken (3 cups): The hearty, protein-packed filling that stays juicy when mixed with creamy ingredients. Shredded beef and pork are also great options. I like to have Shredded Chicken in the freezer to use in recipes like this one. You can also bake up some chicken to shred or use a rotisserie chicken.
- Cream cheese, softened (6 ounces): Binds the filling so it doesn’t spill out, adds tang, and keeps the chicken extra moist.
- Baby spinach, chopped (1½ cups): Adds color, nutrients, and a fresh note that balances the richness.
- Shredded Colby Jack or Mexican blend (1½ cups): Melts beautifully for that stretchy, cheesy pull and helps the filling set.
- Salsa (½ cup): Brings built-in tomatoes, onions, and spices, so the filling tastes slow-simmered with minimal effort. Change the salsa to change the flavor – Sweet Salsa Verde or Tomatillo Salsa are both great!
- Sour cream (⅓ cup): Adds cool creaminess and a slight tang that rounds out the flavors.
- Salt and pepper (to taste): Brighten and balance the filling so every bite pops.
- Corn tortillas (12, 6-inch; or flour): Corn gives classic taquito crunch and flavor; flour rolls a little easier and fries up soft-crisp.
- Toppings: Shredded lettuce, chopped tomatoes, sour cream, Red Salsa, Salsa Verde, Cafe Rio Dressing, Pico de Gallo, jalapeños, Guacamole, or Queso Blanco
How to Make Taquitos
PREP. Fill a saucepan with ½ inch of oil and heat over medium heat to 350°F.

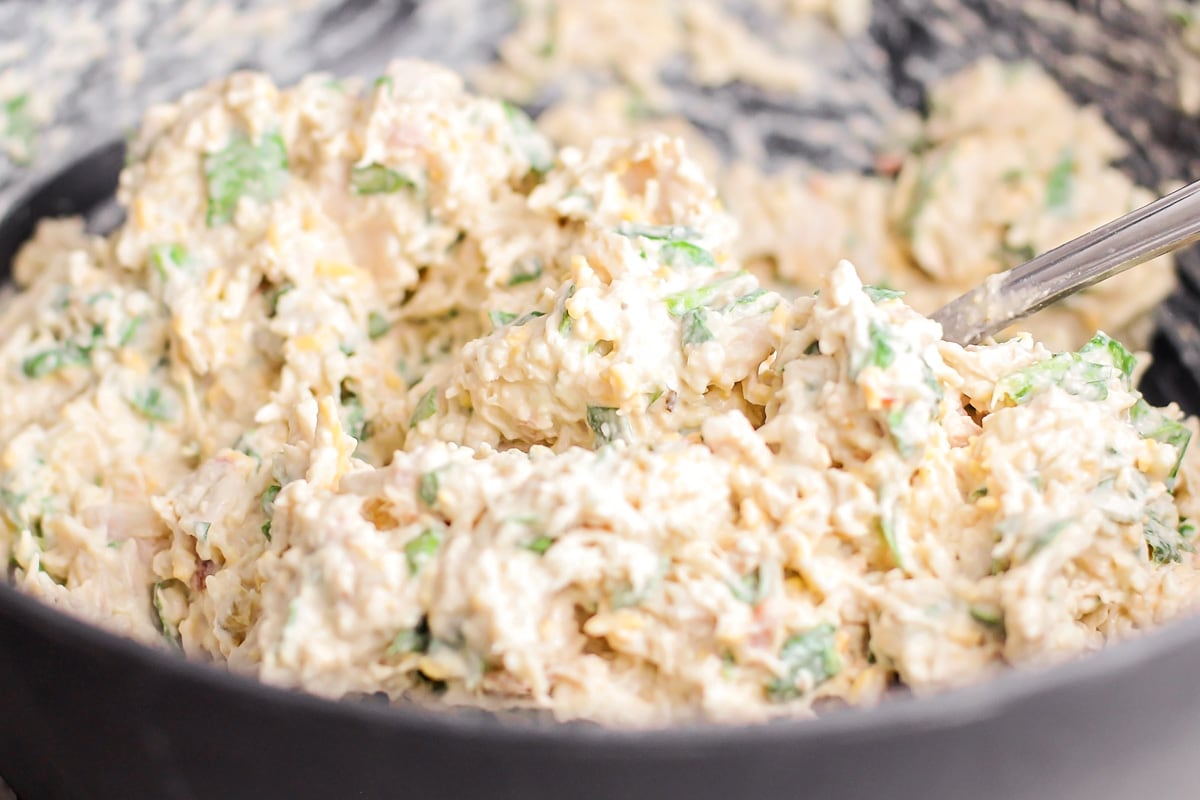
FILLING. Meanwhile, in a large bowl mix 3 cups chicken, 6 ounces cream cheese, 1½ cups spinach, 1½ cups Colby Jack cheese, ½ cup salsa, and ⅓ cup sour cream. Add salt and pepper.
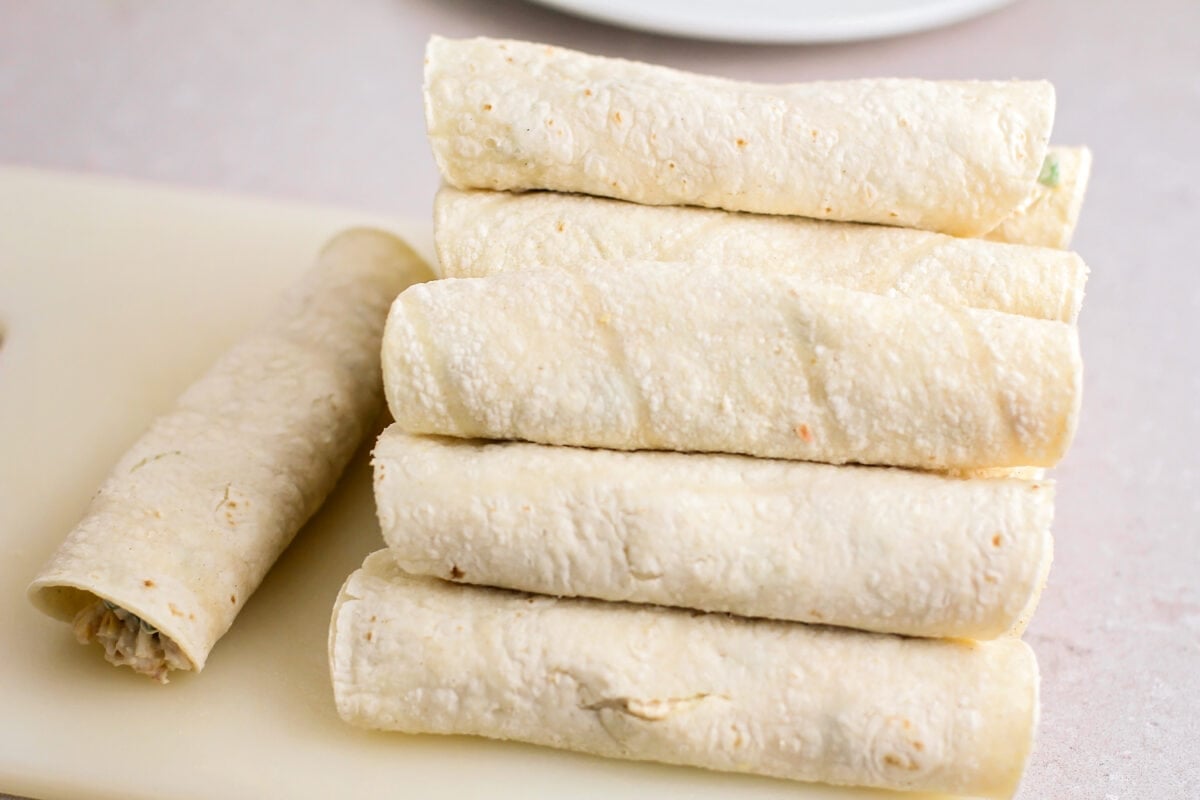
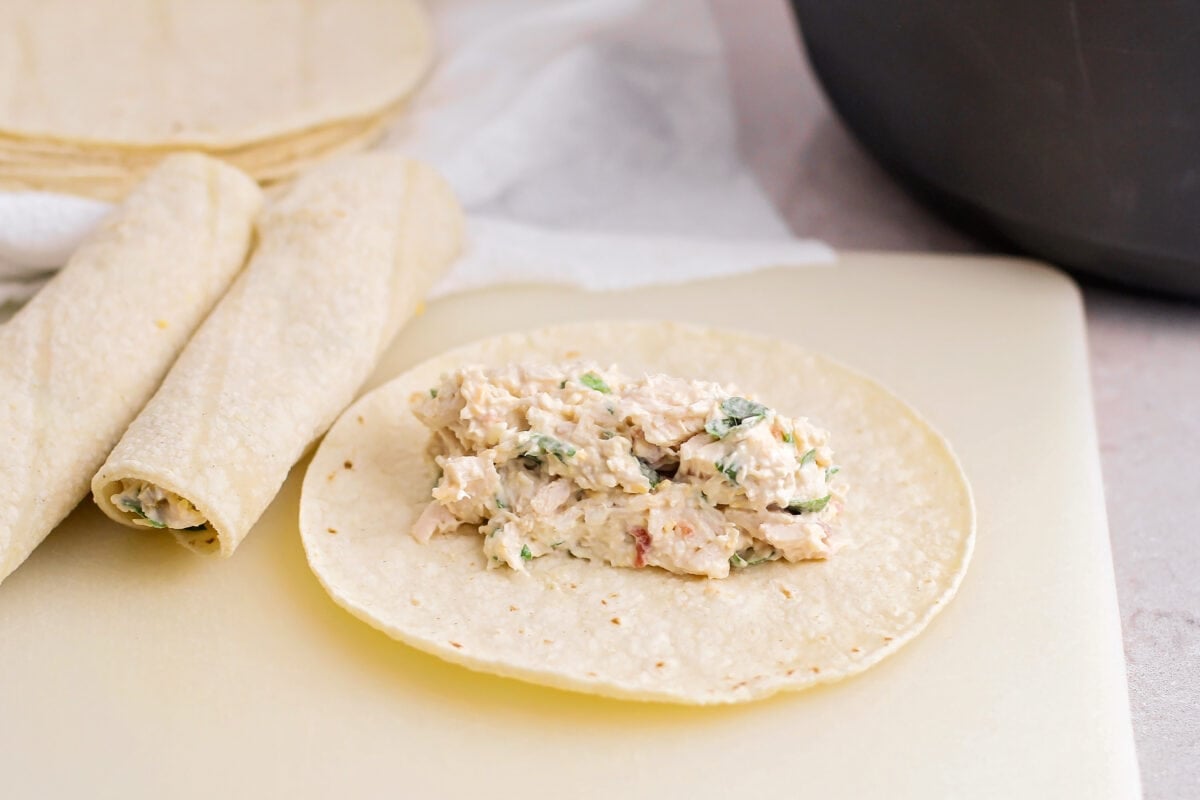
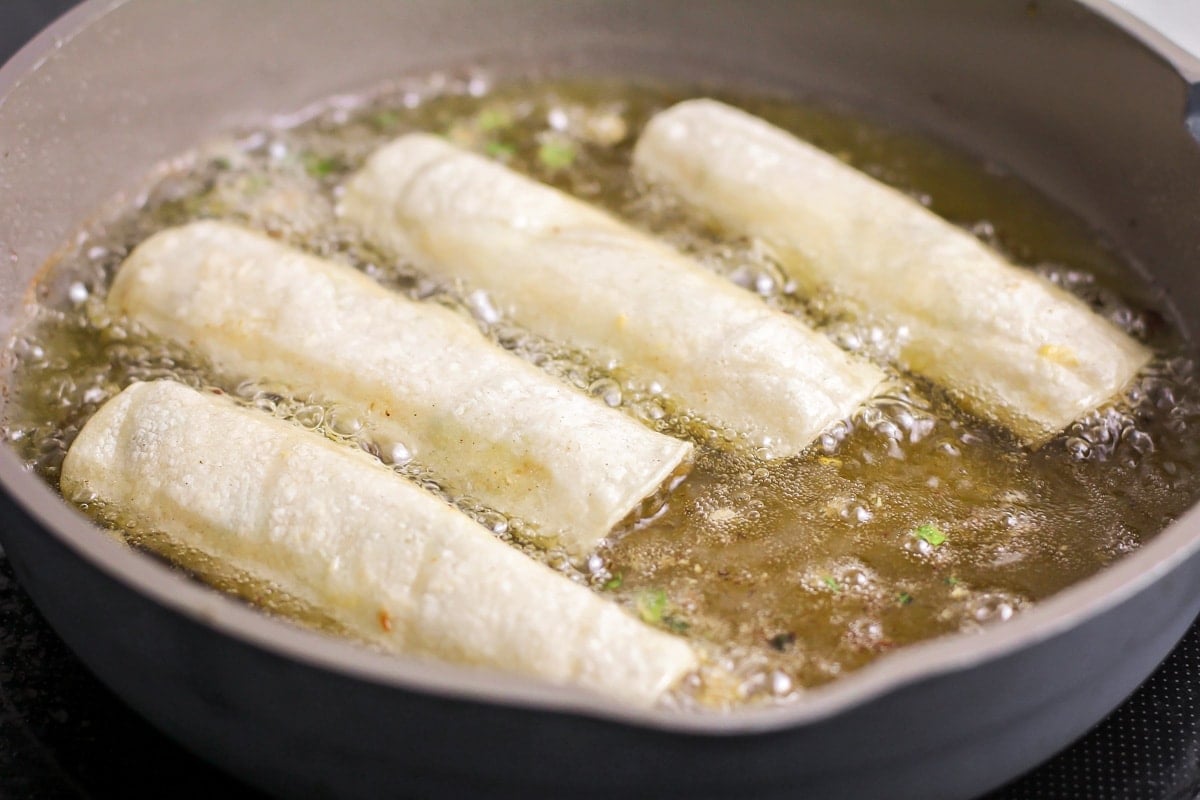
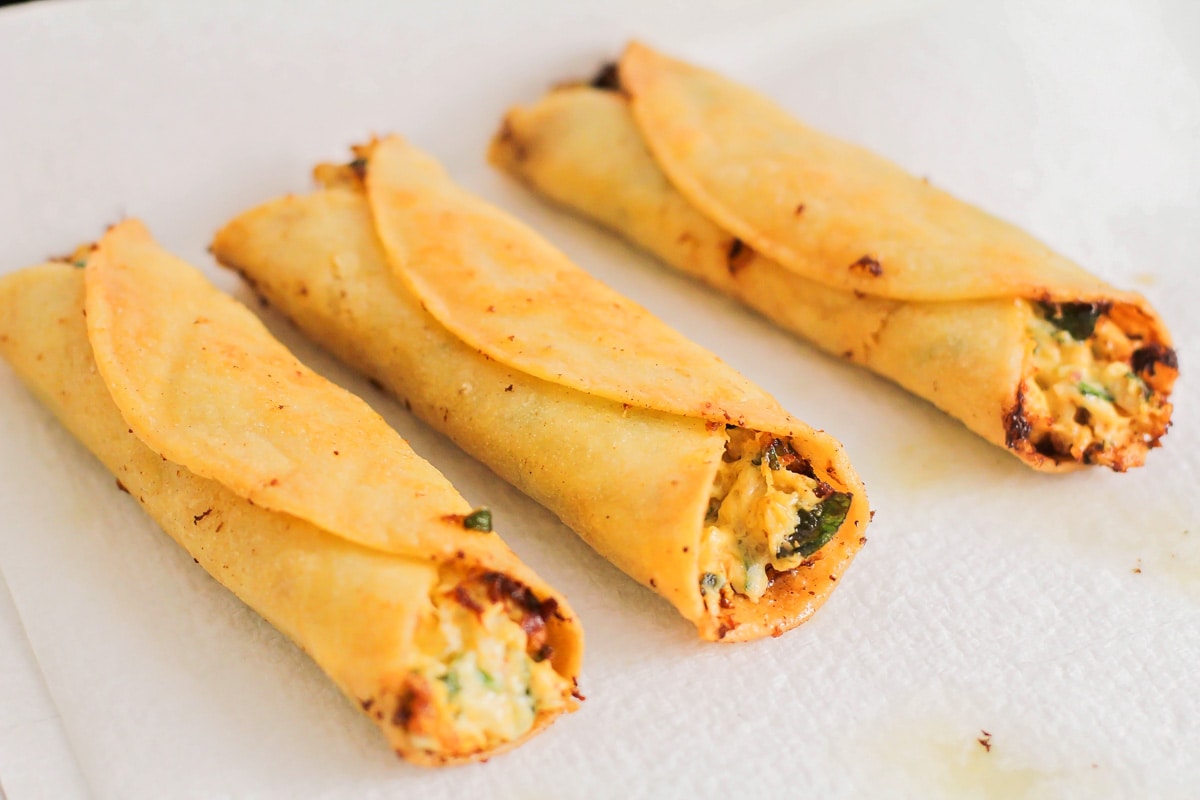
FRY. Once oil is hot enough, add a few tablespoons of chicken/cream cheese mixture to the center of a tortilla and spread out. Roll the tortilla and use tongs to place it seam-side down in hot oil. Cook until golden brown on both sides, 2–3 minutes per side. Set on paper towels to drain.
- Repeat until all 12 (6-inch) tortillas have been filled, rolled, and fried.
SERVE. Serve warm with your favorite toppings.
Alternative Cooking Methods
- Oven baked. Check out our Baked Taquitos recipe.
- Air fryer. Preheat the air fryer to 400°F. Place the taquitos, seem side down, in the air fryer basket. Make sure they are not touching and spray with a light coating of cooking spray. Cook for about 3 minutes flip and cook for another 3-4 minutes or until lightly brown and crisp.


Kristyn’s Recipe Tips
- PRO TIP: To prevent cracked tortillas, wrap a stack of corn tortillas in damp paper towels and microwave for 15-30 seconds until warmed up. Many tortillas crack or break because they are not warm enough.
- OIL TEMP. Test the oil with a small tortilla piece; if it bubbles steadily, you are at the right temp for crisping.
- FRYING TIP. Place rolled taquitos seam side down first to set the seal, and avoid crowding the pan for even browning.
- KEEP ‘EM WARM. Keep batches hot and crisp on a wire rack set over a sheet pan in a 250°F oven until ready to serve.

Taquitos Recipe
Equipment
Video
Ingredients
- vegetable or canola oil, for frying
- 3 cups shredded cooked chicken
- 6 ounces cream cheese, softened
- 1½ cups baby spinach, stems removed and chopped
- 1½ cups shredded Colby Jack cheese, or Mexican blend cheese
- ½ cup salsa, store-bought or homemade
- ⅓ cup sour cream
- salt and pepper to taste
- 12 (6-inch) corn tortillas (or flour tortillas)
Toppings
- shredded lettuce, chopped tomatoes, sour cream, Pico de Gallo
Instructions
- Fill a saucepan with ½ inch of oil and heat over medium heat to 350 degrees F.
- Meanwhile, in a large bowl mix together chicken, cream cheese, spinach, Colby Jack cheese, salsa, and sour cream. Add salt and pepper.
- Once oil is hot enough, add a few tablespoons of chicken/cream cheese mixture to the center of a tortilla and spread out. Roll the tortilla and use tongs to place it seam-side down in hot oil. Cook until golden brown on both sides, 2-3 minutes per side. Set on paper towels to drain.
- Repeat until all 12 (6-inch) tortillas have been filled, rolled, and fried.
- Serve warm with your favorite toppings.
Notes
Make ahead of time. You can mix the filling as described in Step 2 up to 24 hours in advance. Cover and refrigerate until ready to use.
Cracked corn tortillas. If your corn tortillas are cracking when you roll them, wrap a stack of corn tortillas in some damp paper towels and microwave for 15–30 seconds until warmed up. The reason many tortillas crack or break is because they are not warm enough.
Nutrition
Nutrition information is automatically calculated, so should only be used as an approximation.
Recipe FAQ
Add your mix, roll, and then use metal tongs to hold the taquitos in the oil with the seam-side down until they stay rolled. You can also add toothpicks to the center of each taquito before frying to keep in place.
The oil should immediately begin to bubble when the taquitos are placed in and each side should take about 1 minute to fry. Place on a paper towel-lined plate to help drain the oil.
While I don’t recommend fully frying these chicken and cheese taquitos up ahead of time, you can prepare the ingredients beforehand so that all you have to do is roll and fry.
The cream cheese chicken filling can be made 1-2 days ahead of time and stored in a container in the fridge, or the freezer for 6-8 weeks.
Leftover cream cheese taquitos can be stored in an airtight container in the fridge for up to 5 days. Reheat on a baking sheet in the oven, in a warm skillet with olive oil on the stove, or in the microwave.
Complete the Meal
Serve with
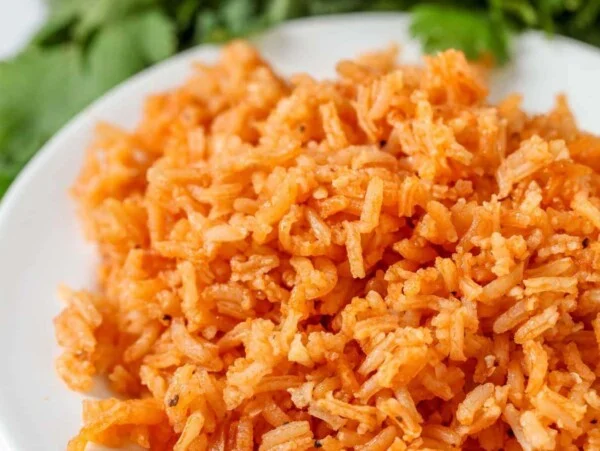
Homemade Spanish Rice Recipe
45 mins
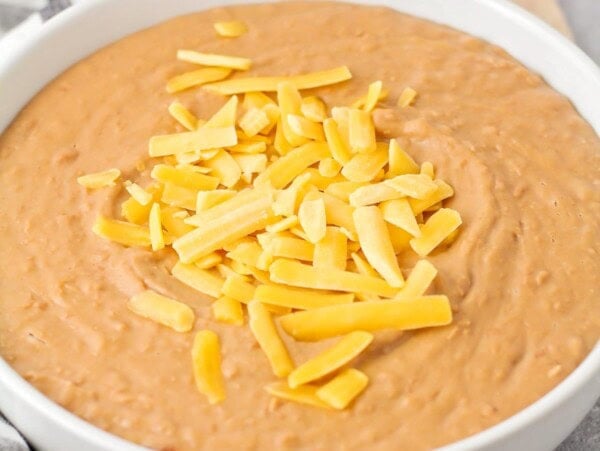
Canned Refried Beans
10 mins

Mexican Street Corn Recipe
13 mins
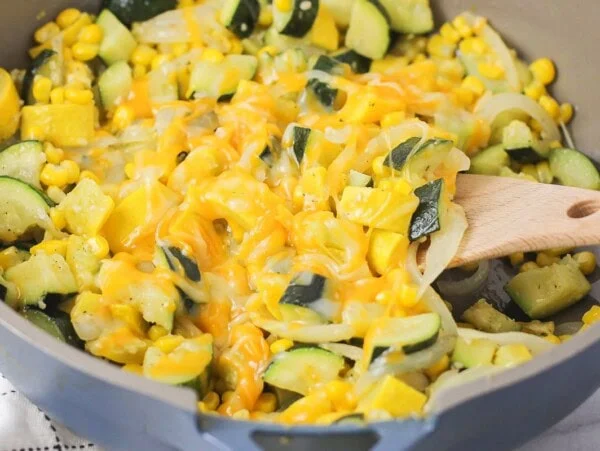
Calabacitas Recipe
25 mins
More Mexican Recipes
More Collections


Recipe adapted from Cinnamon Spice and Everything Nice


Excellent! I made mine with canned chicken and flour tortillas. The filling seemed a bit bland, so I added some onion powder and Tobasco. Thanks for the recipe!
So glad you enjoyed them and your additions sound delicious!
Is there a baking option? If so what temperature do you recommend? And for how long?
I have a Baked Taquitos recipe that you can make.
Really good but missing something I would pre season the chicken or tortillas next time
That’s definitely an option! Thanks for trying them!
Can o freeze these? I the meat won’t be good on 2 days….
Great recipe! I made this and substituted cottage cheese (instead of the cream cheese + sour cream included in the recipe) and cooked in the air fryer instead of pan frying. Still turned out great! Very yummy and I will keep some in the fridge/freezer as meal prep to pop in the air fryer later.
I make these ALL THE TIME! We love love love them! I’ve made them so much I don’t really follow the measurements to a T so I normally get about 20-25 taquitos in total… there’s just 2 of us an a 1 year old that’s eating them so we tend to freeze for a yummy last minute dinner ~ air frying them is the *best* way to reheat in my opinion!
It was alright, but the cream cheese was overwhelming. Made it more like a Mexican chicken “rangoon” than like any taquito I’ve had in the past.
Thanks for the feedback and for giving the recipe a try!
So Delicious! My toddler even ate them. Big plus is that they’re super easy to make.
Receipe
I love this recipe! So easy and Delicious