Lil’ Luna

Explore Recipe Categories


Trending Now
Featured Roundups


About ME
Hi, I’m Kristyn!
I’m the mom of six stinkin’ cute kids and the wife to my smokin’ hot hubby, Lo. My mom’s maiden name is Luna, and I’m one of the many crafty “Lil’ Lunas” in the fam.
Don’t Want to Miss Out?
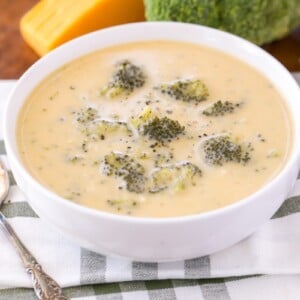
Dinner Recipes
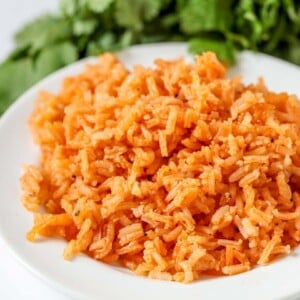
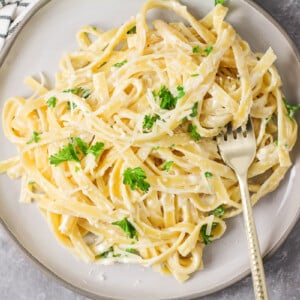
Newest Recipes
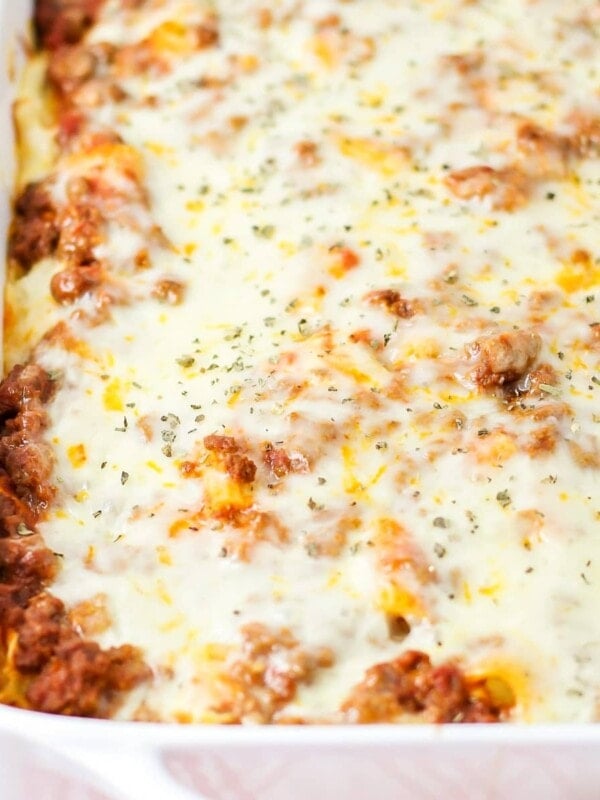
Baked Rigatoni
1 hr 15 mins
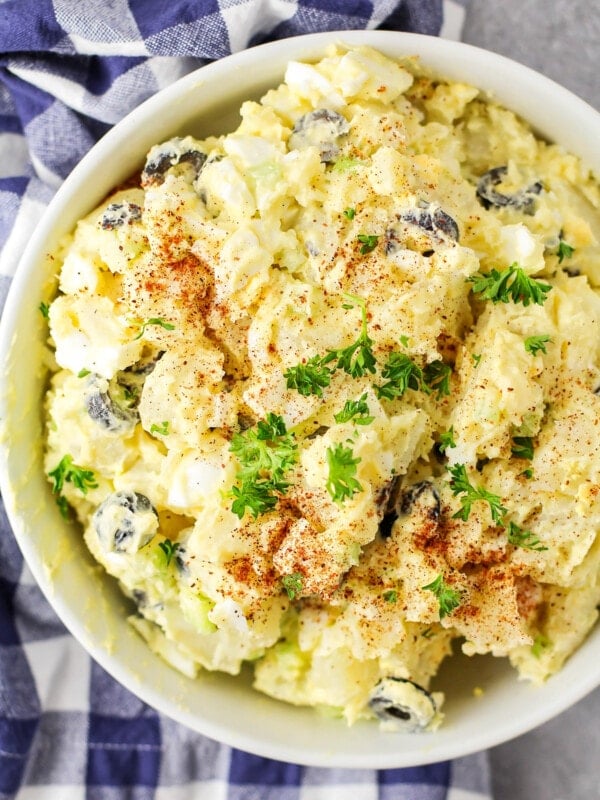
Instant Pot Potato Salad
40 mins
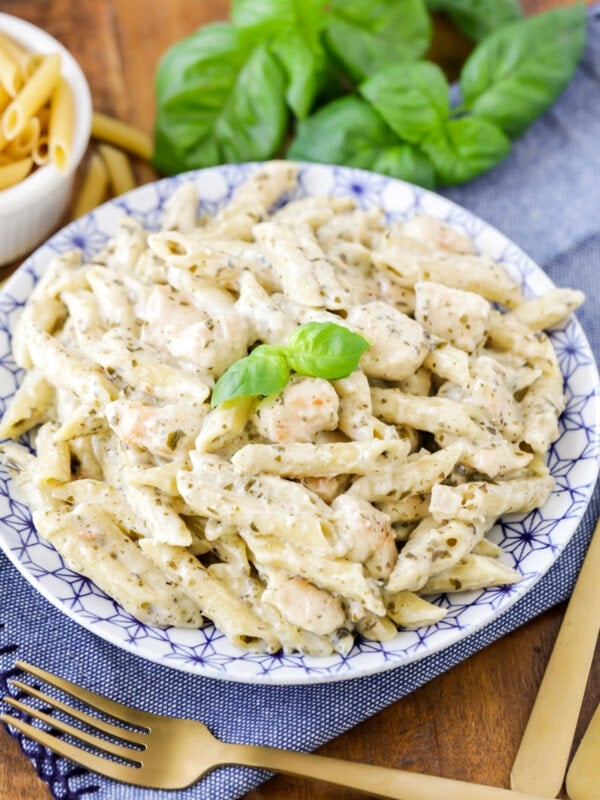
Chicken Pesto Pasta
25 mins
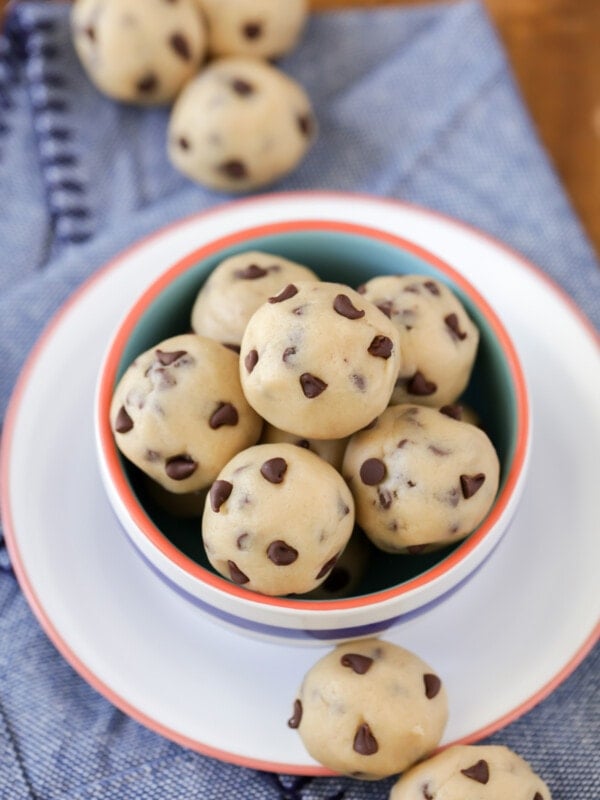
Cookie Dough Bites
1 hr 10 mins
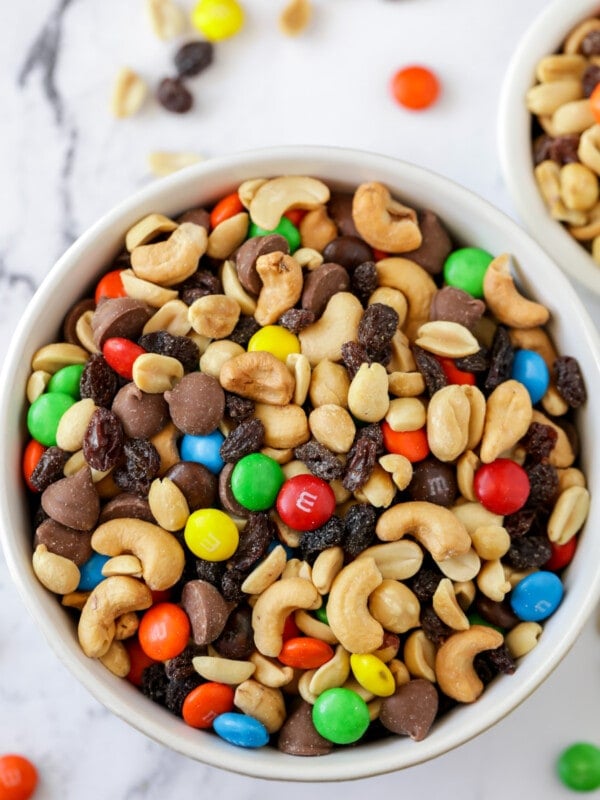
Trail Mix Recipe
5 mins
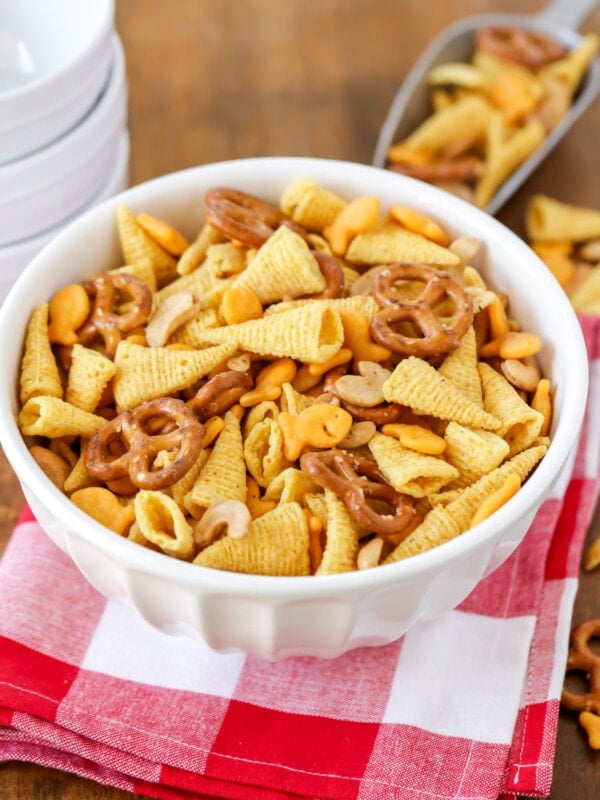
Snack Mix
5 mins
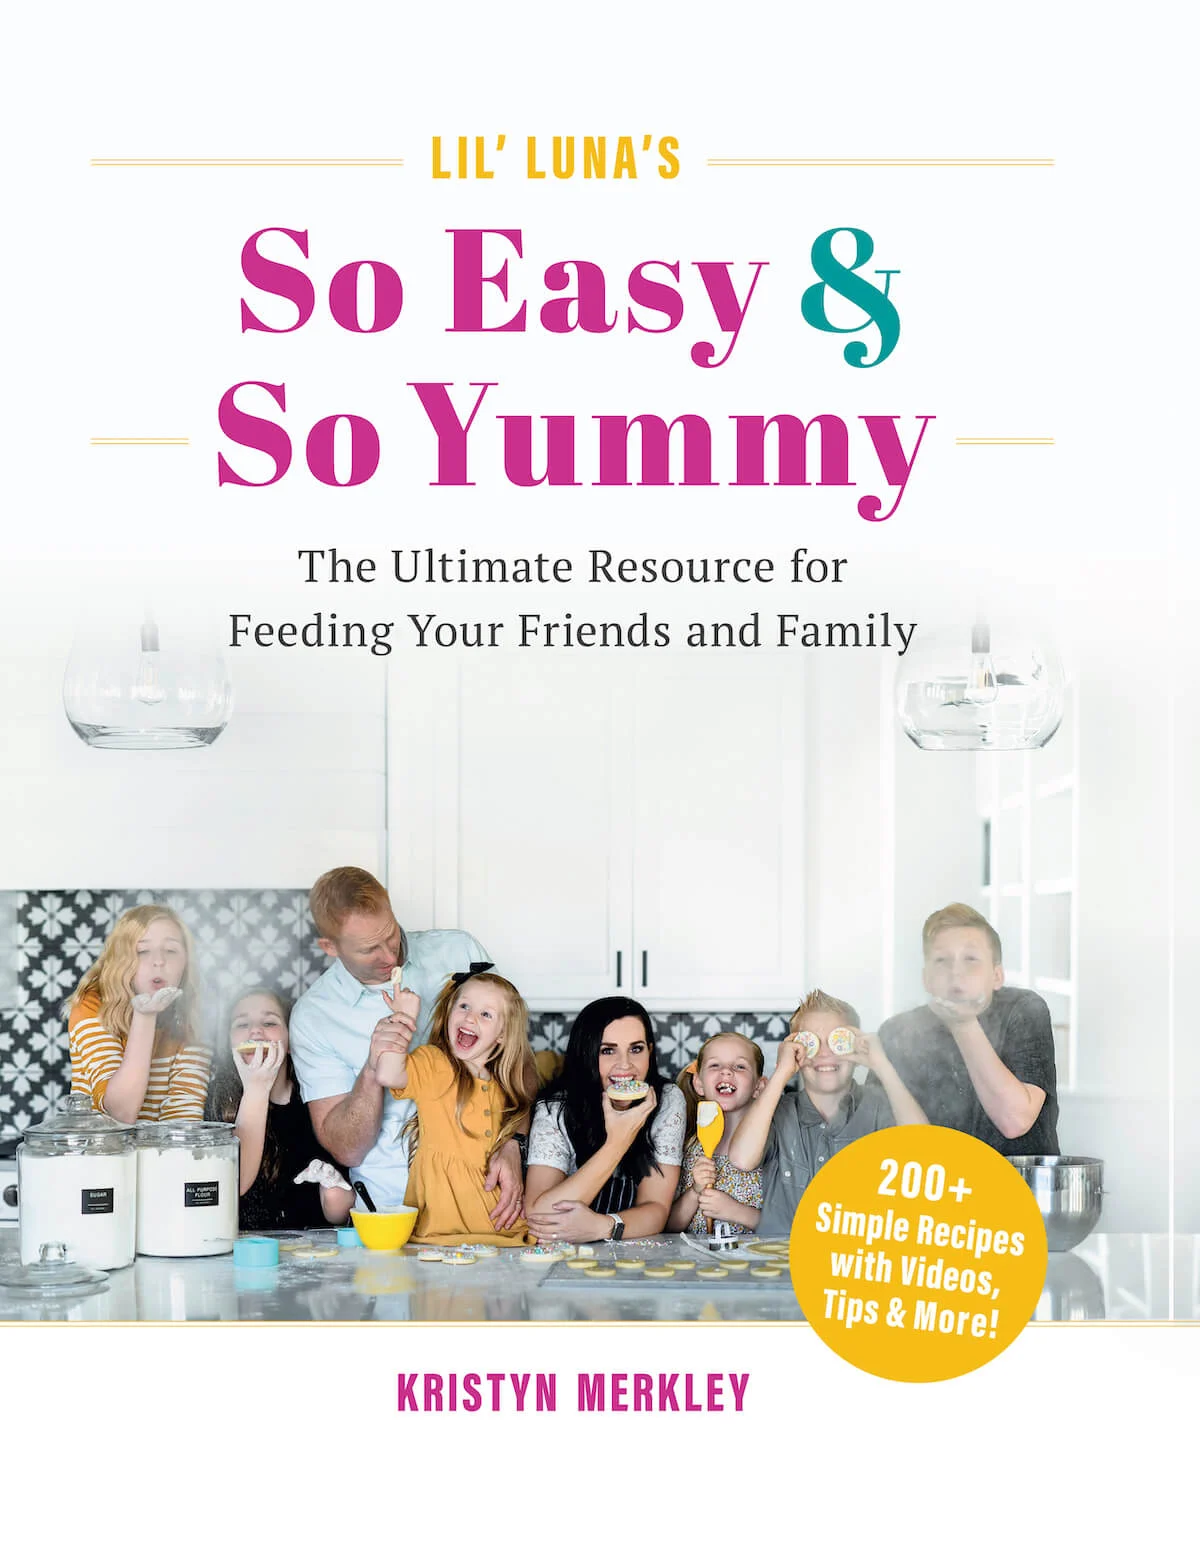
So Easy & So Yummy
Get my cookbook!
My new cookbook is the ultimate resource for feeding your friends and family with 200+ simple recipes including videos, tips & more!